
 It all started with this. I had never seen anything like, and I had to have it.
The seed was planted, I’d caught the bug, I was painfully coming to grips with the fact that I couldn’t escape purchasing yet another camera. The only problem was, that version was $850.
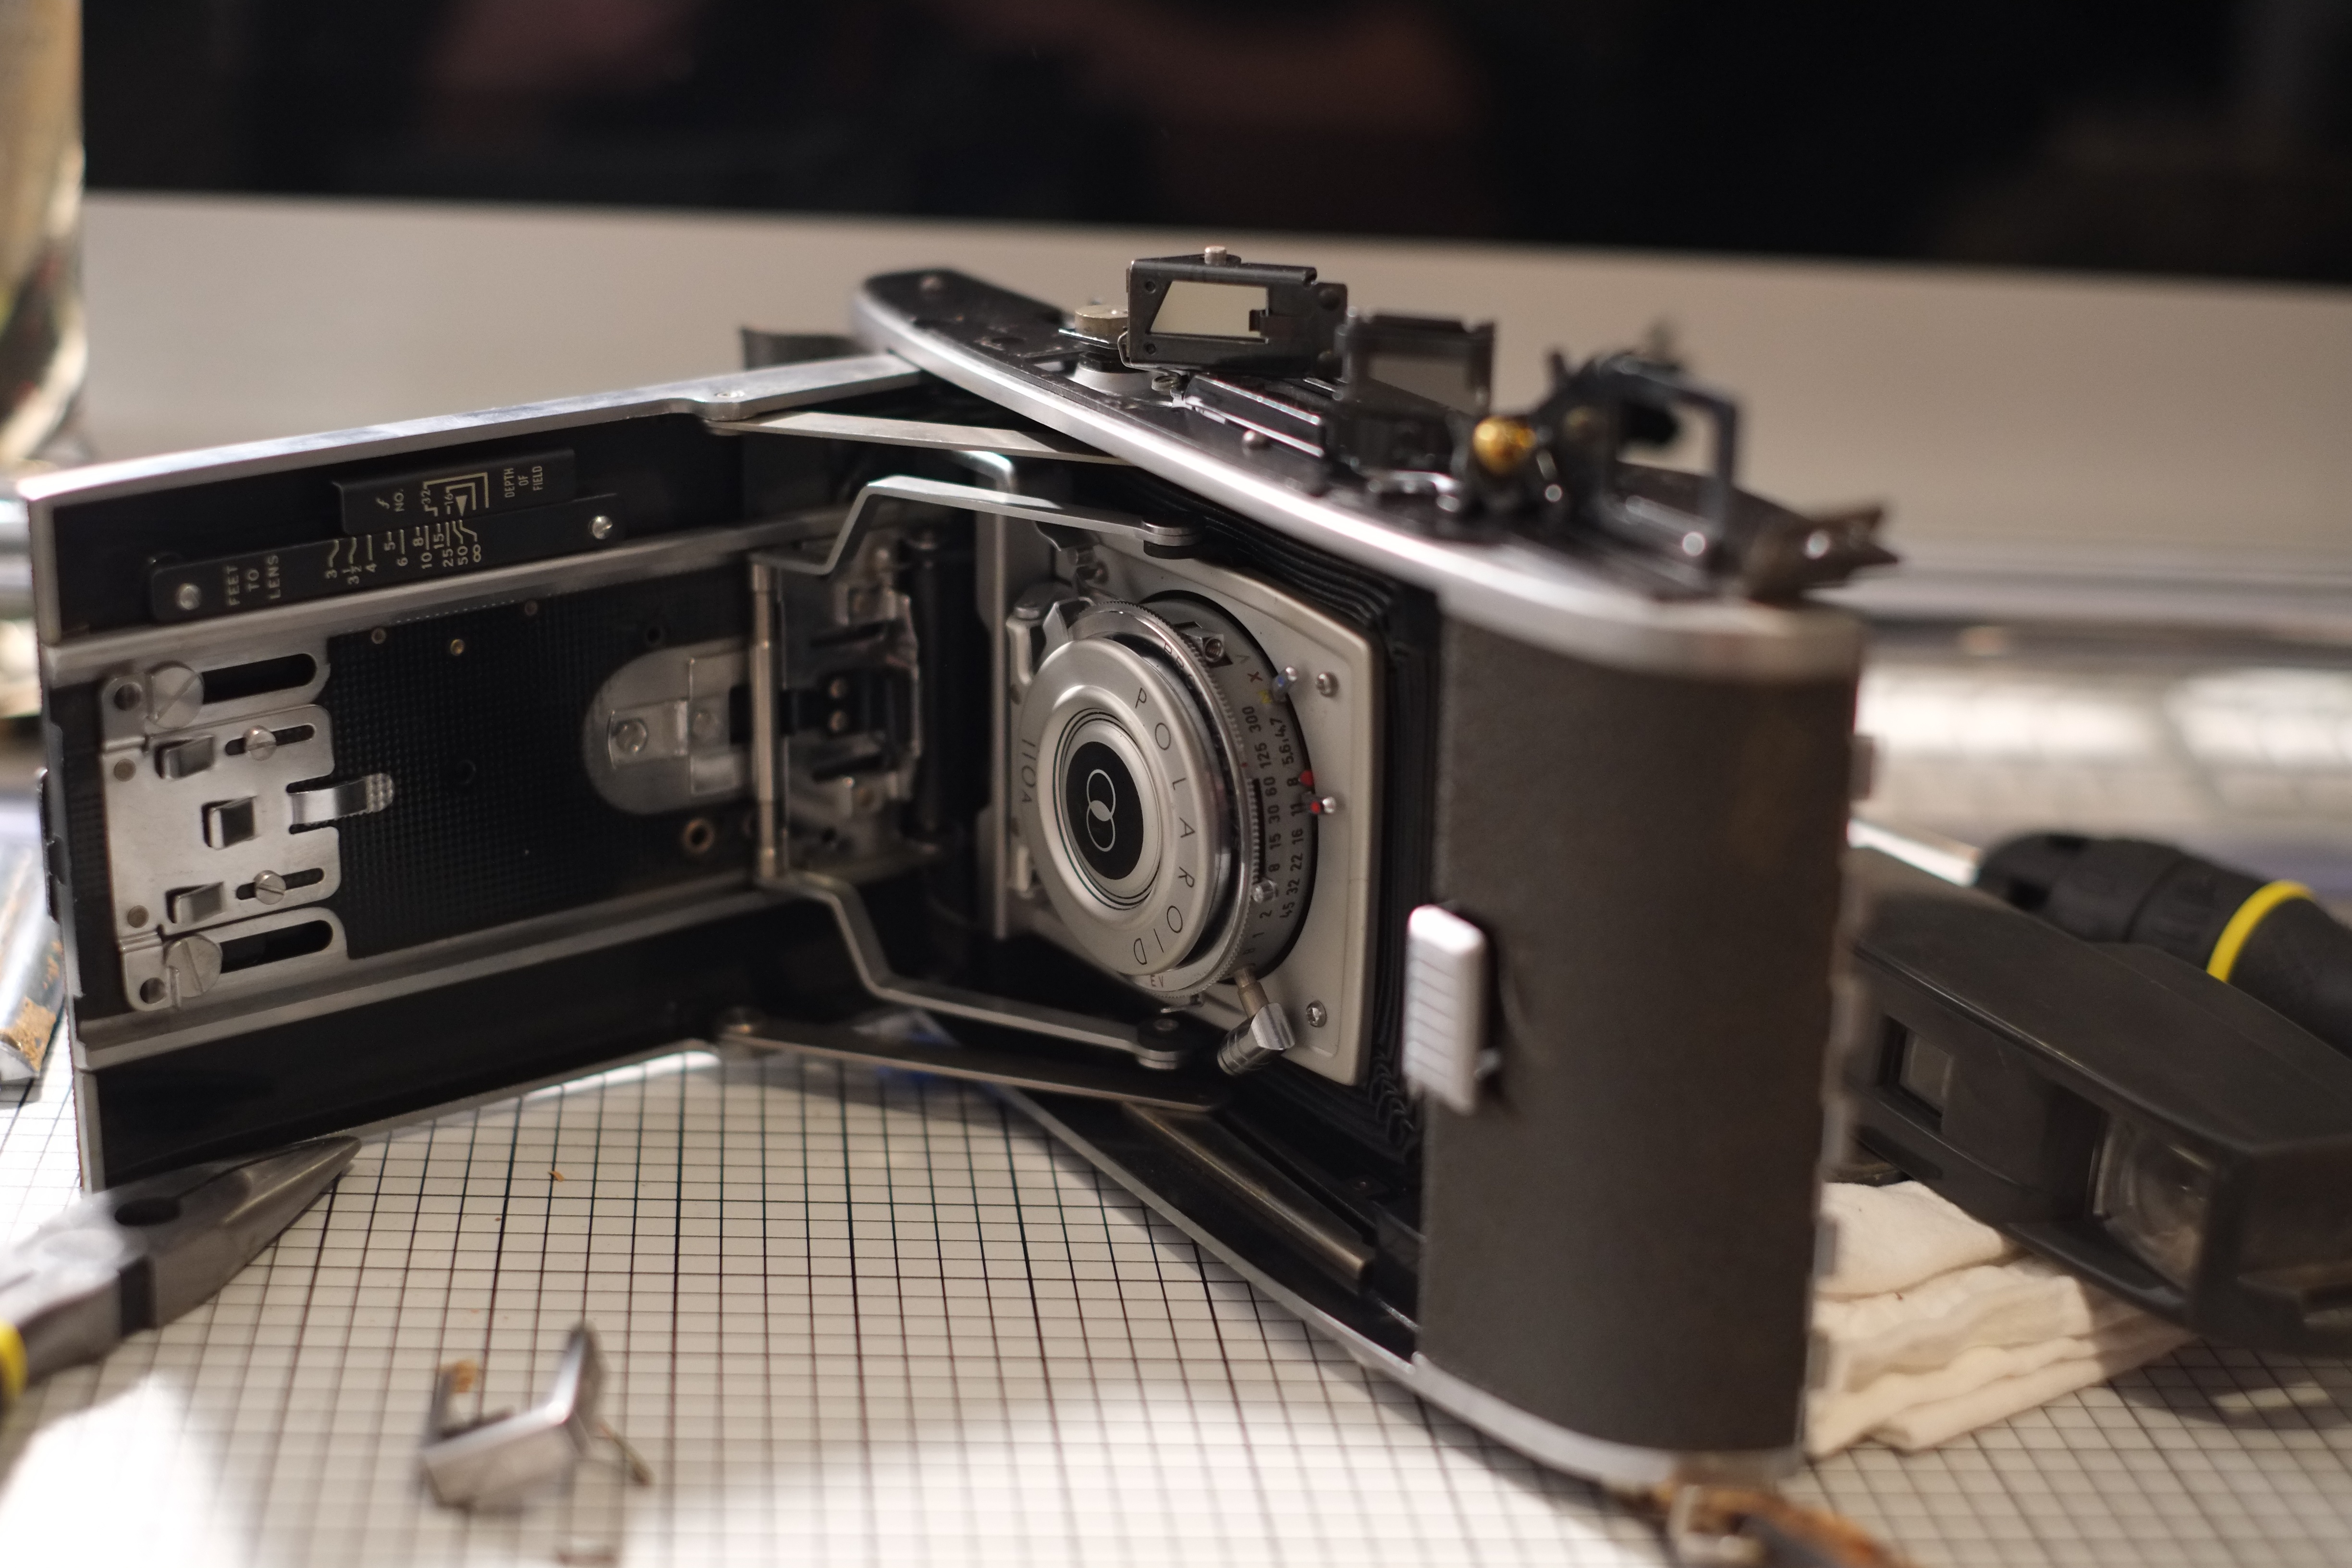
After pulling an all night research session, I discovered that with a little know how and the right disposition, one could make a beast like this for themselves. I reasoned with myself, this purchase was different, it’s a project; A DIY creation that means more than any of your other meaningless ebay snap-ups. Plus, I’ve always had a thing for bellows (yes, that was intentionally meant to creep you out.) So it was settled, and the auction prowling began. Biding my time like a seasoned veteran, I let unworthy listings pass with reckless abandon. I had done my research, I knew what I wanted and for how much I was going to get it. After three weeks of uncharacteristic patience, the deal was done, and a beautiful Polaroid Pathfinder 110a arrived at 7S. Cradling my new baby, it glistening in my arms with a renewed lease on life, I couldn’t help but think about how I was about to f**k that thing up…
Read on for more Polaroid conversion…
While I would love to shamelessly take credit for pioneering this conversion, I feel compelled to pay homage to those who came before me. Without the guides of Option8, Moominstuff, and Skorj I would not have had the cajones (or the steady hands) to attempt a procedure like that. If you are looking for a more detailed step-by-step guide, or if you’re just like me and need multiple sources to cross-reference while performing surgery, I highly recommend checking those guys out. OK, enough with the mushy stuff, and down to business (feel free to cruise to the end result if you’re uninclined to wade through my ramblings.)
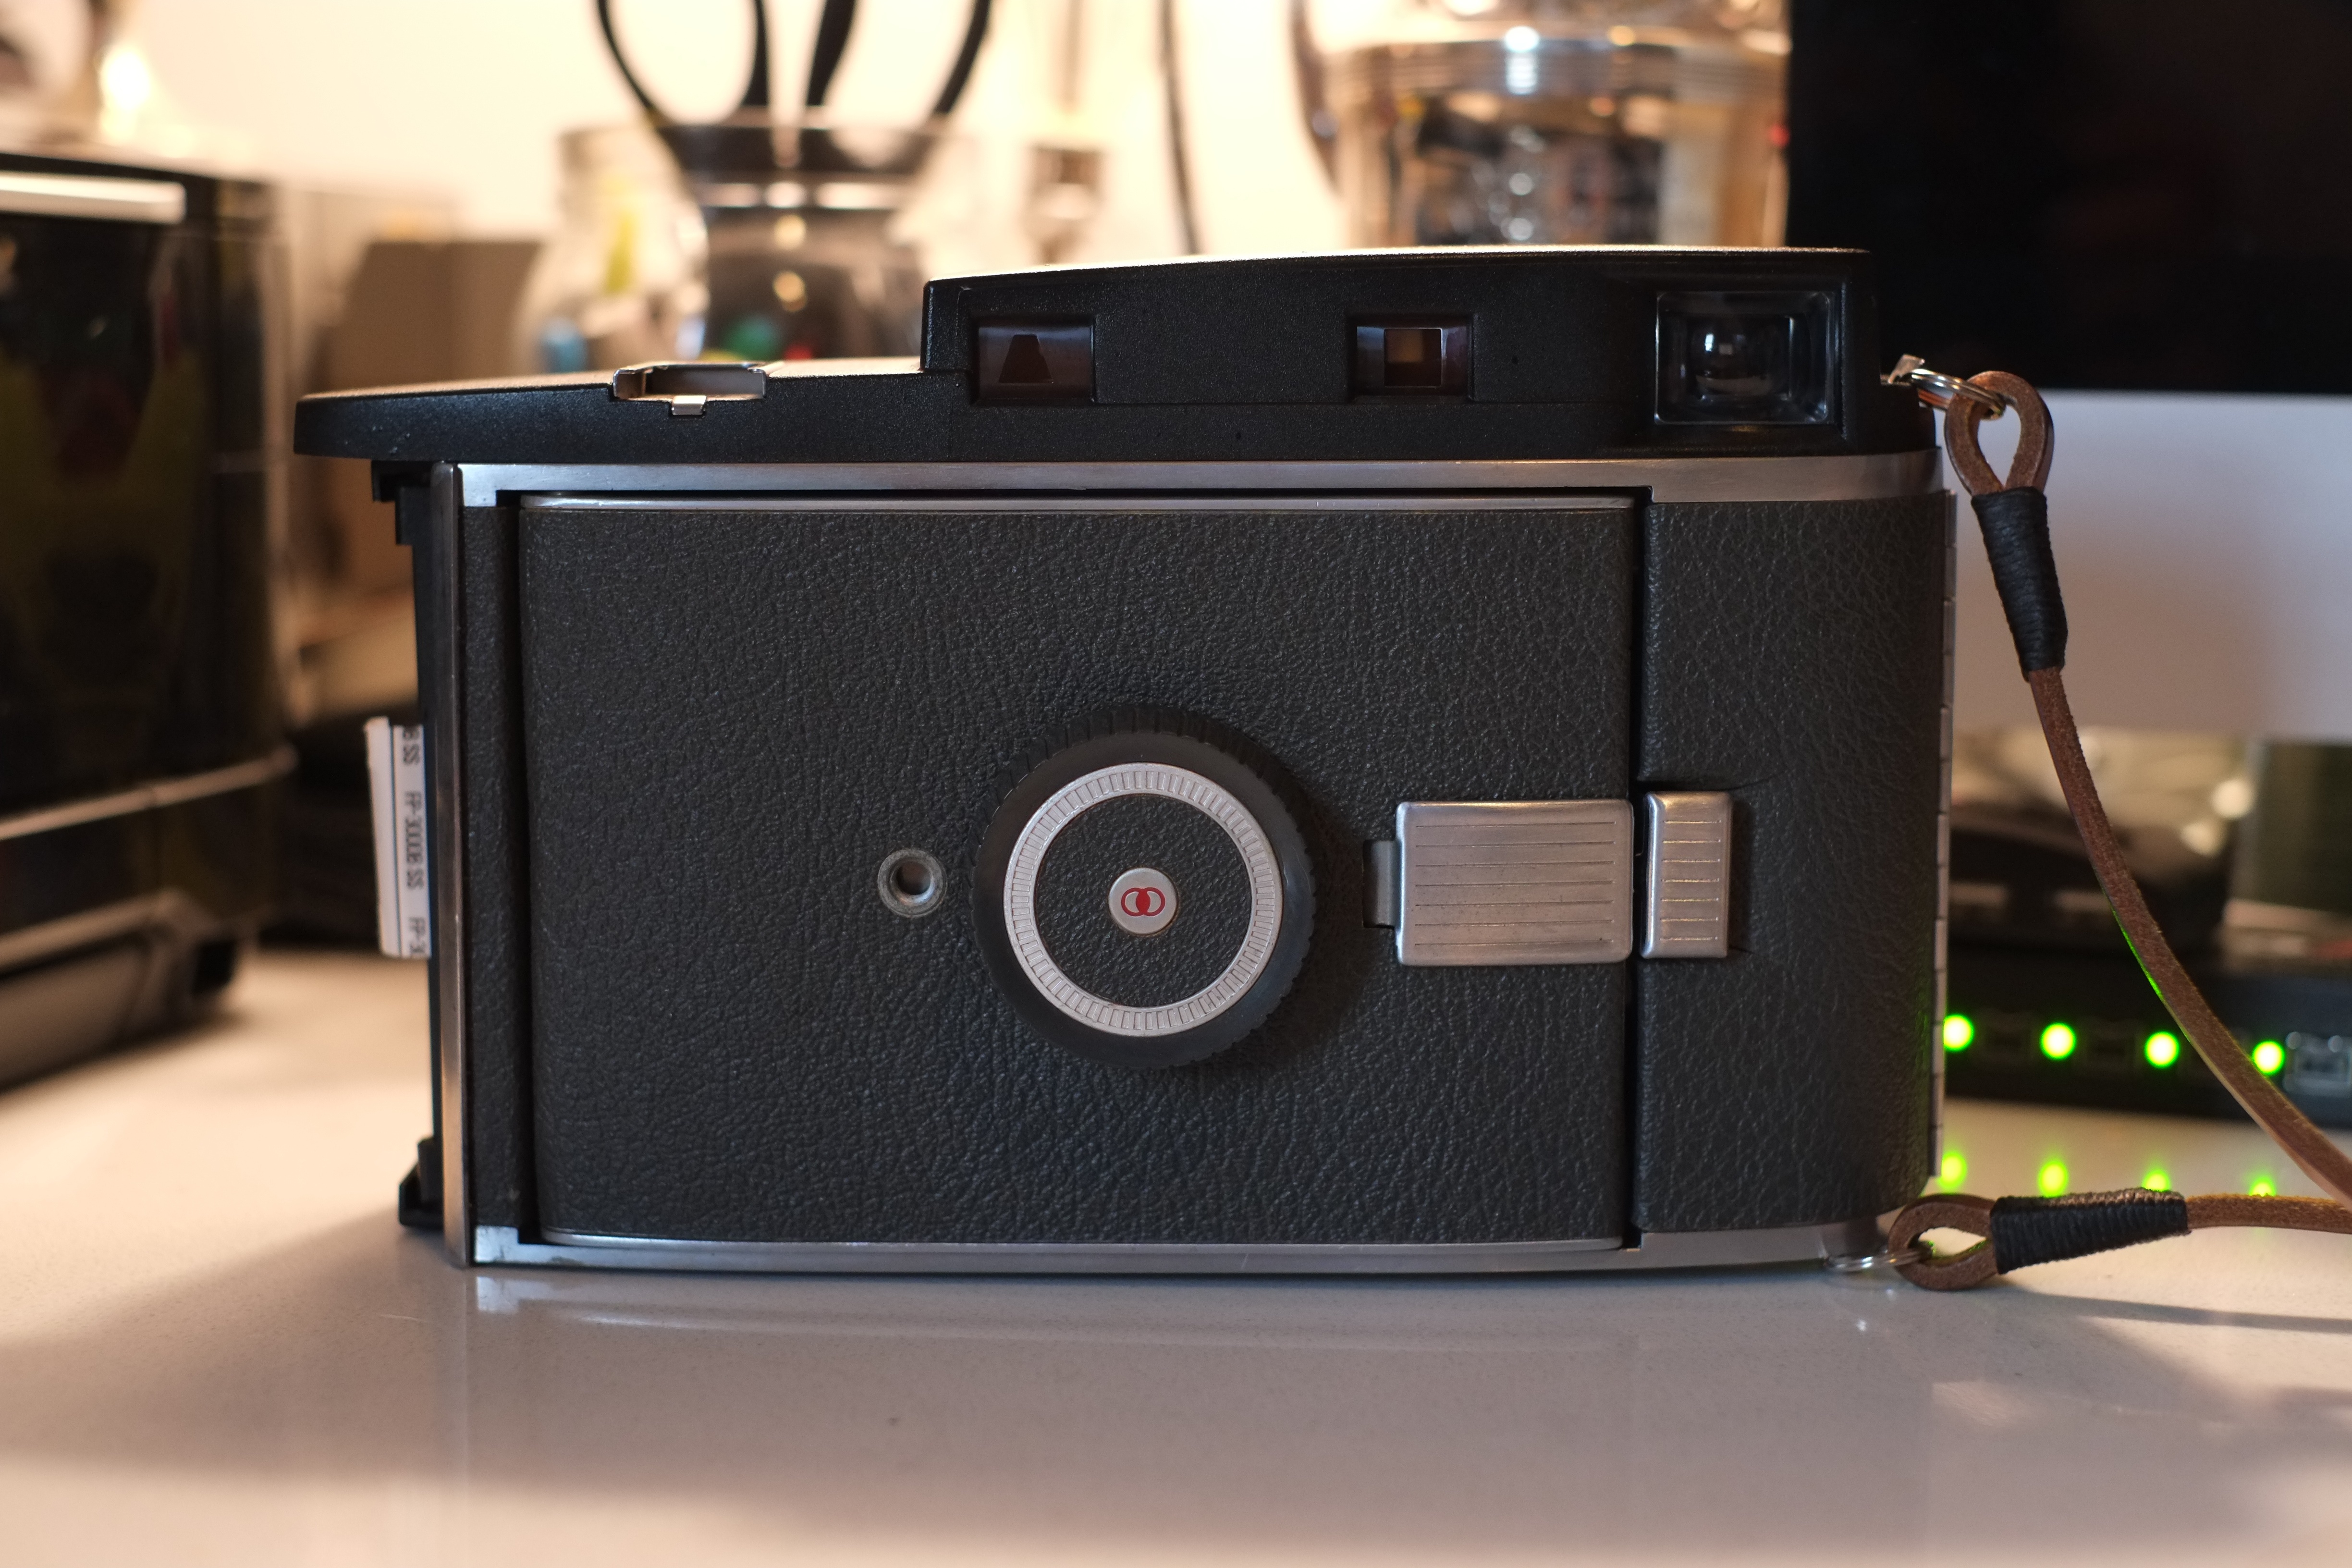
First things first, taking off the back. Using a hammer, a small screw driver, and brute force, I removed the pins from each of the door hinges. While I’ll miss the swagger of the double door looks, they serve no purpose once the new back is installed, plus they weigh a ton.
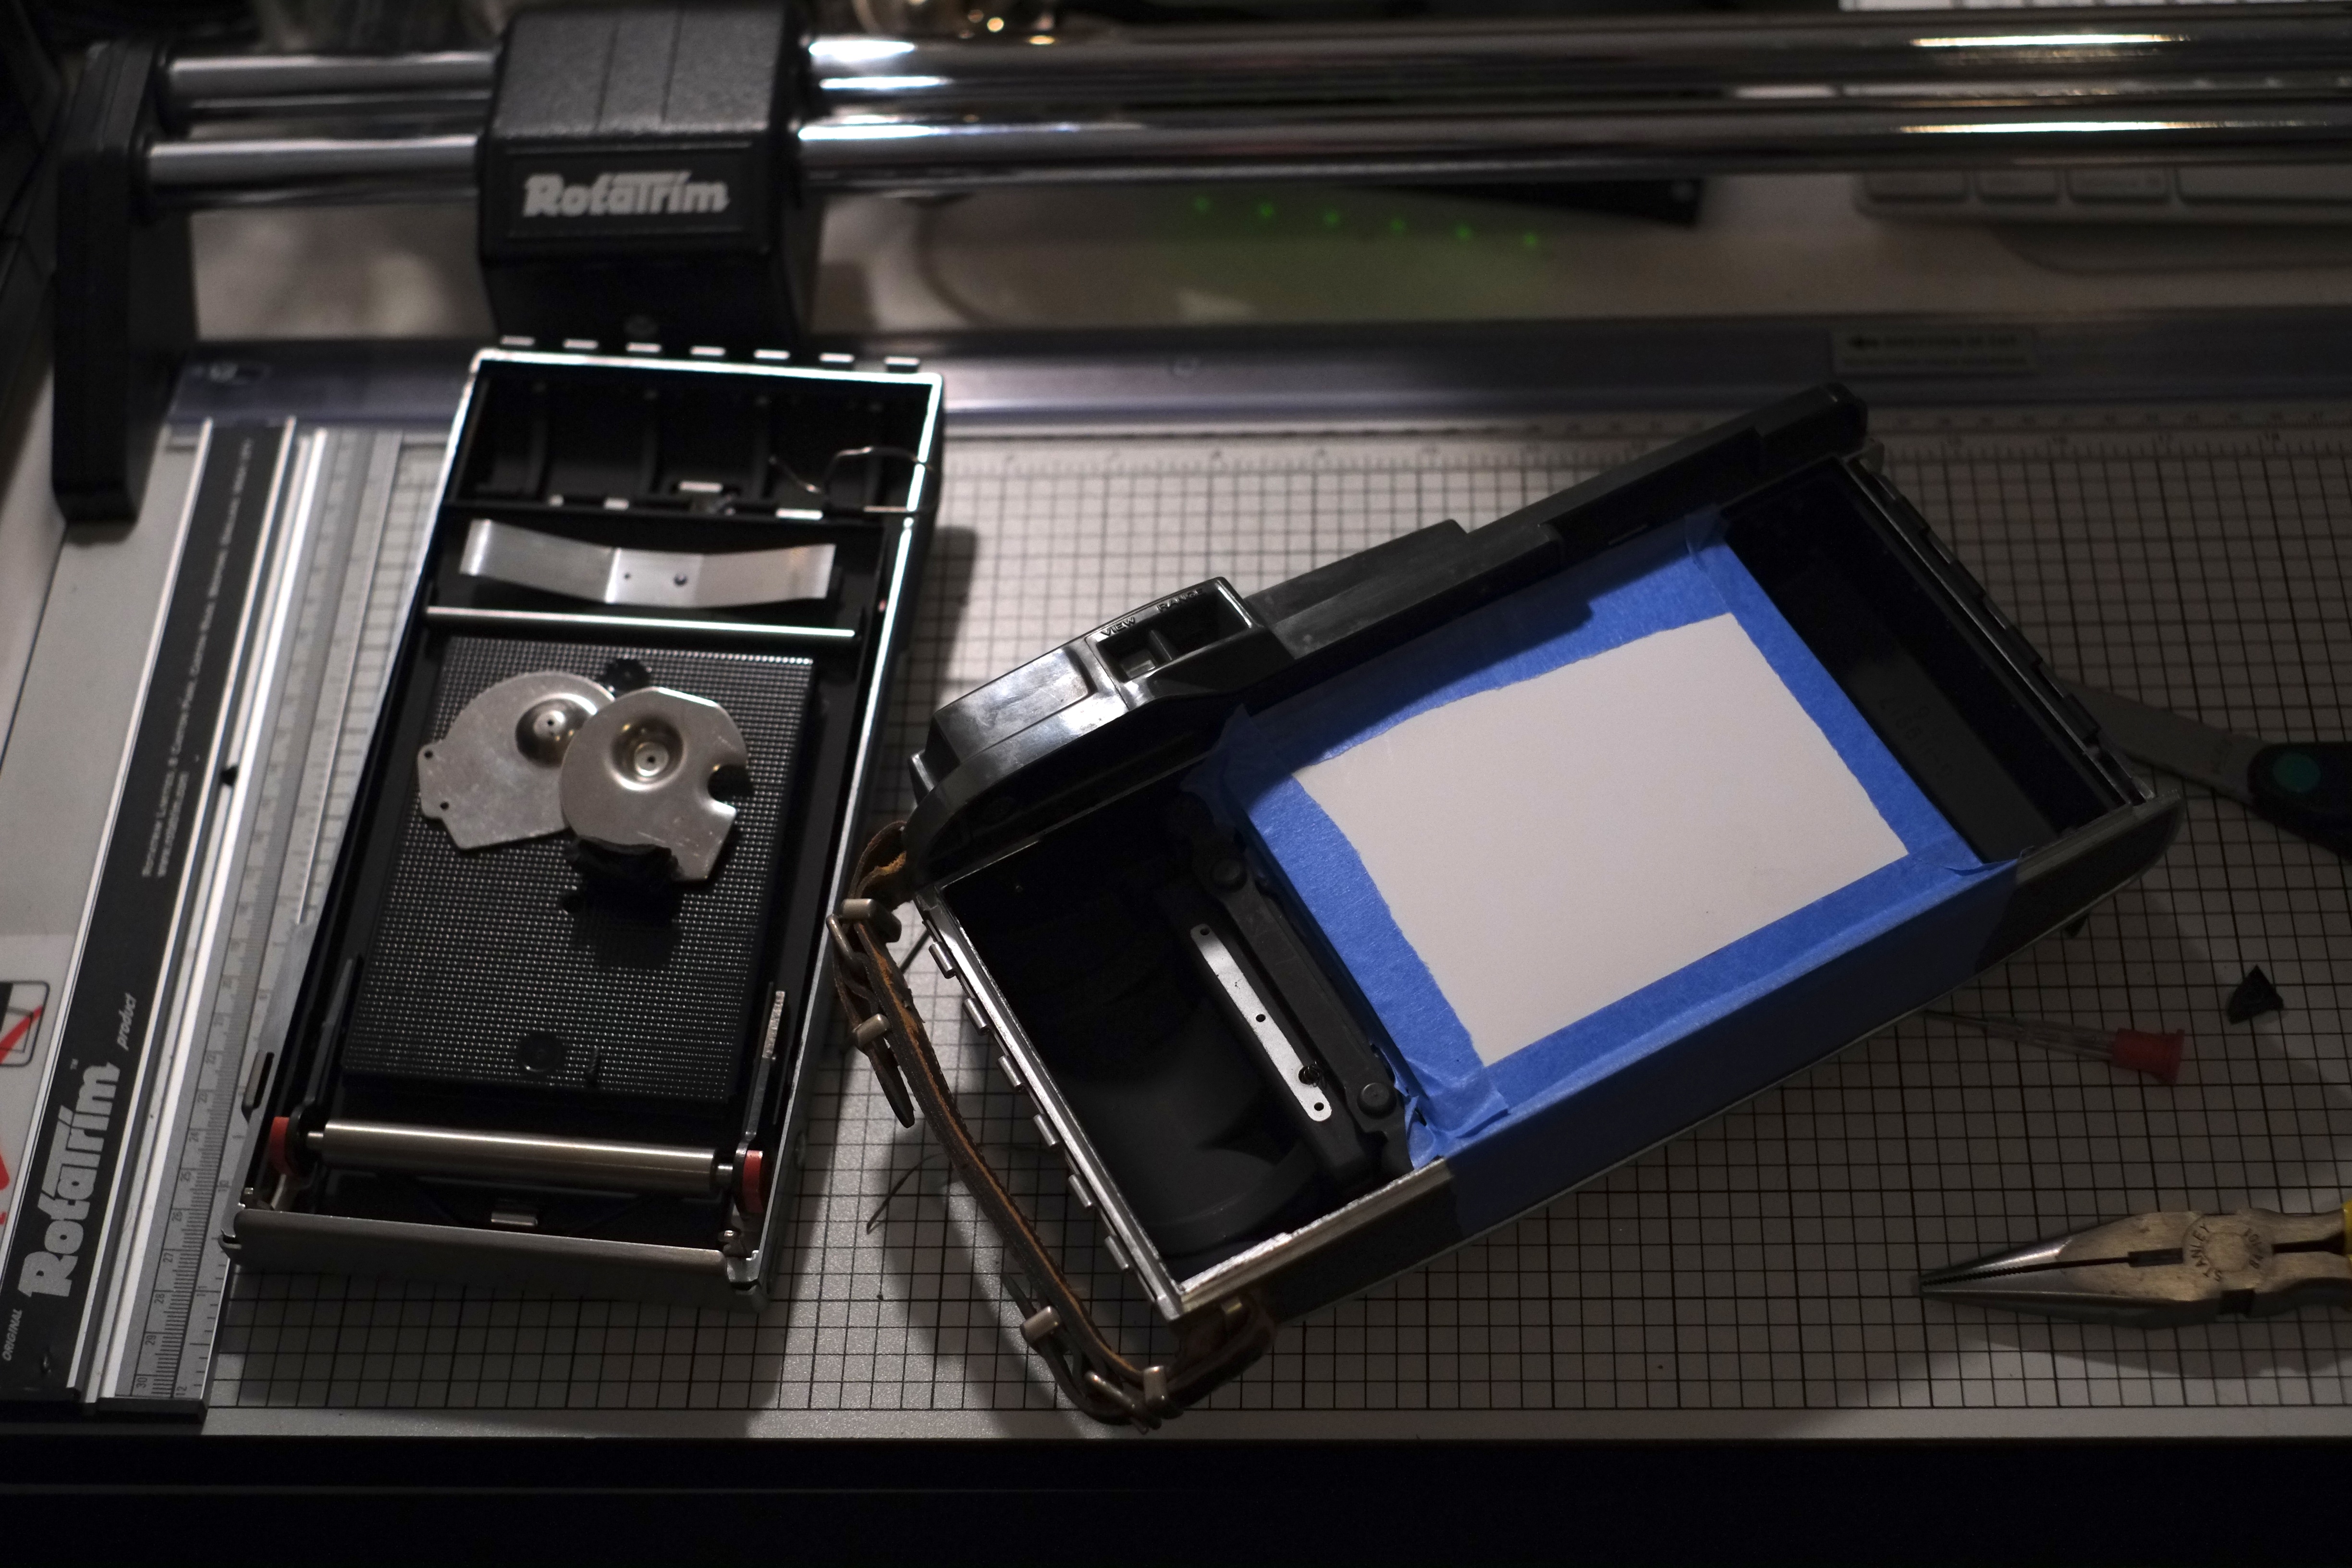
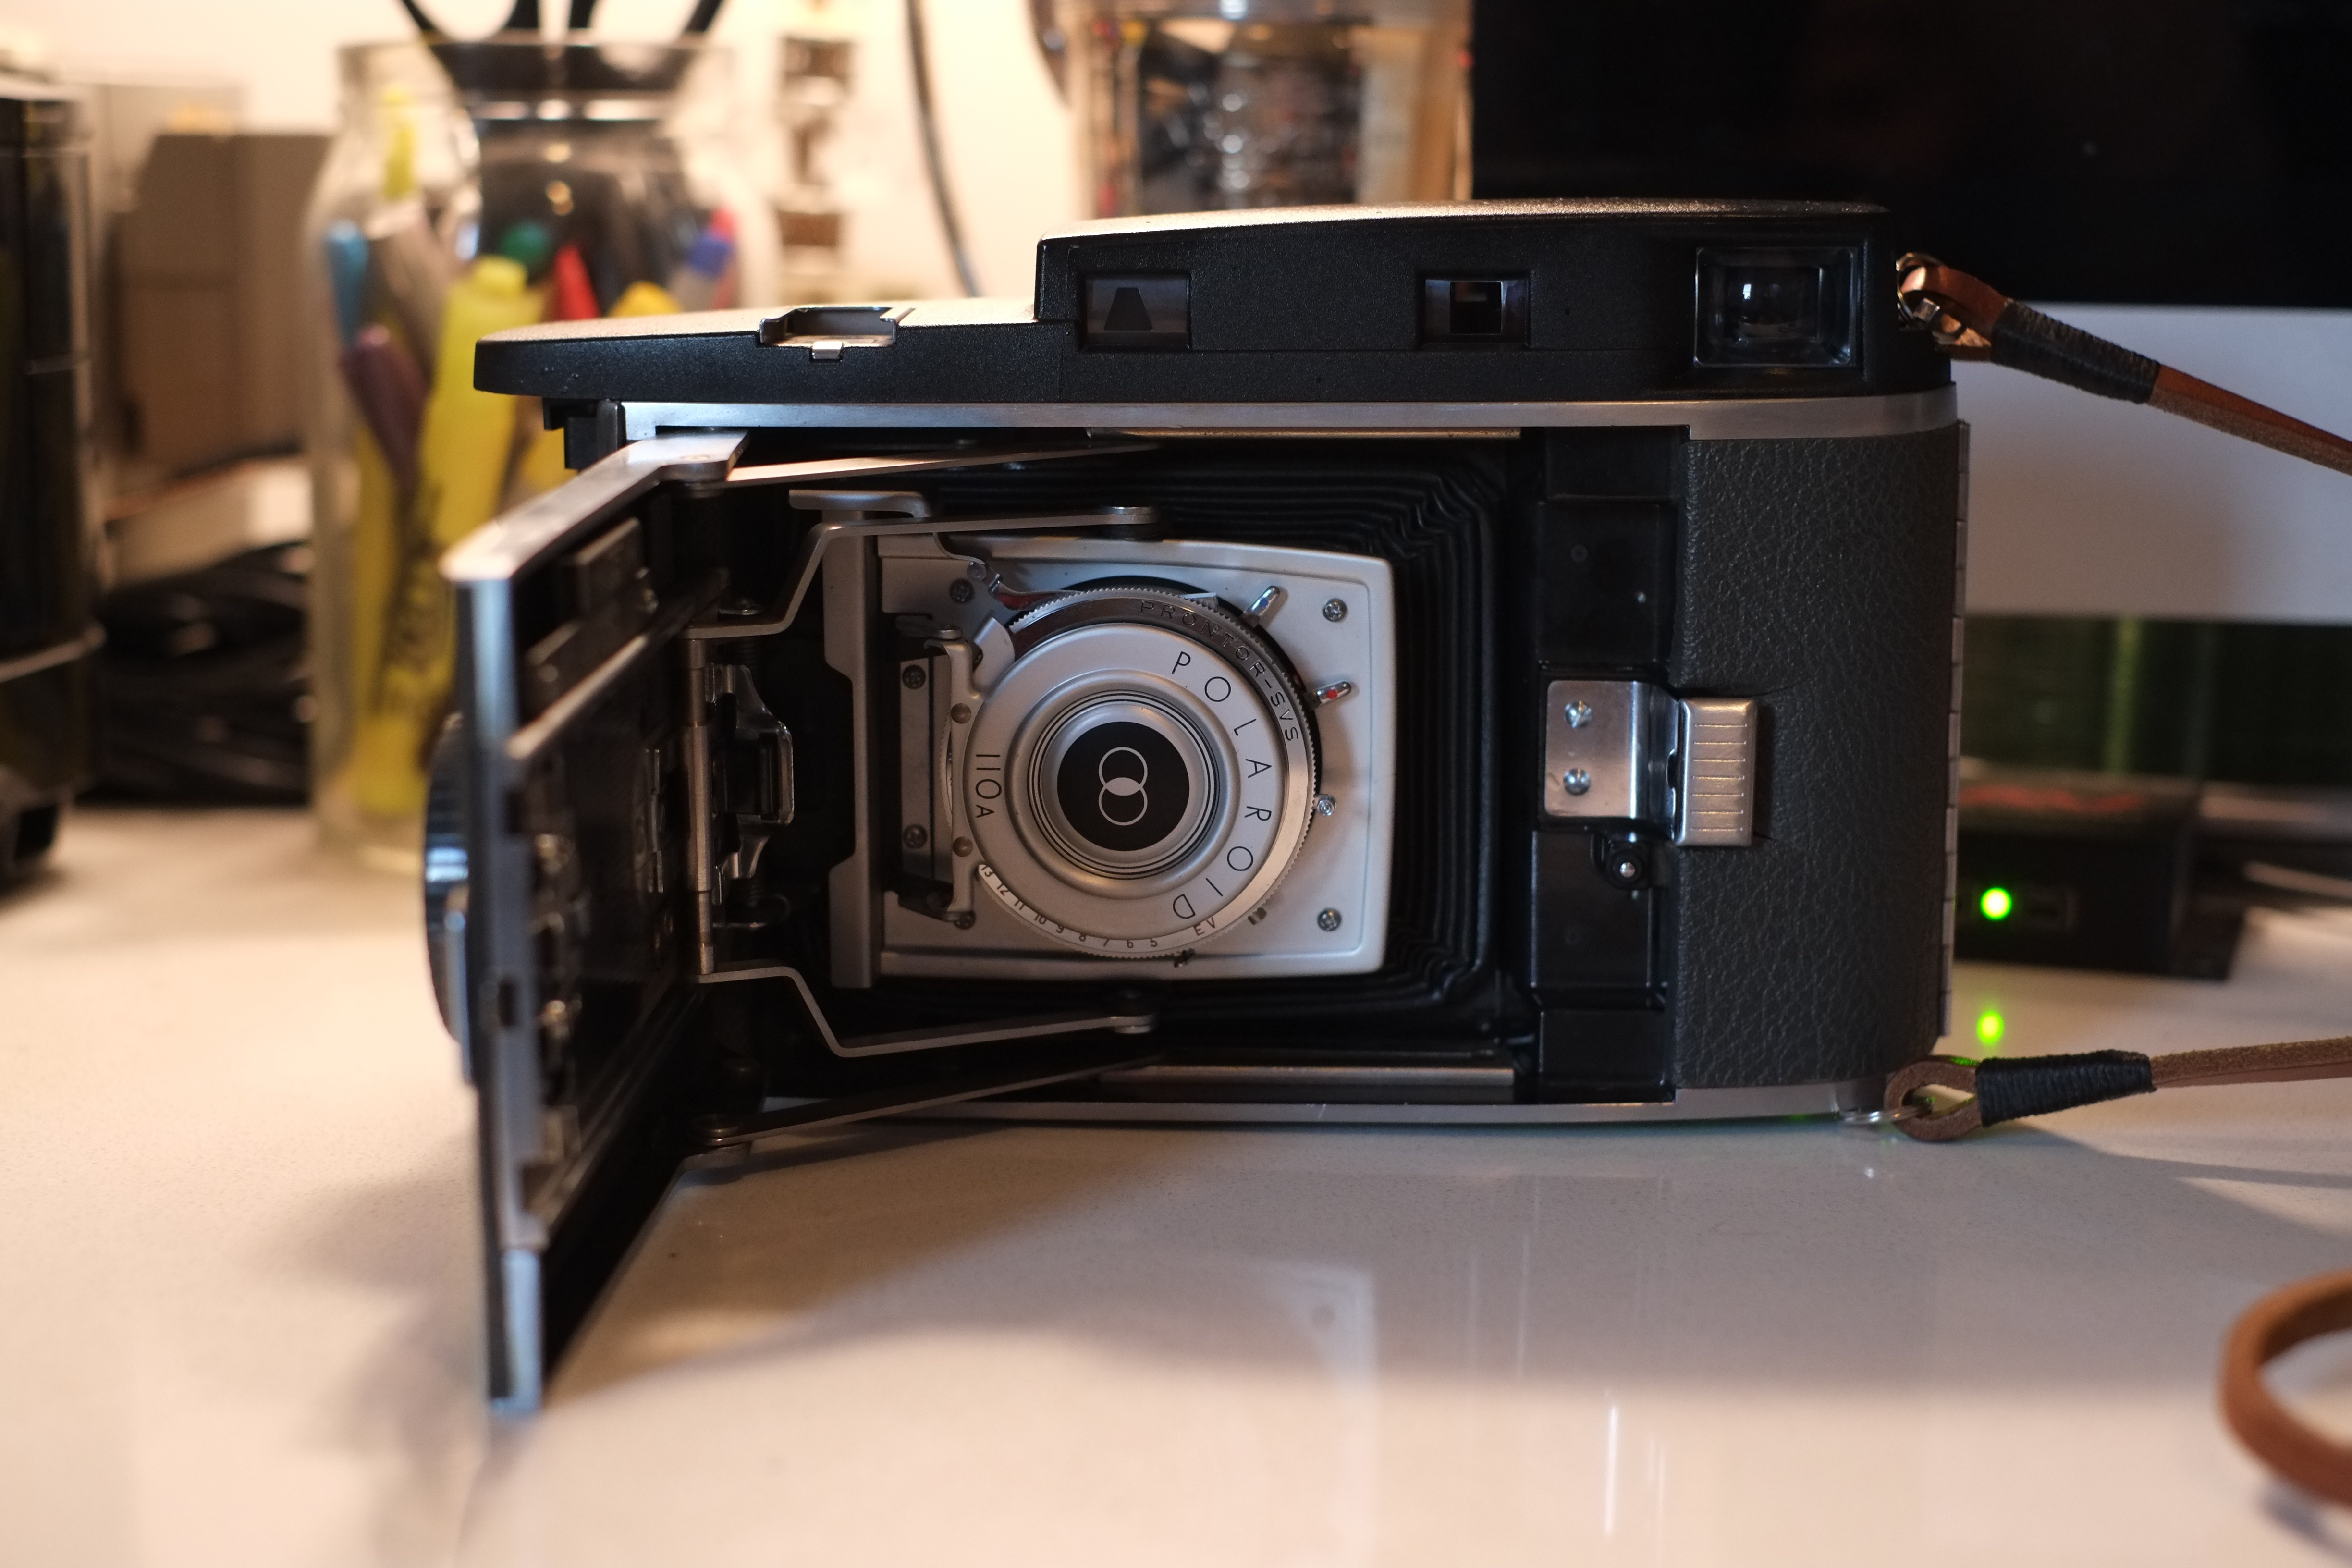
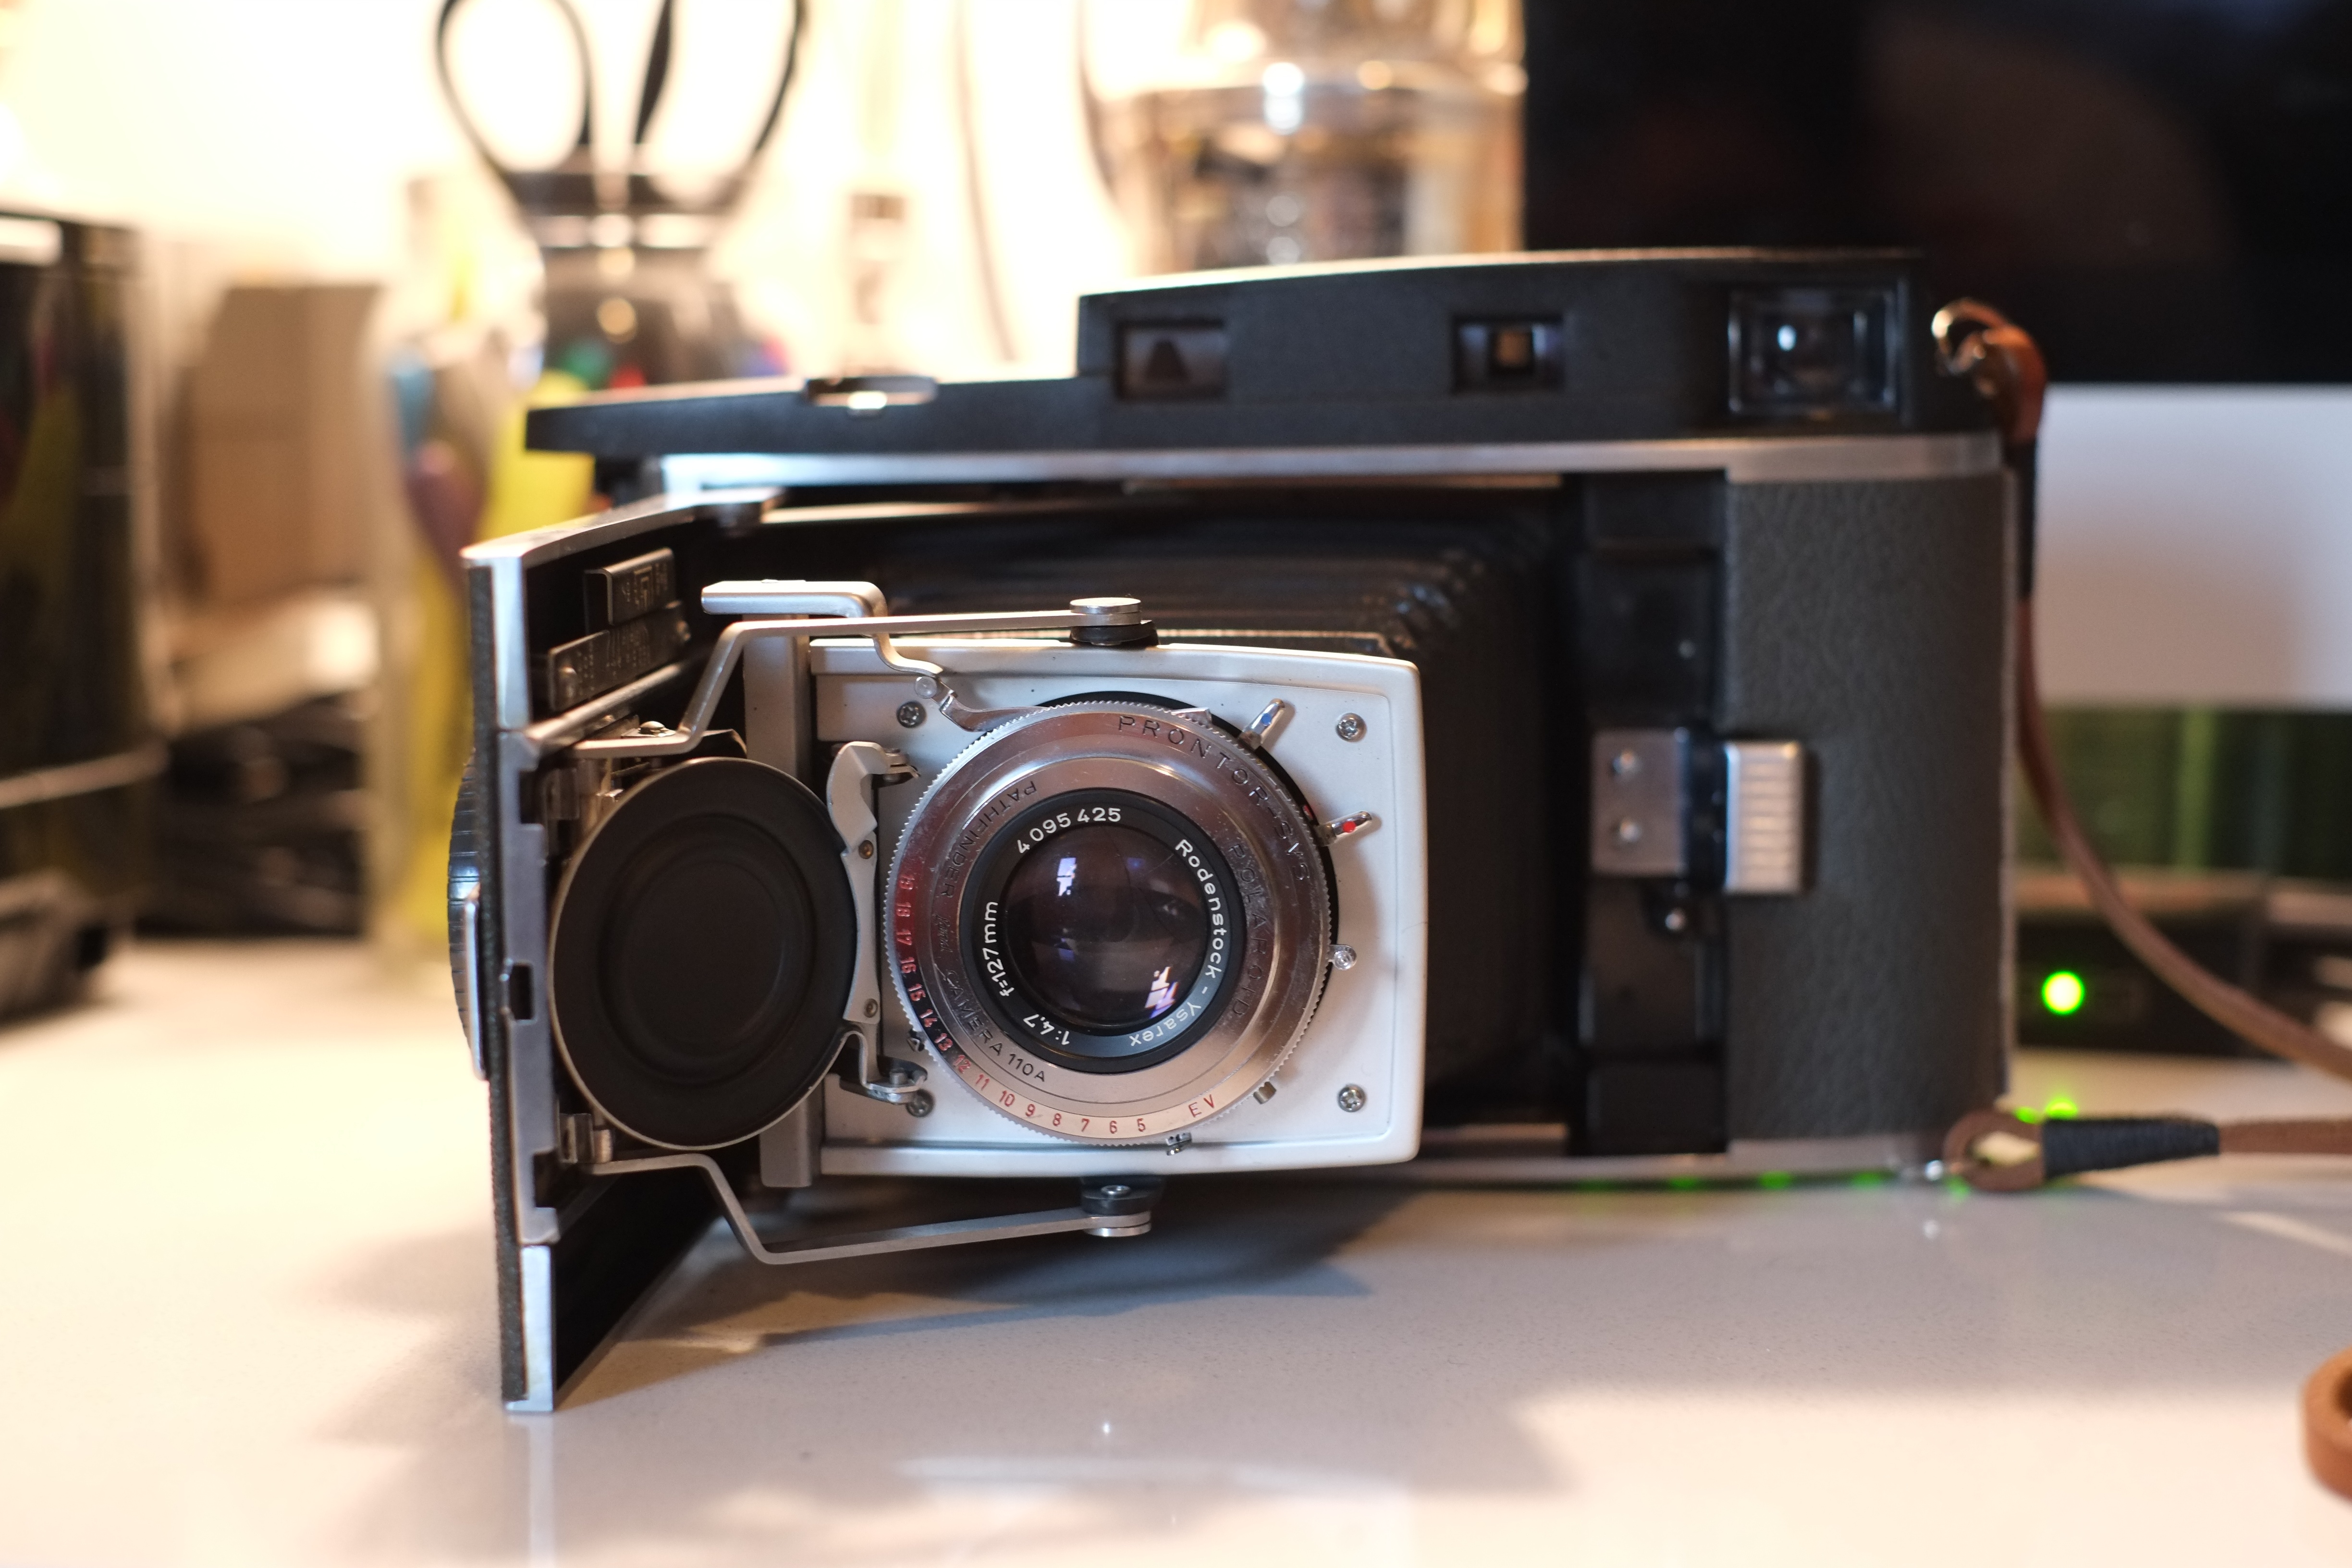
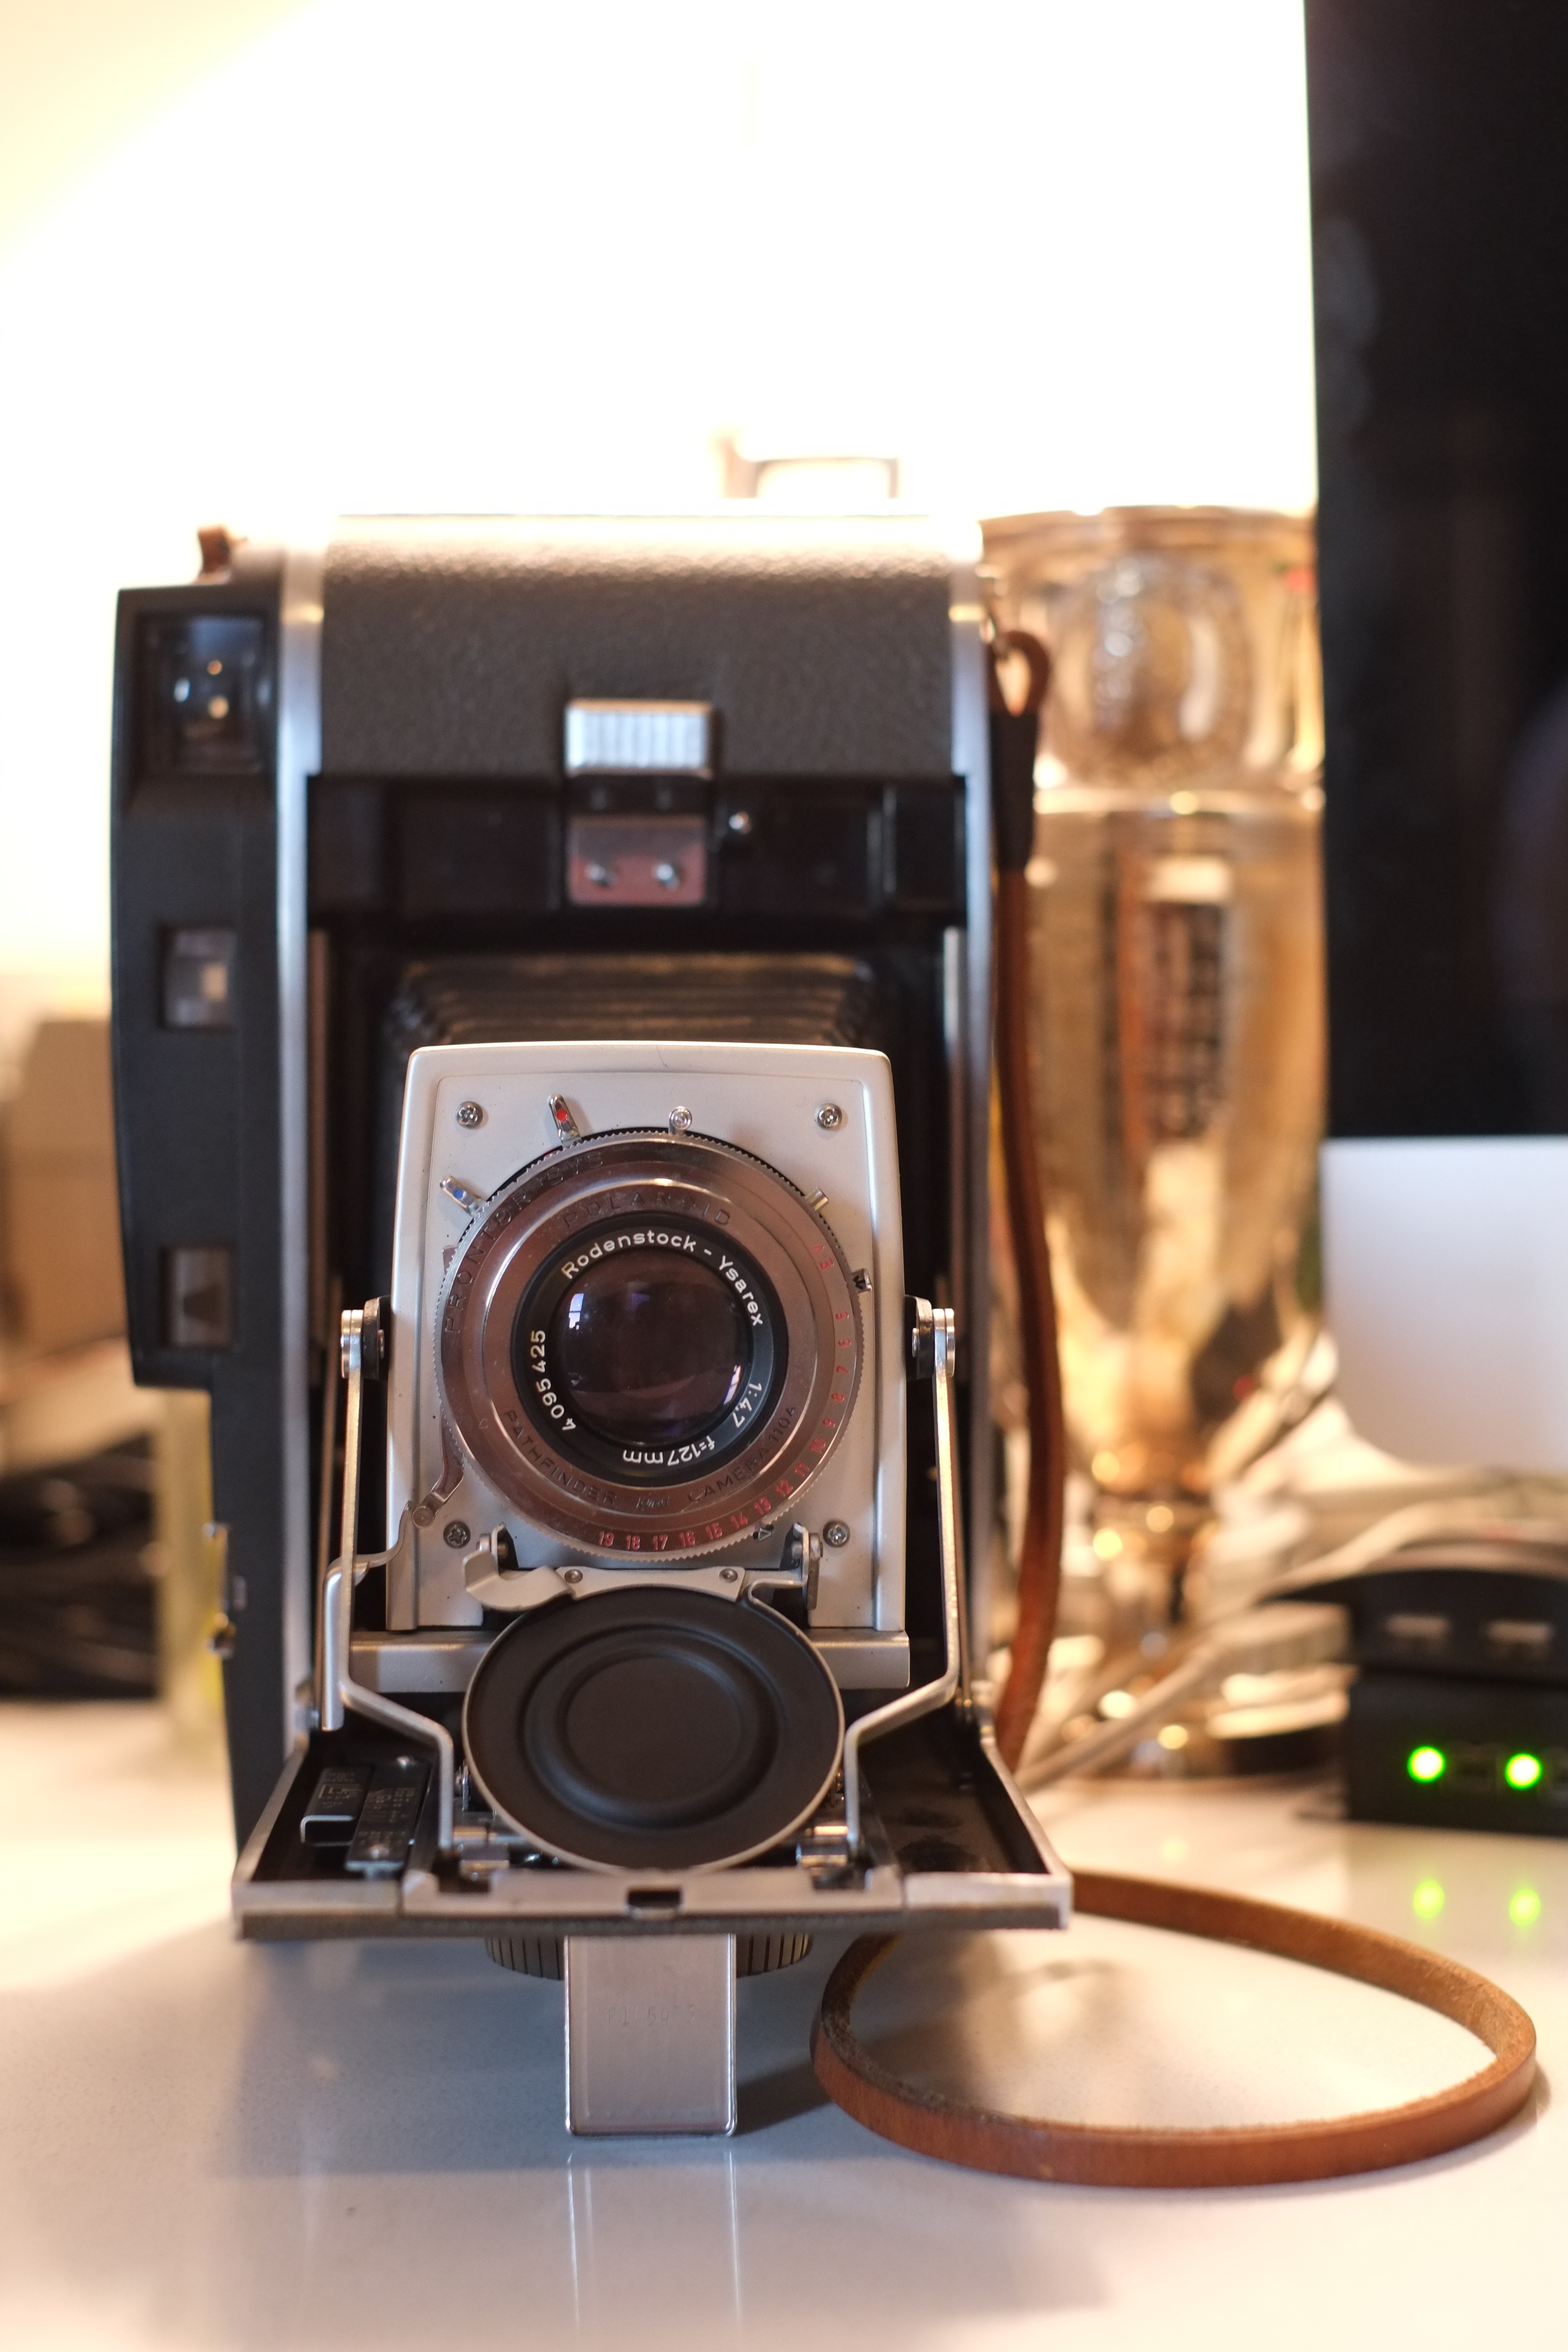
Instead of complicating things by removing the lens, I simply masked off the bellows area to avoid flak collecting in inopportune places. From here more brute force removed needless rollers, odds and ends to further decrease weight.
At this point I began gingerly peeling back the original leatherette, as I wanted to preserve as much of the classic styling as possible. This was easier said than done, and multiple times I questioned my tenuous dedication to keeping this 50 year old pleather intact. In the end it proved worth the sweat, and pulling back the skin revealed some interesting mechanical engineering.

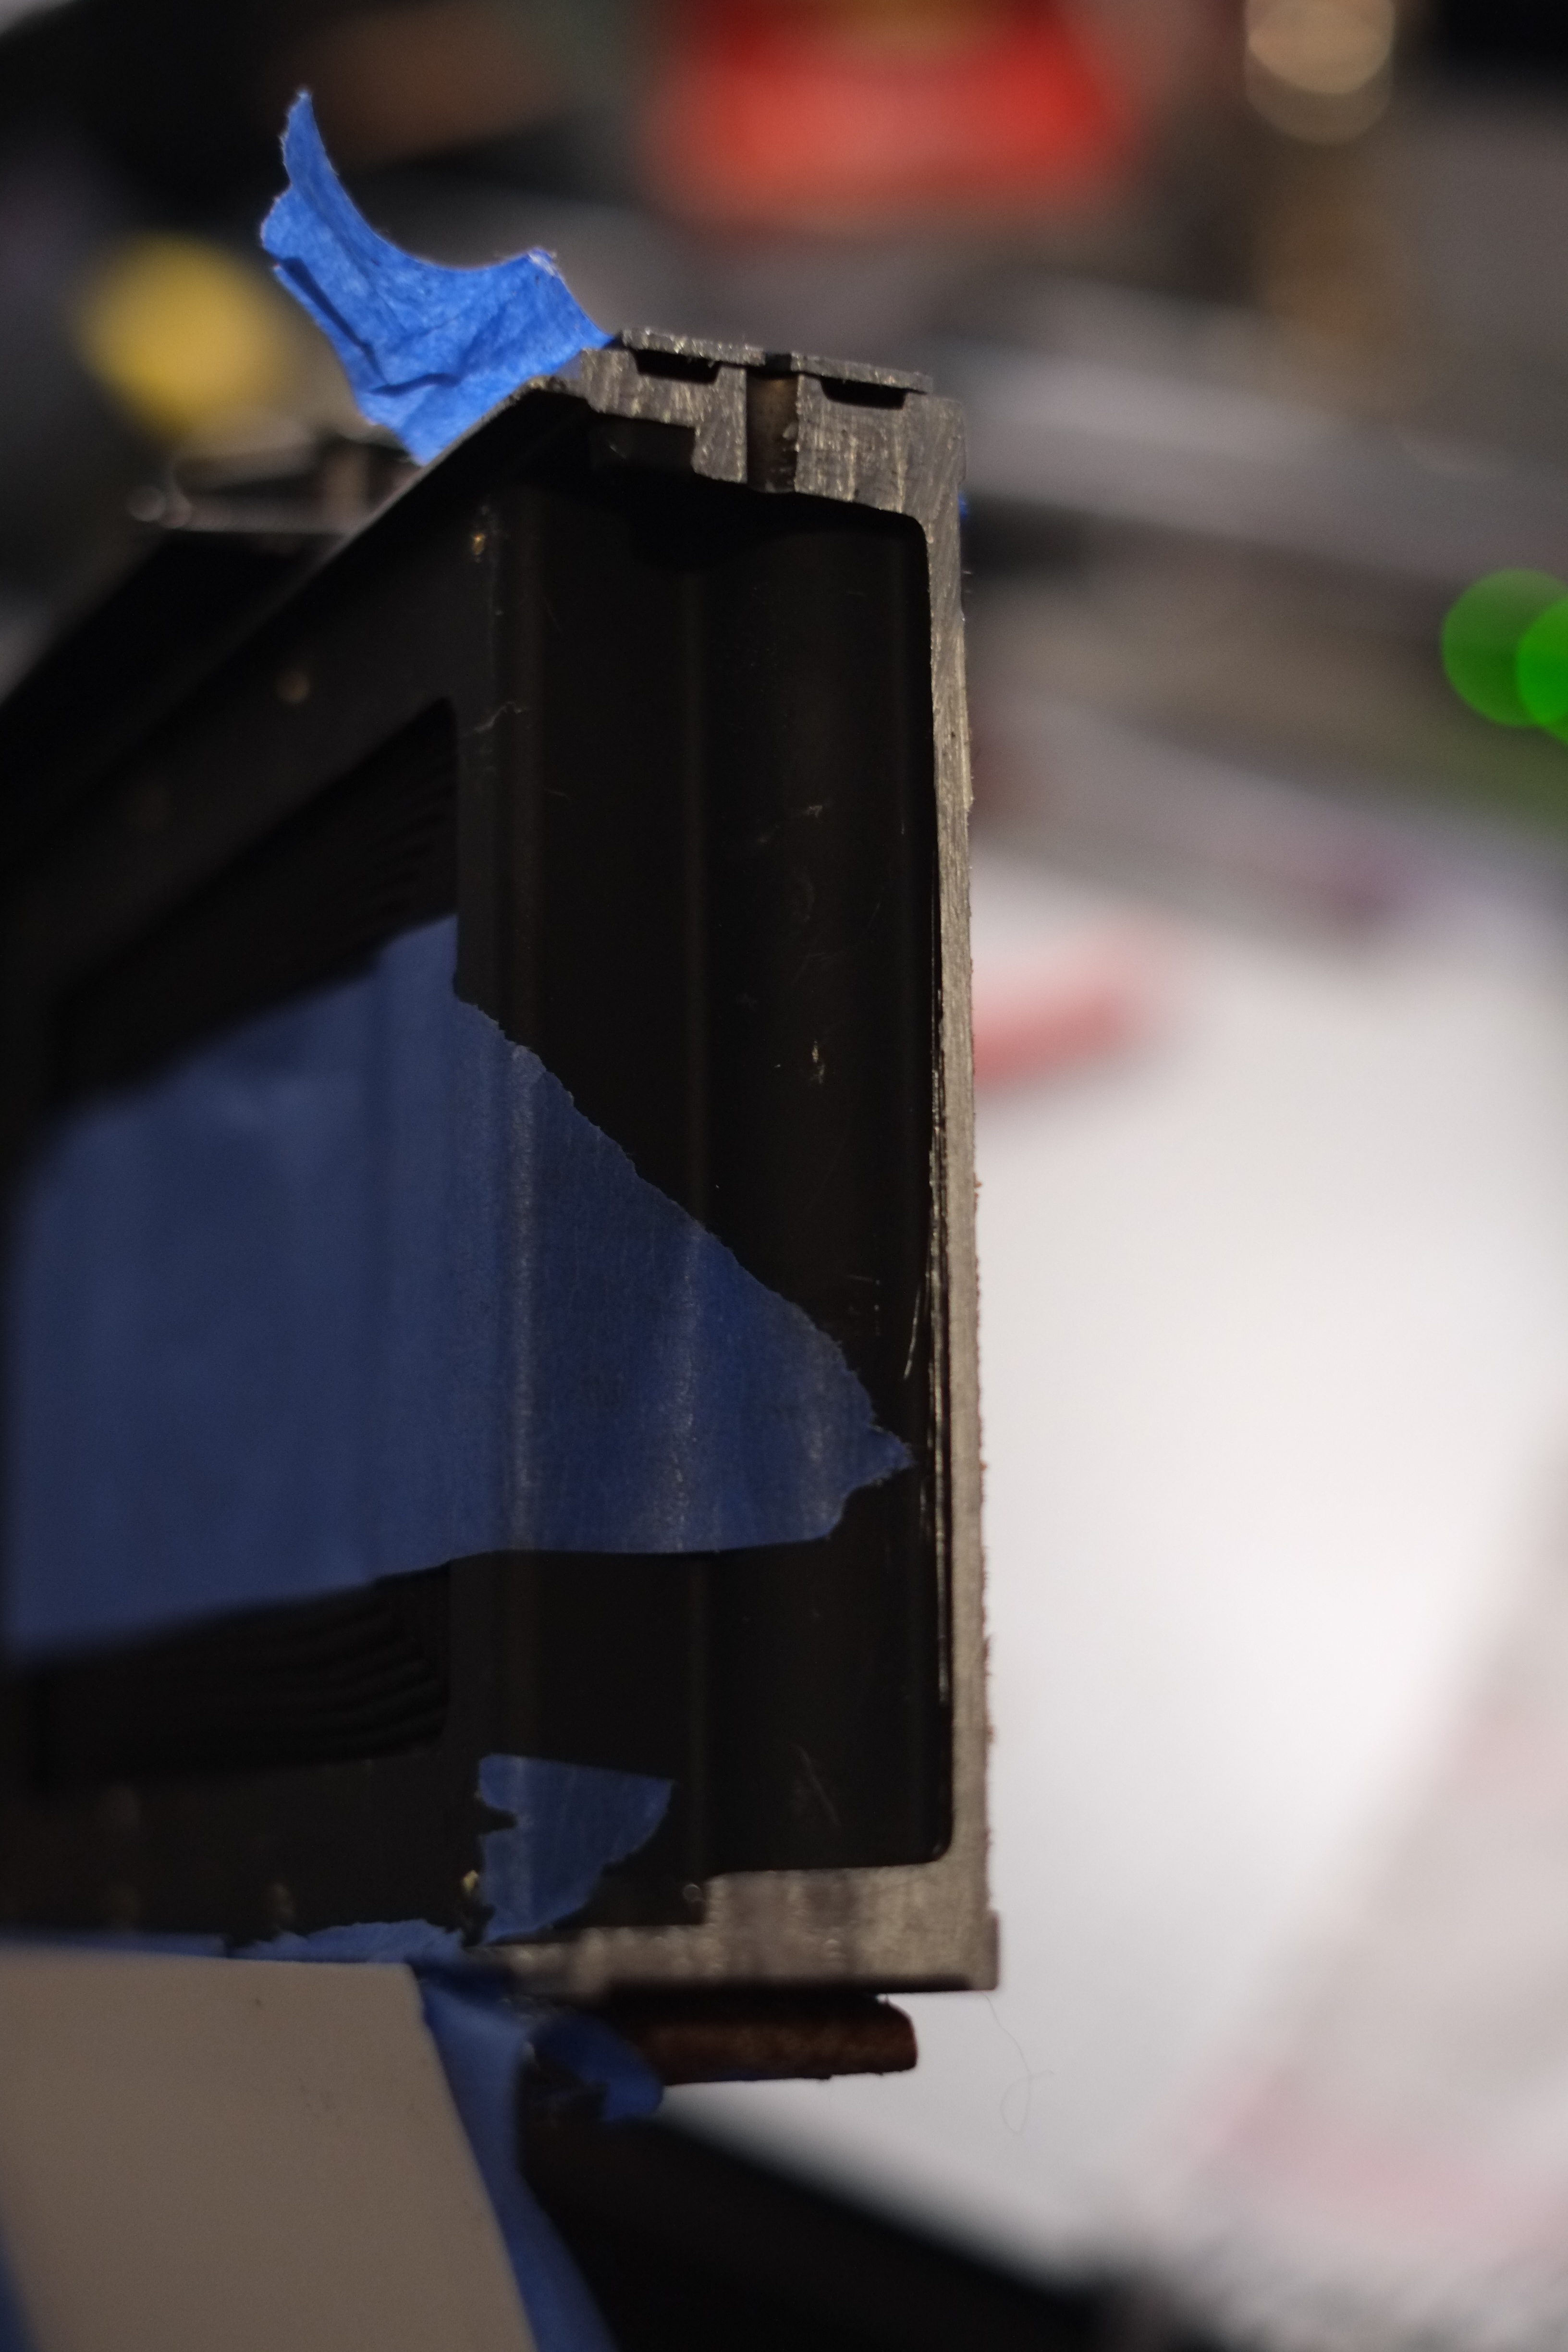
And now we reach the point of no return, a step I like to call “THE CUT.” Amazingly, the new pack film back aligns perfectly with the original film plane (screw holes and everything!) Un-amazingly, that same back is about an inch too long for the original body. This necessitates a few Rodeo-esque nip/tucks, a diagonal slicing off of the right side of the camera with a corresponding shave to the original backdoor. After going back and forth on whether to take off the top plate to keep it intact or to leave it on for one uniform cut, I decided on the former. I figured that removing the top plate, while increasing the amount of work and screw-up potential, the camera would better retain the original look (plus if I didn’t like it I could always go back and nick it later.) So it was off like a prom dress, leaving all the sensitive rangefinder bits naked and vulnerable.
Checking spectacles, testicles, wallet and watch; I quadruple confirmed my measurements and whipped out the blade. In hindsight, purchasing a metal-cutting blade would have decreased the expletive count exponentially, but all’s well that ends well.
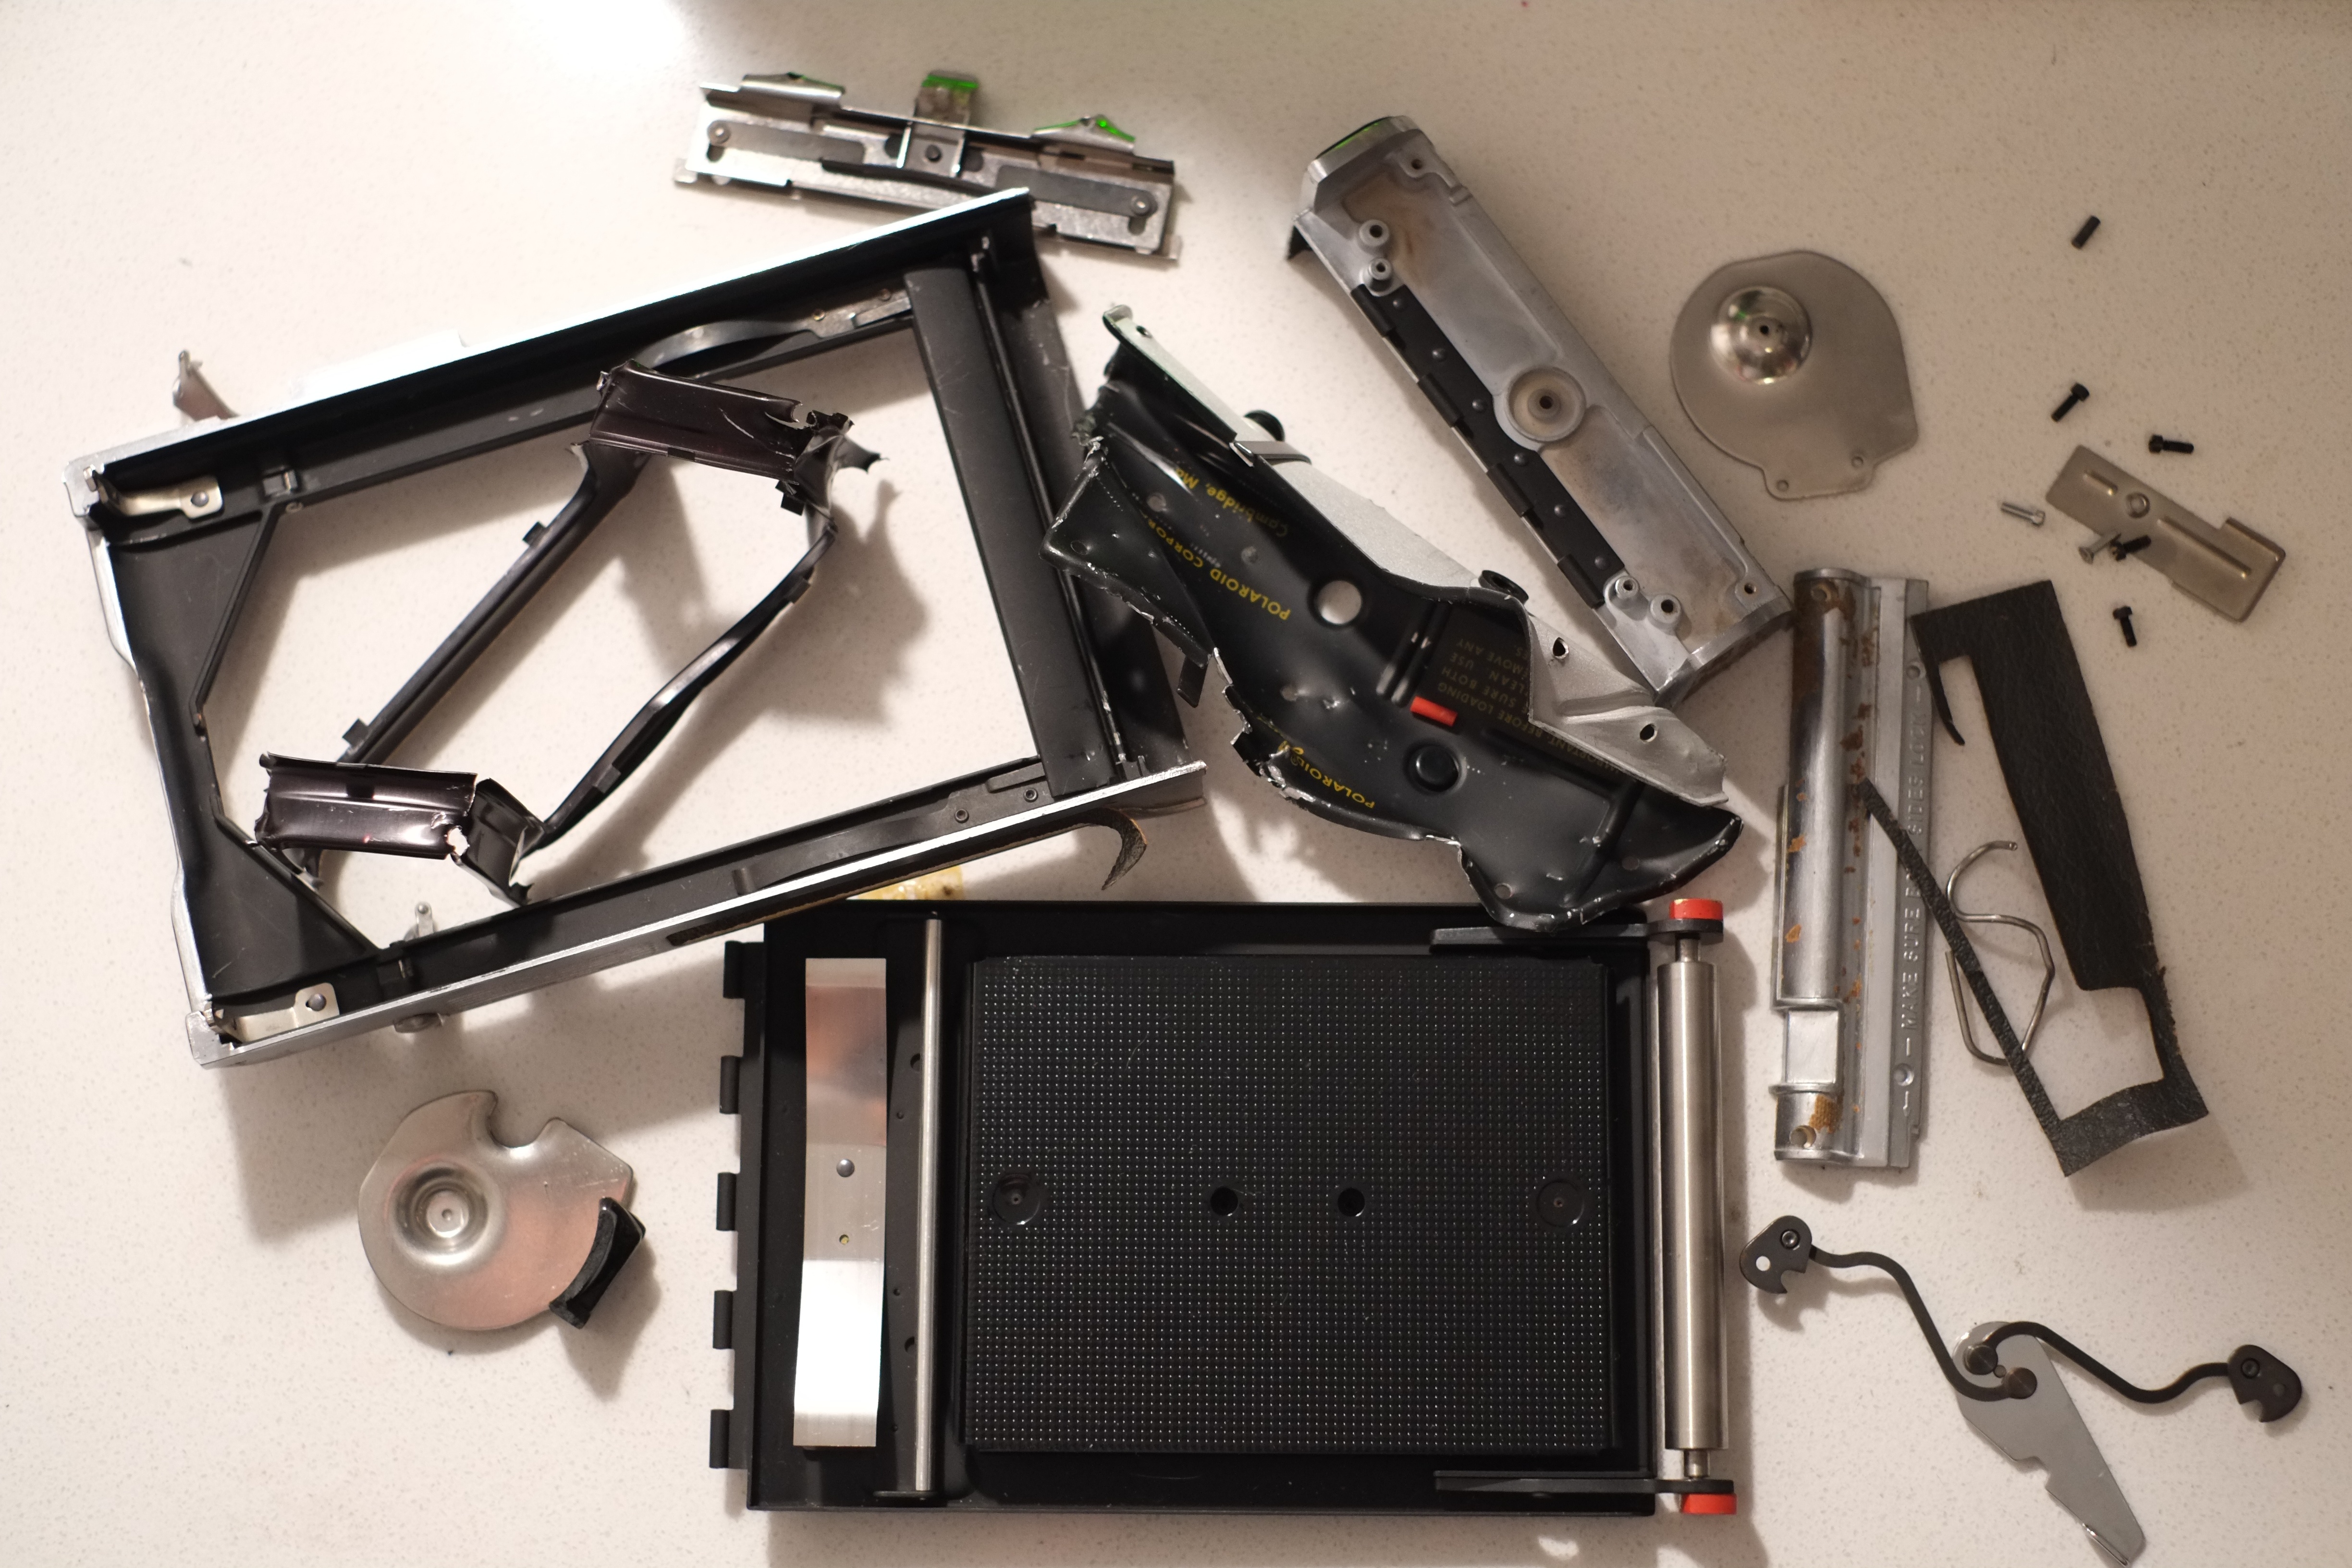
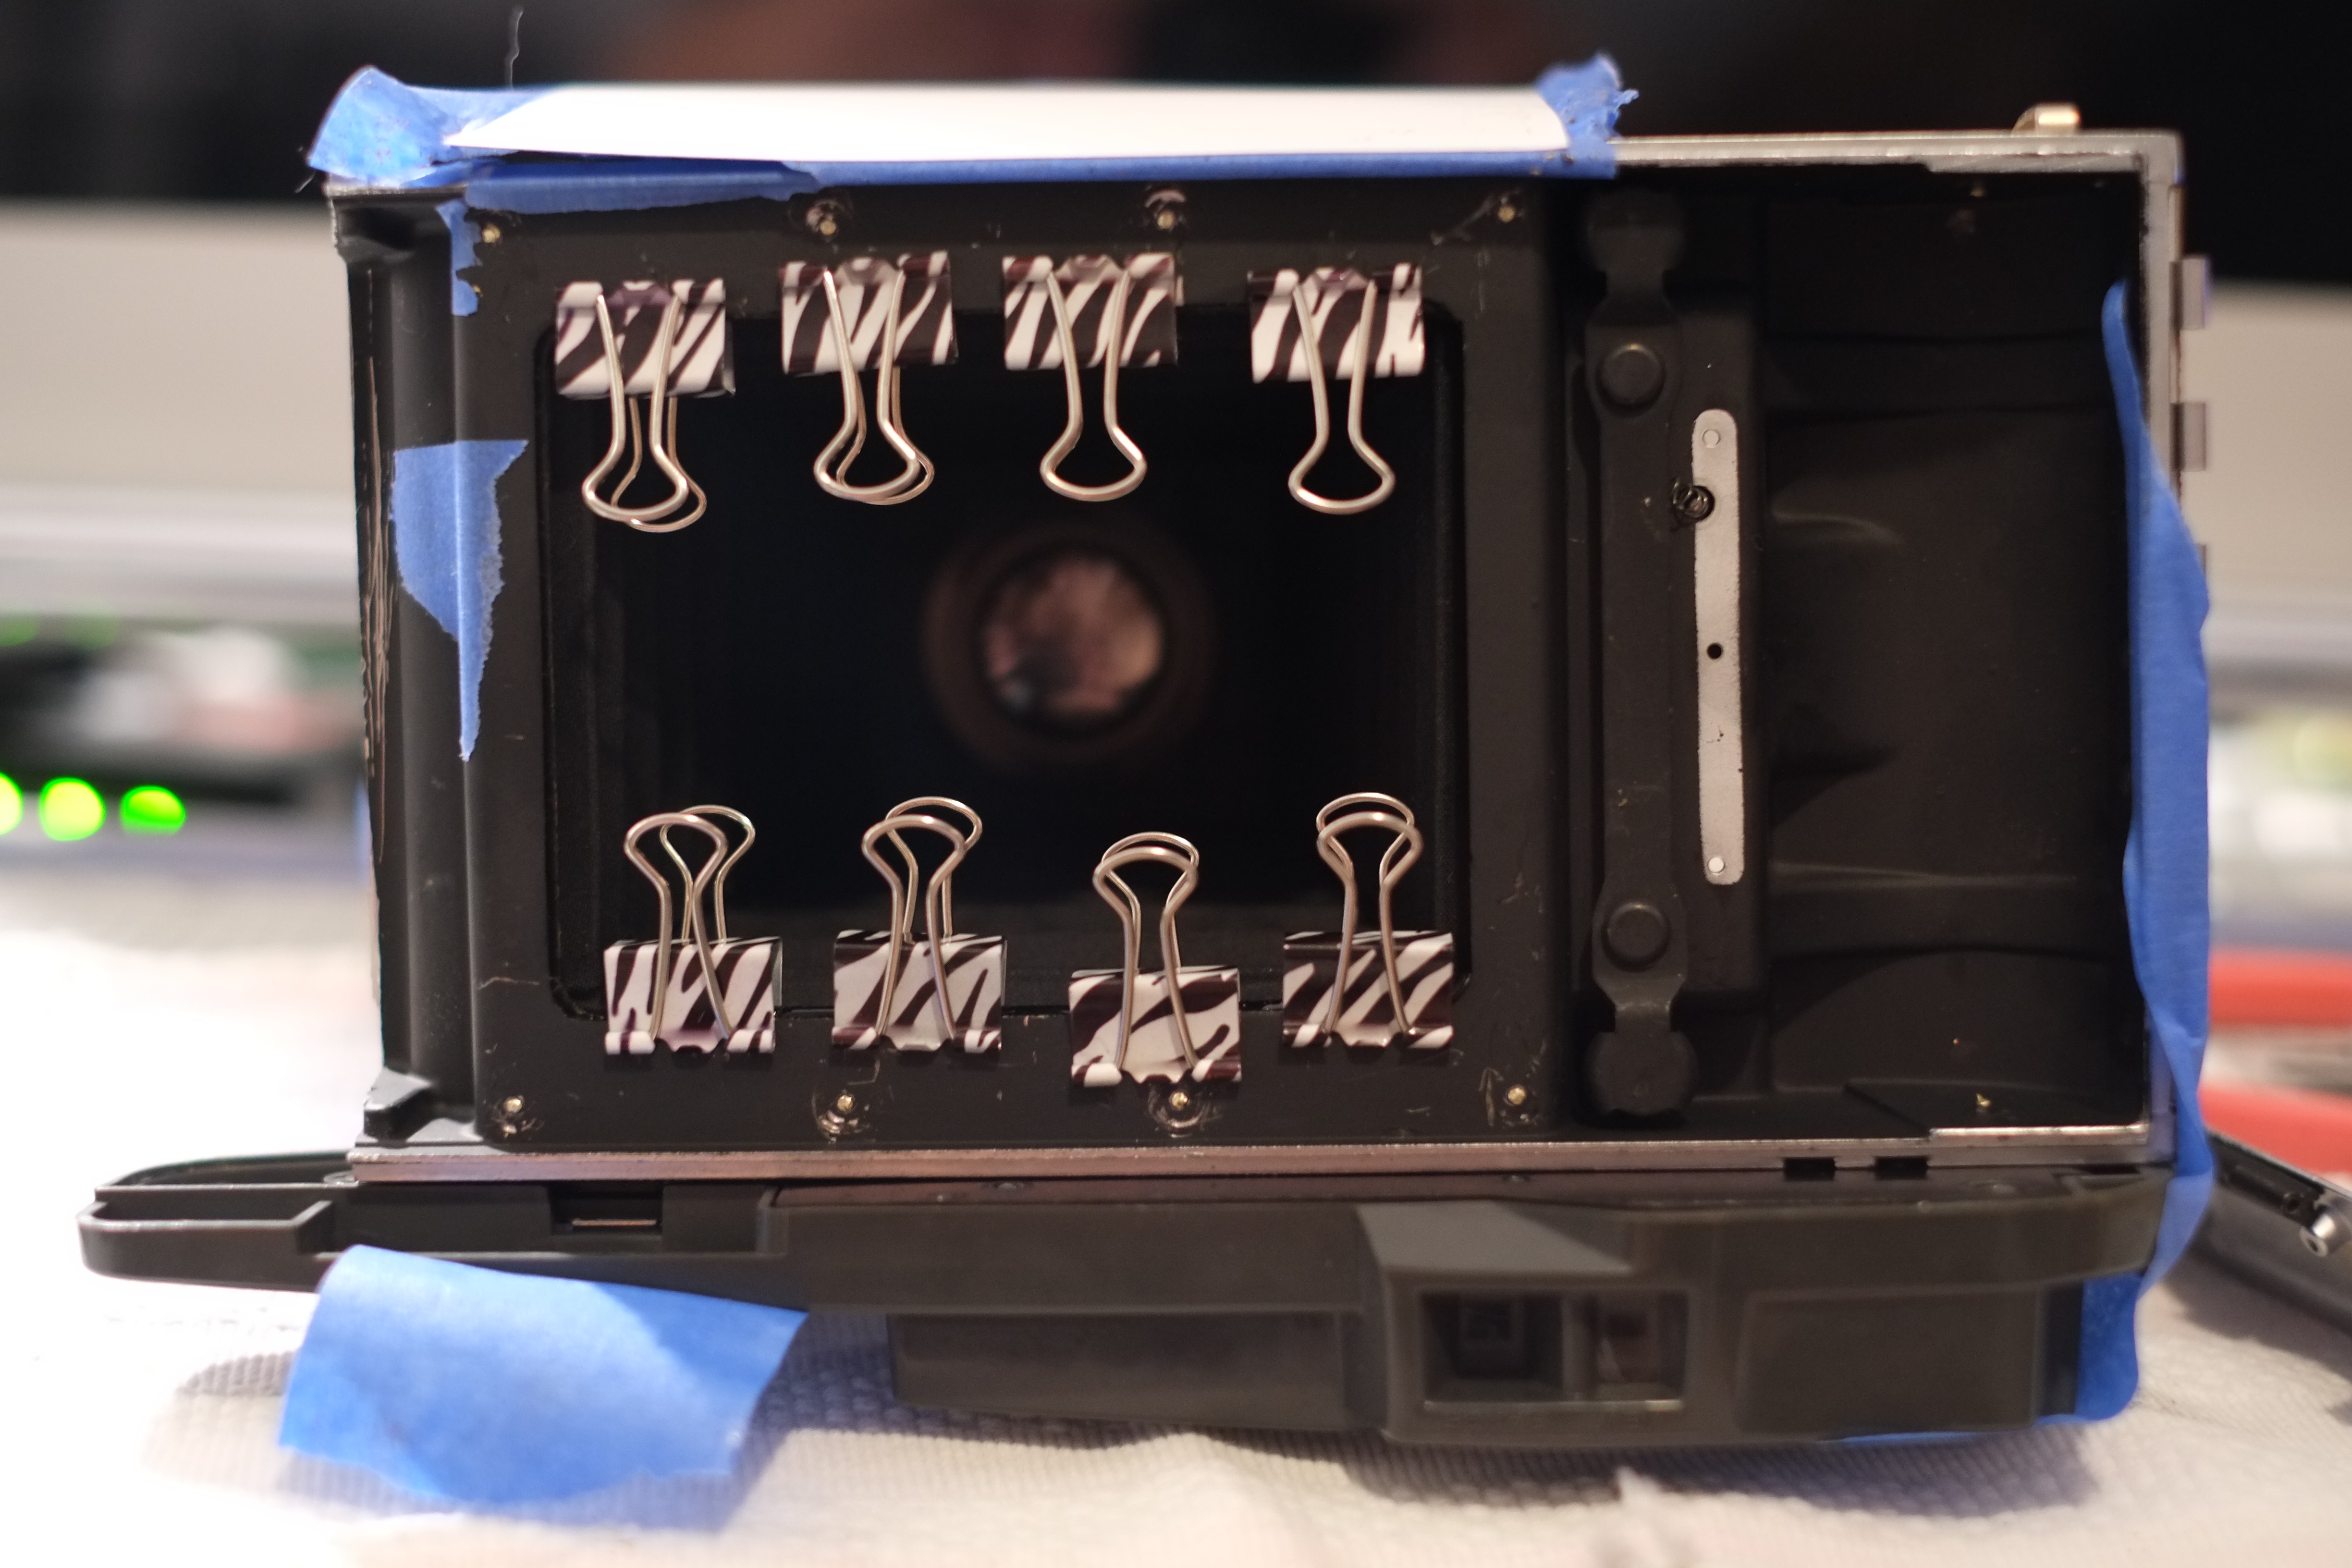
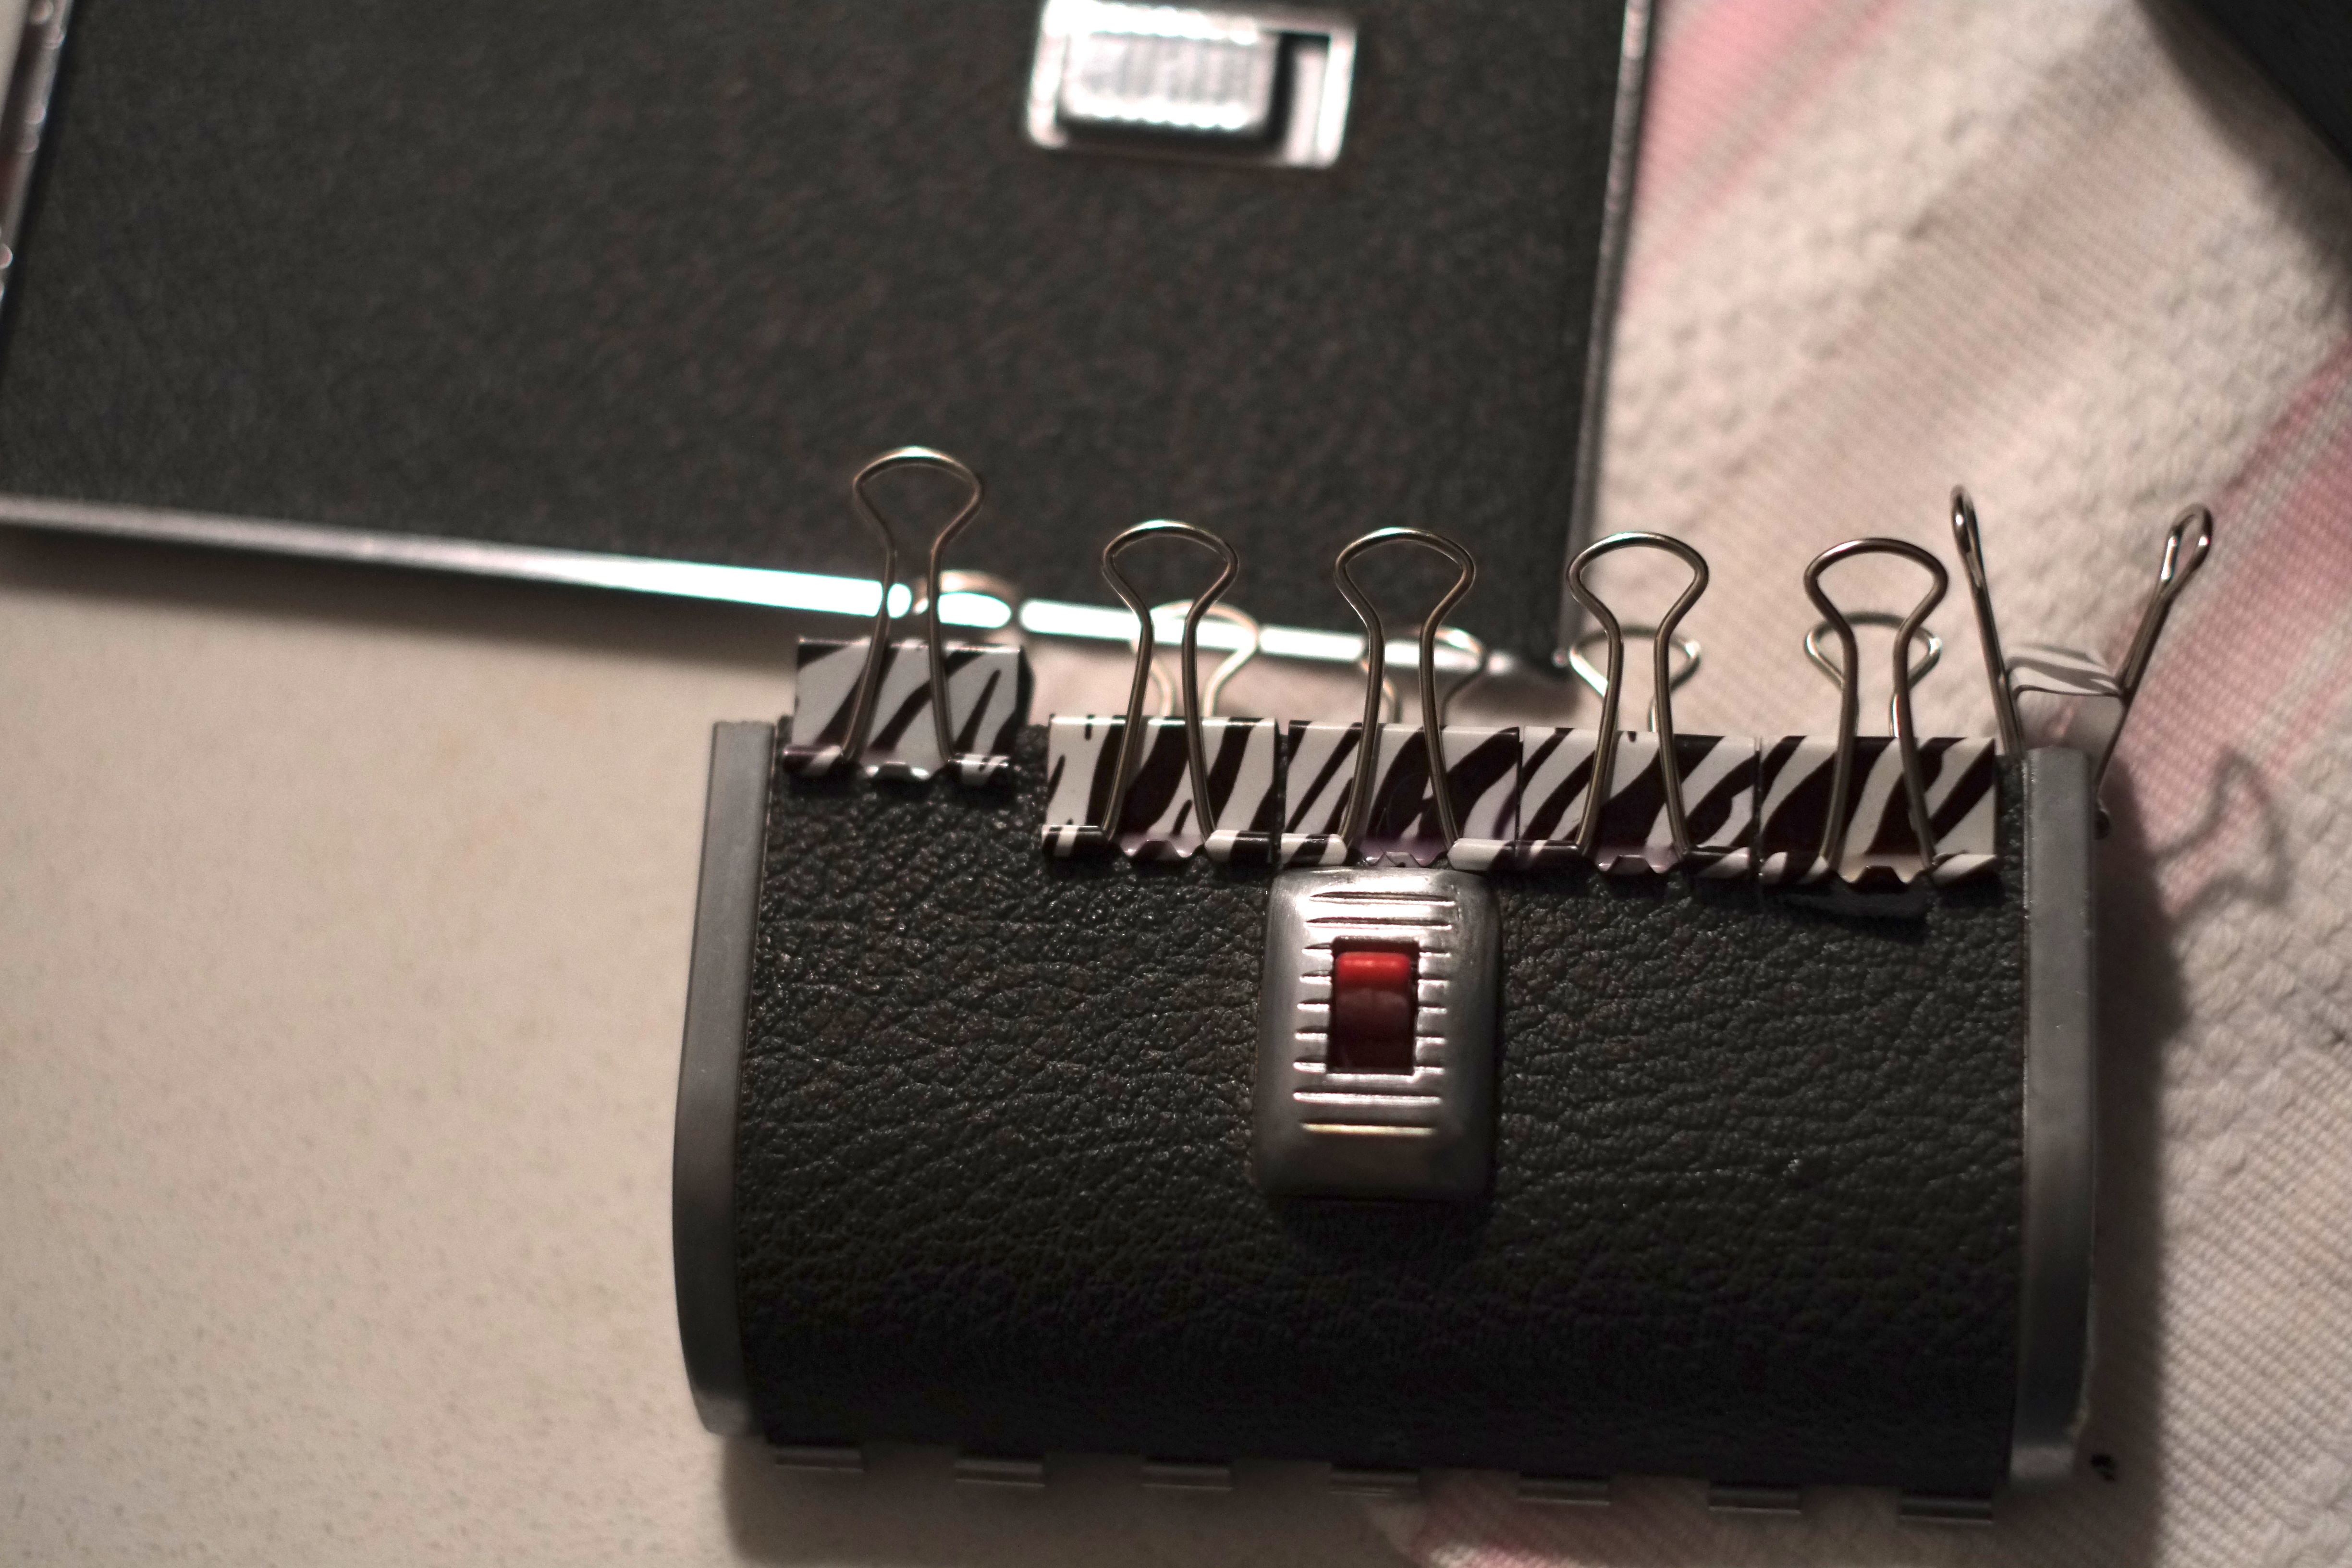
Remarkably, both cuts came out semi-flawlessly, a feat I would not have believed if I hadn’t seen it with my own eyes.With the grunt work finished, I took some time to re-affix the bellows and leatherette with the the most logical of solutions, gorilla glue and zebra clips!

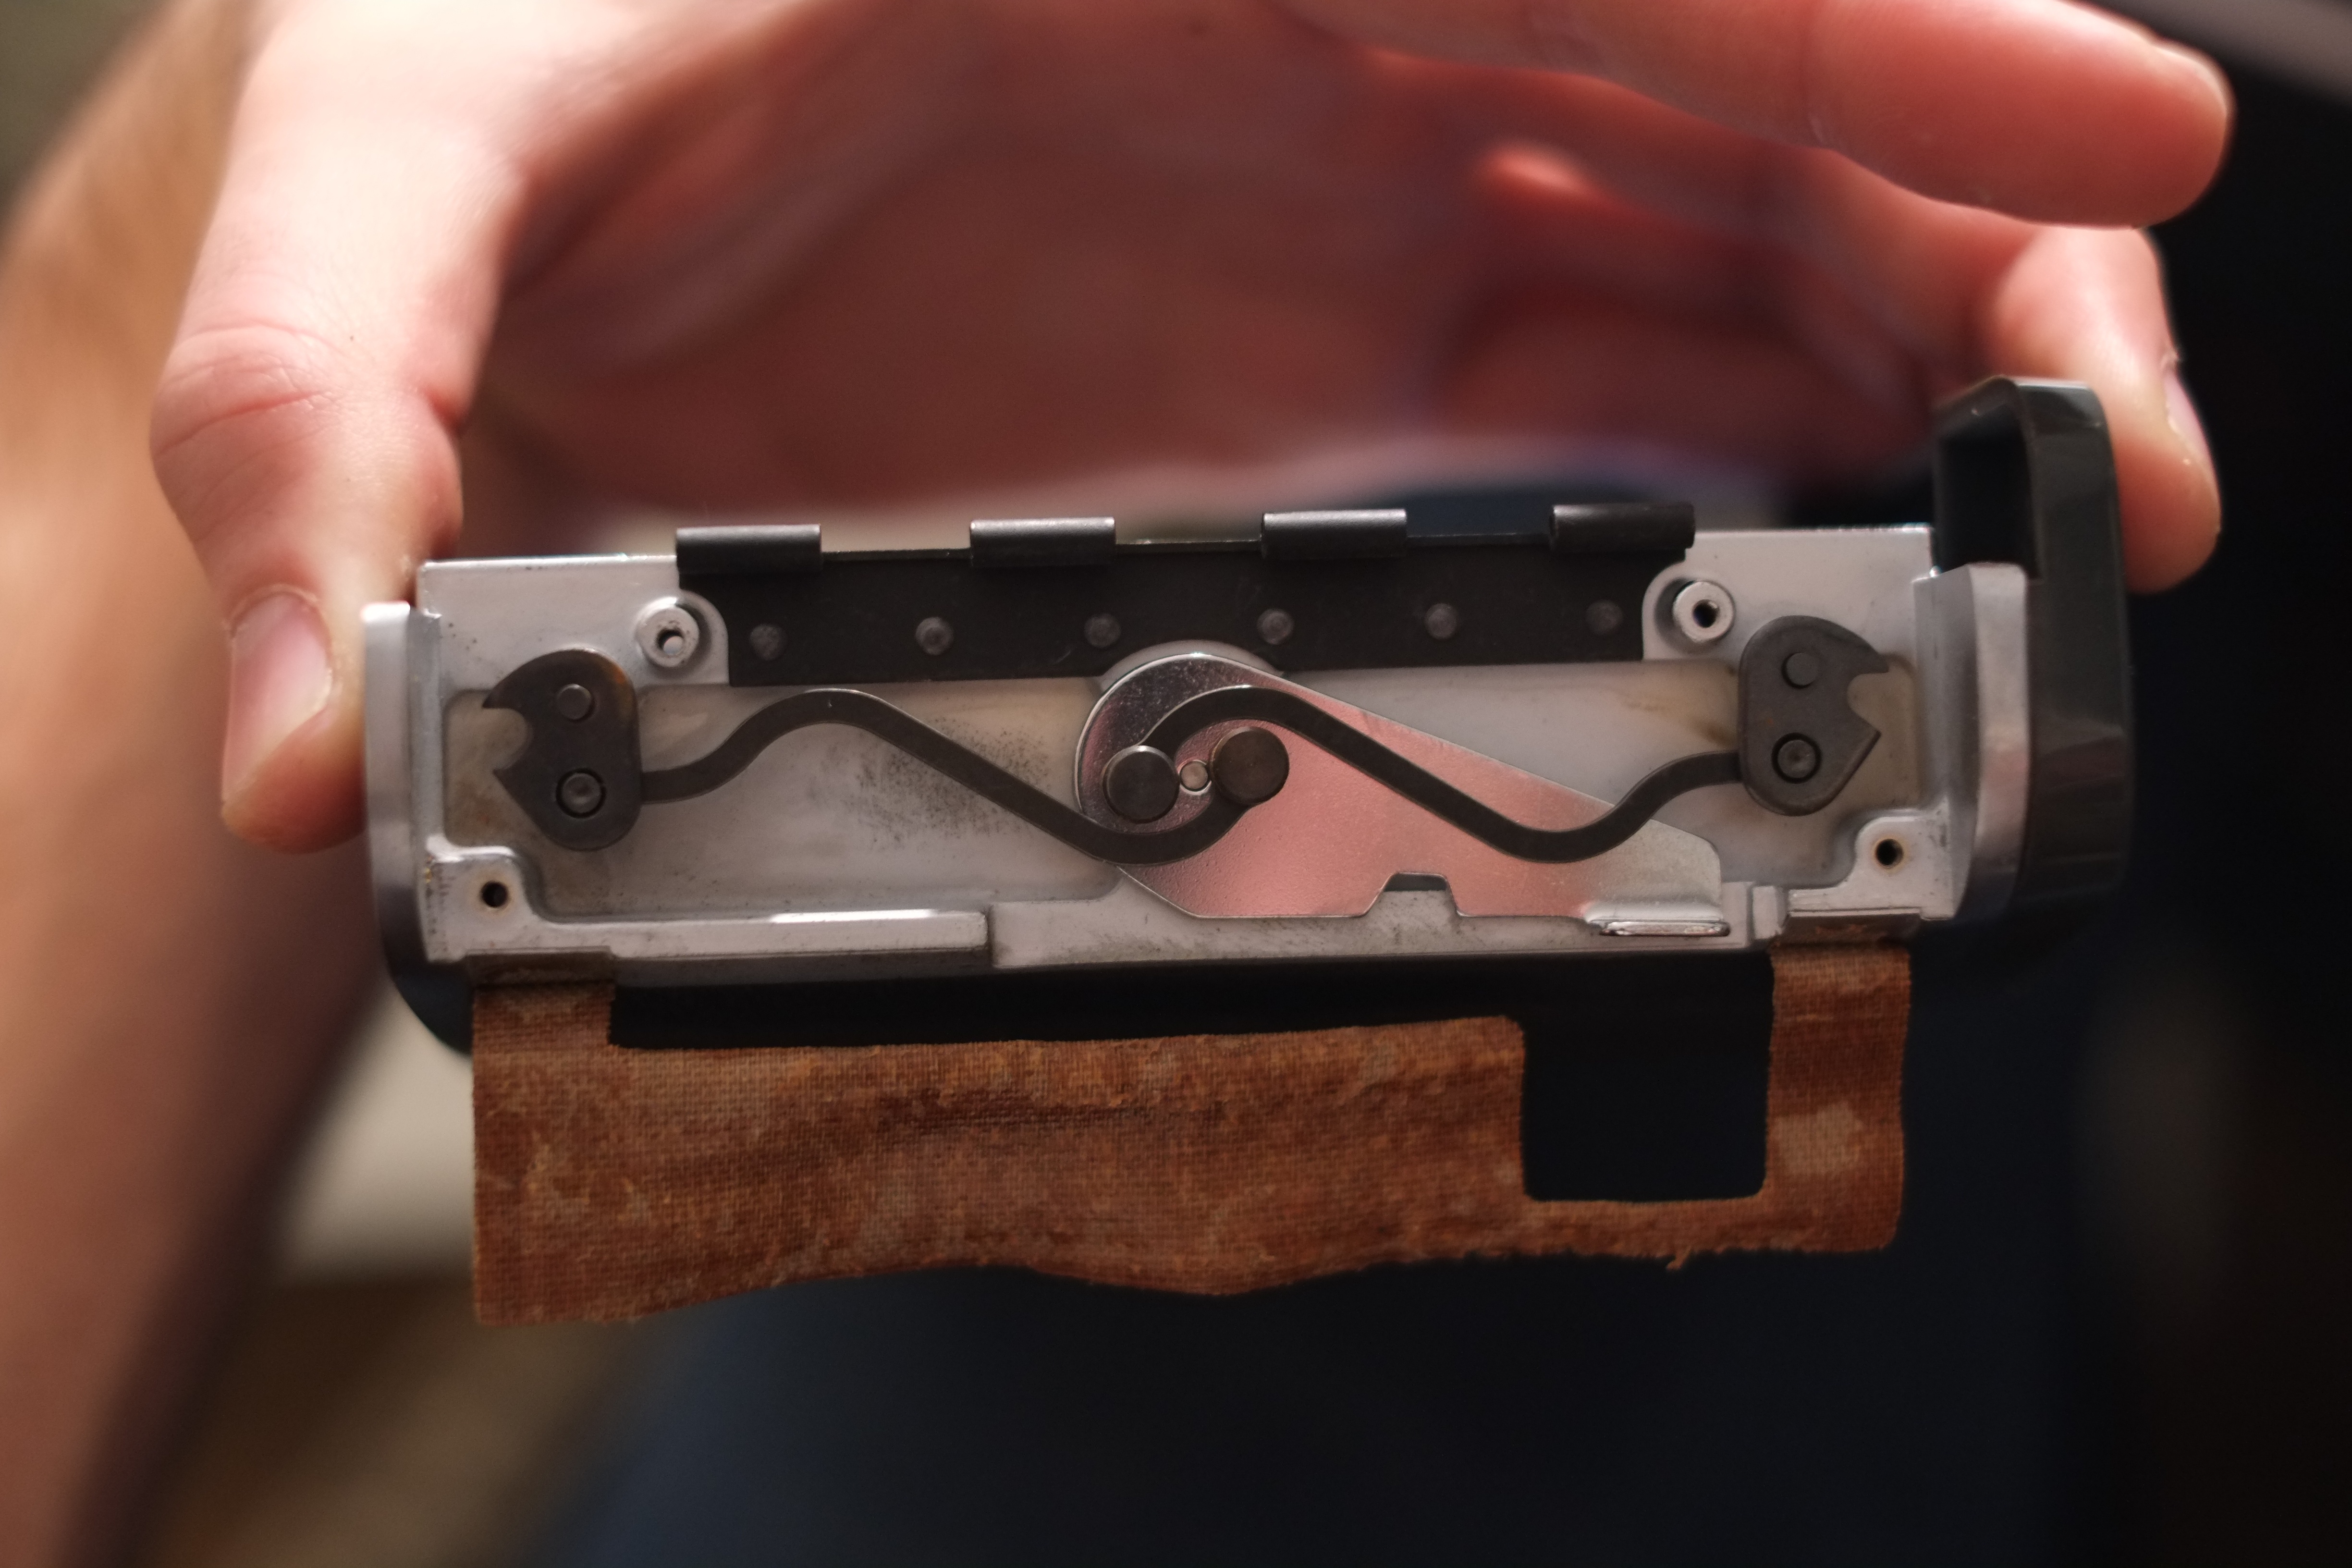
While everything dried, I set about overhauling the rangefinder. Gingerly pulling out the tiny bits, I realized that in my infinite wisdom I had begun mixing up this piece with that. Before things went too far down the Parent Trap route, I devised a simple but effective way to keep everything neat and organized.
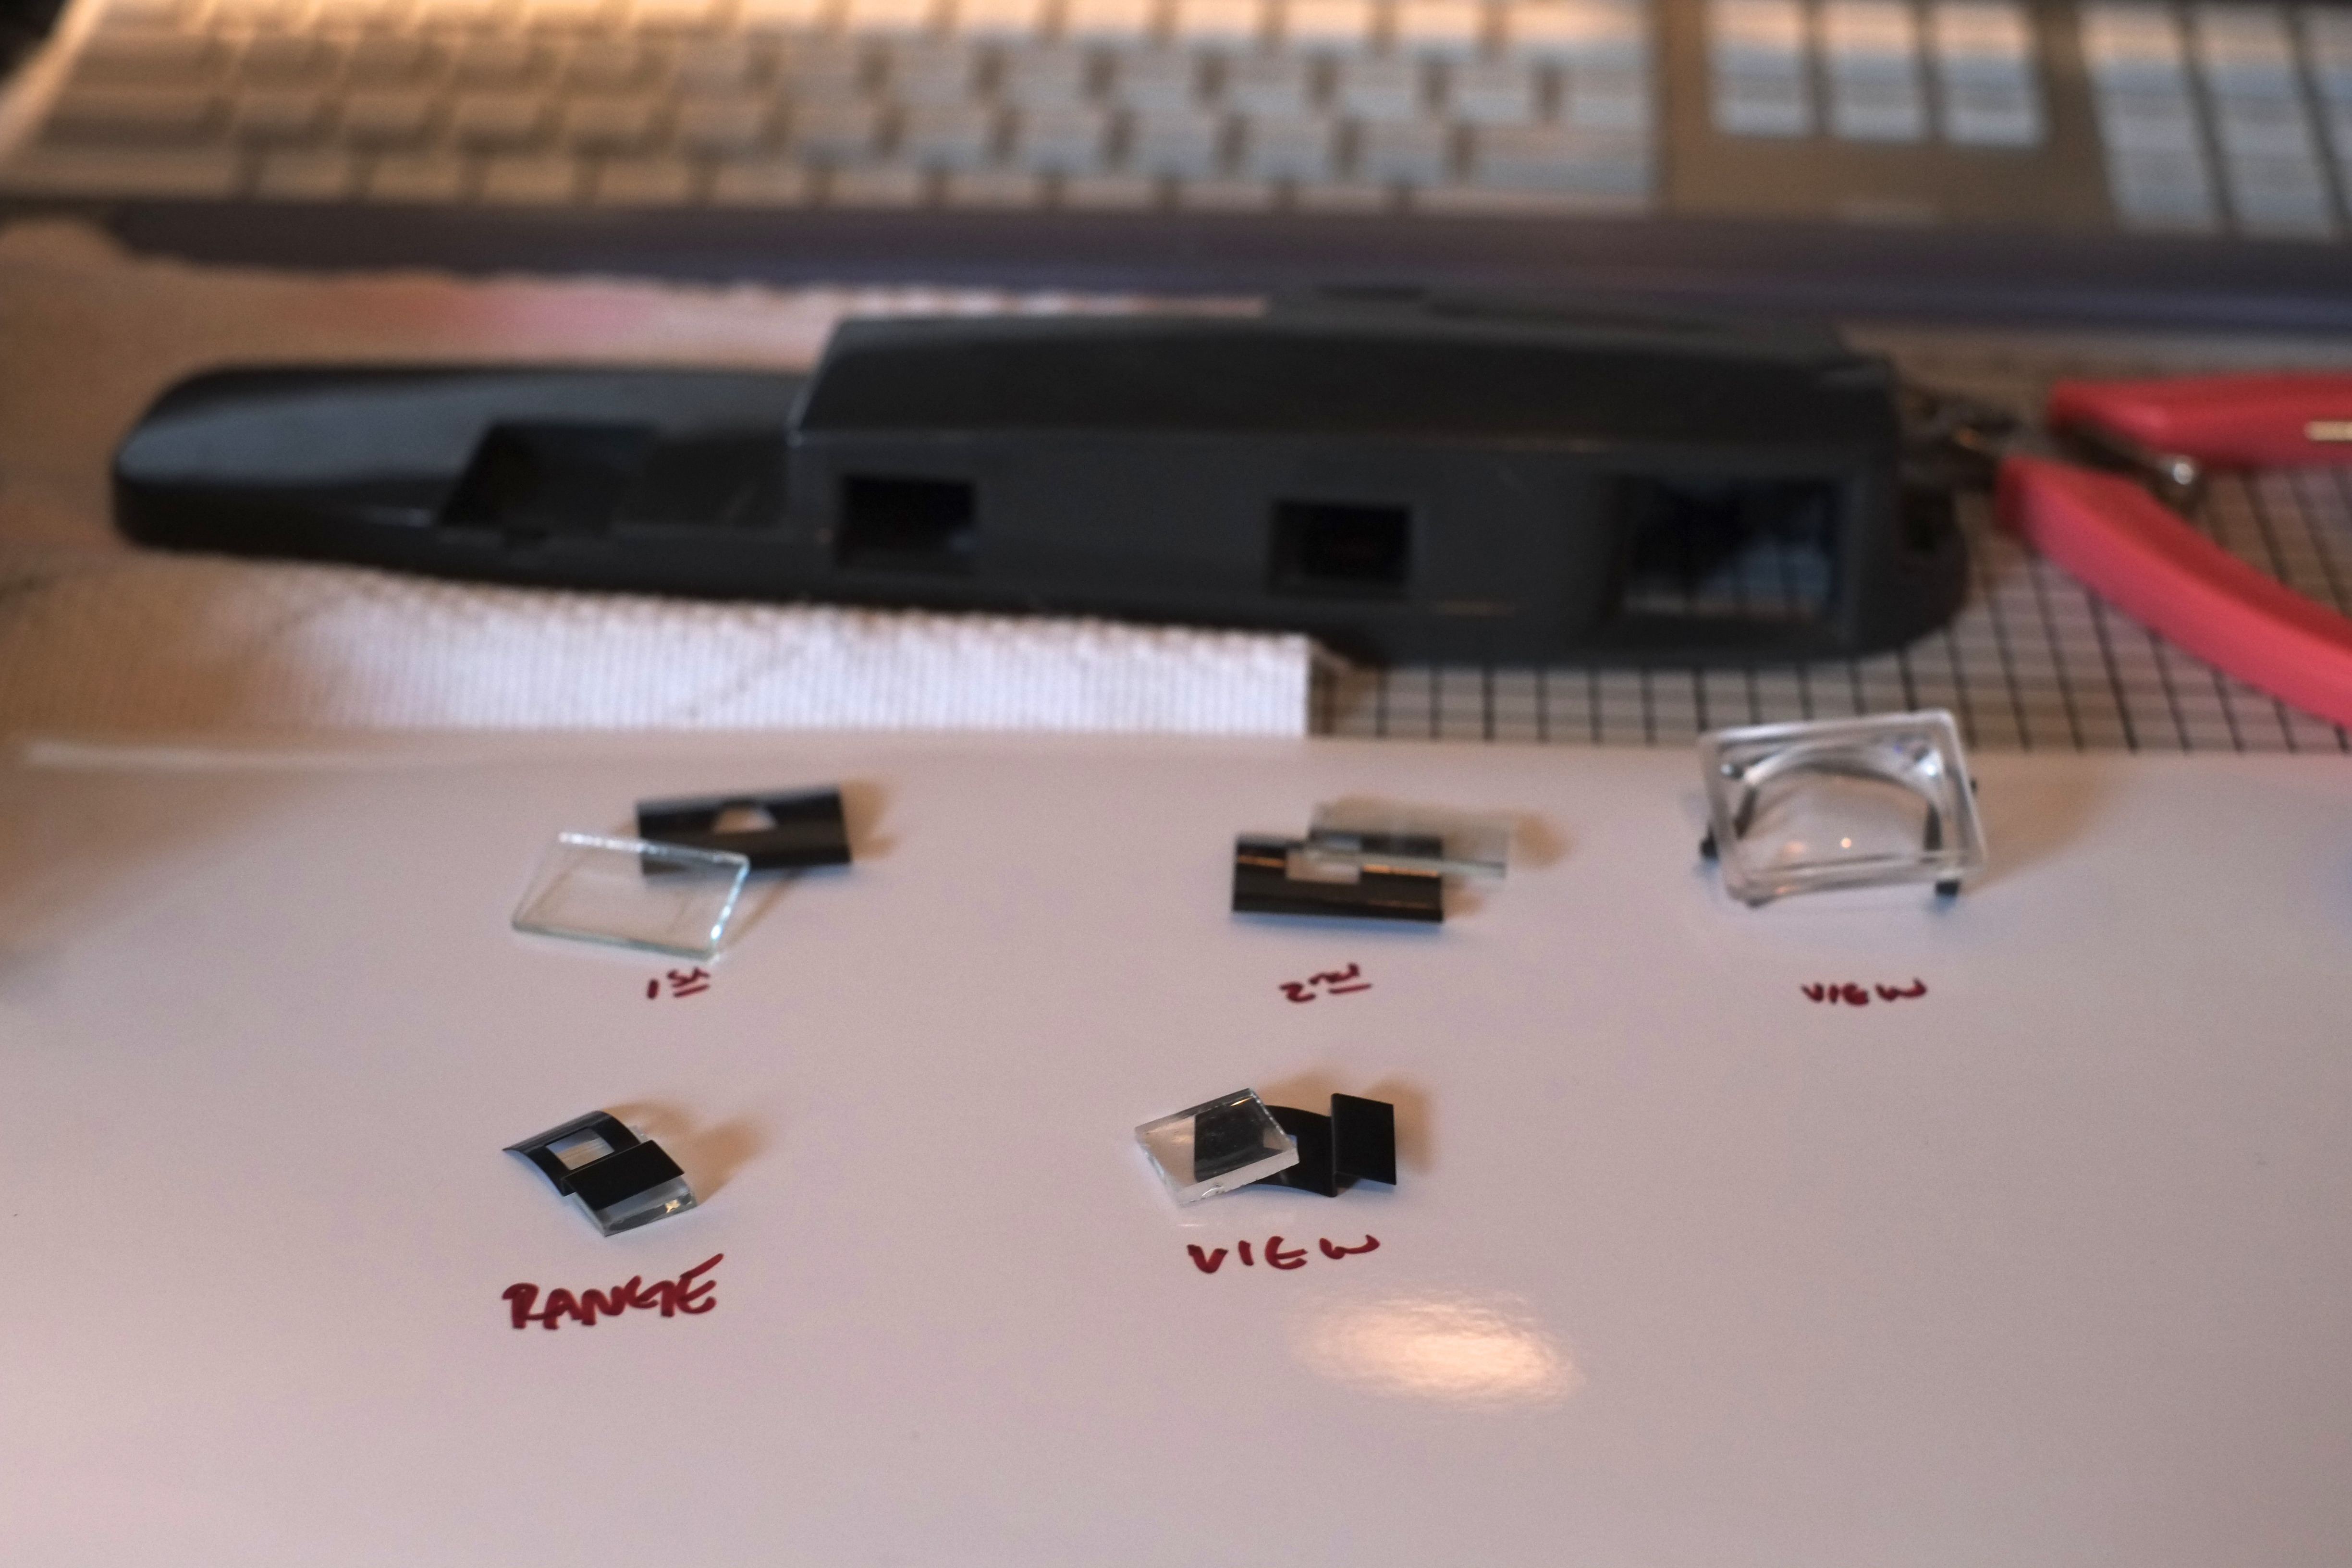
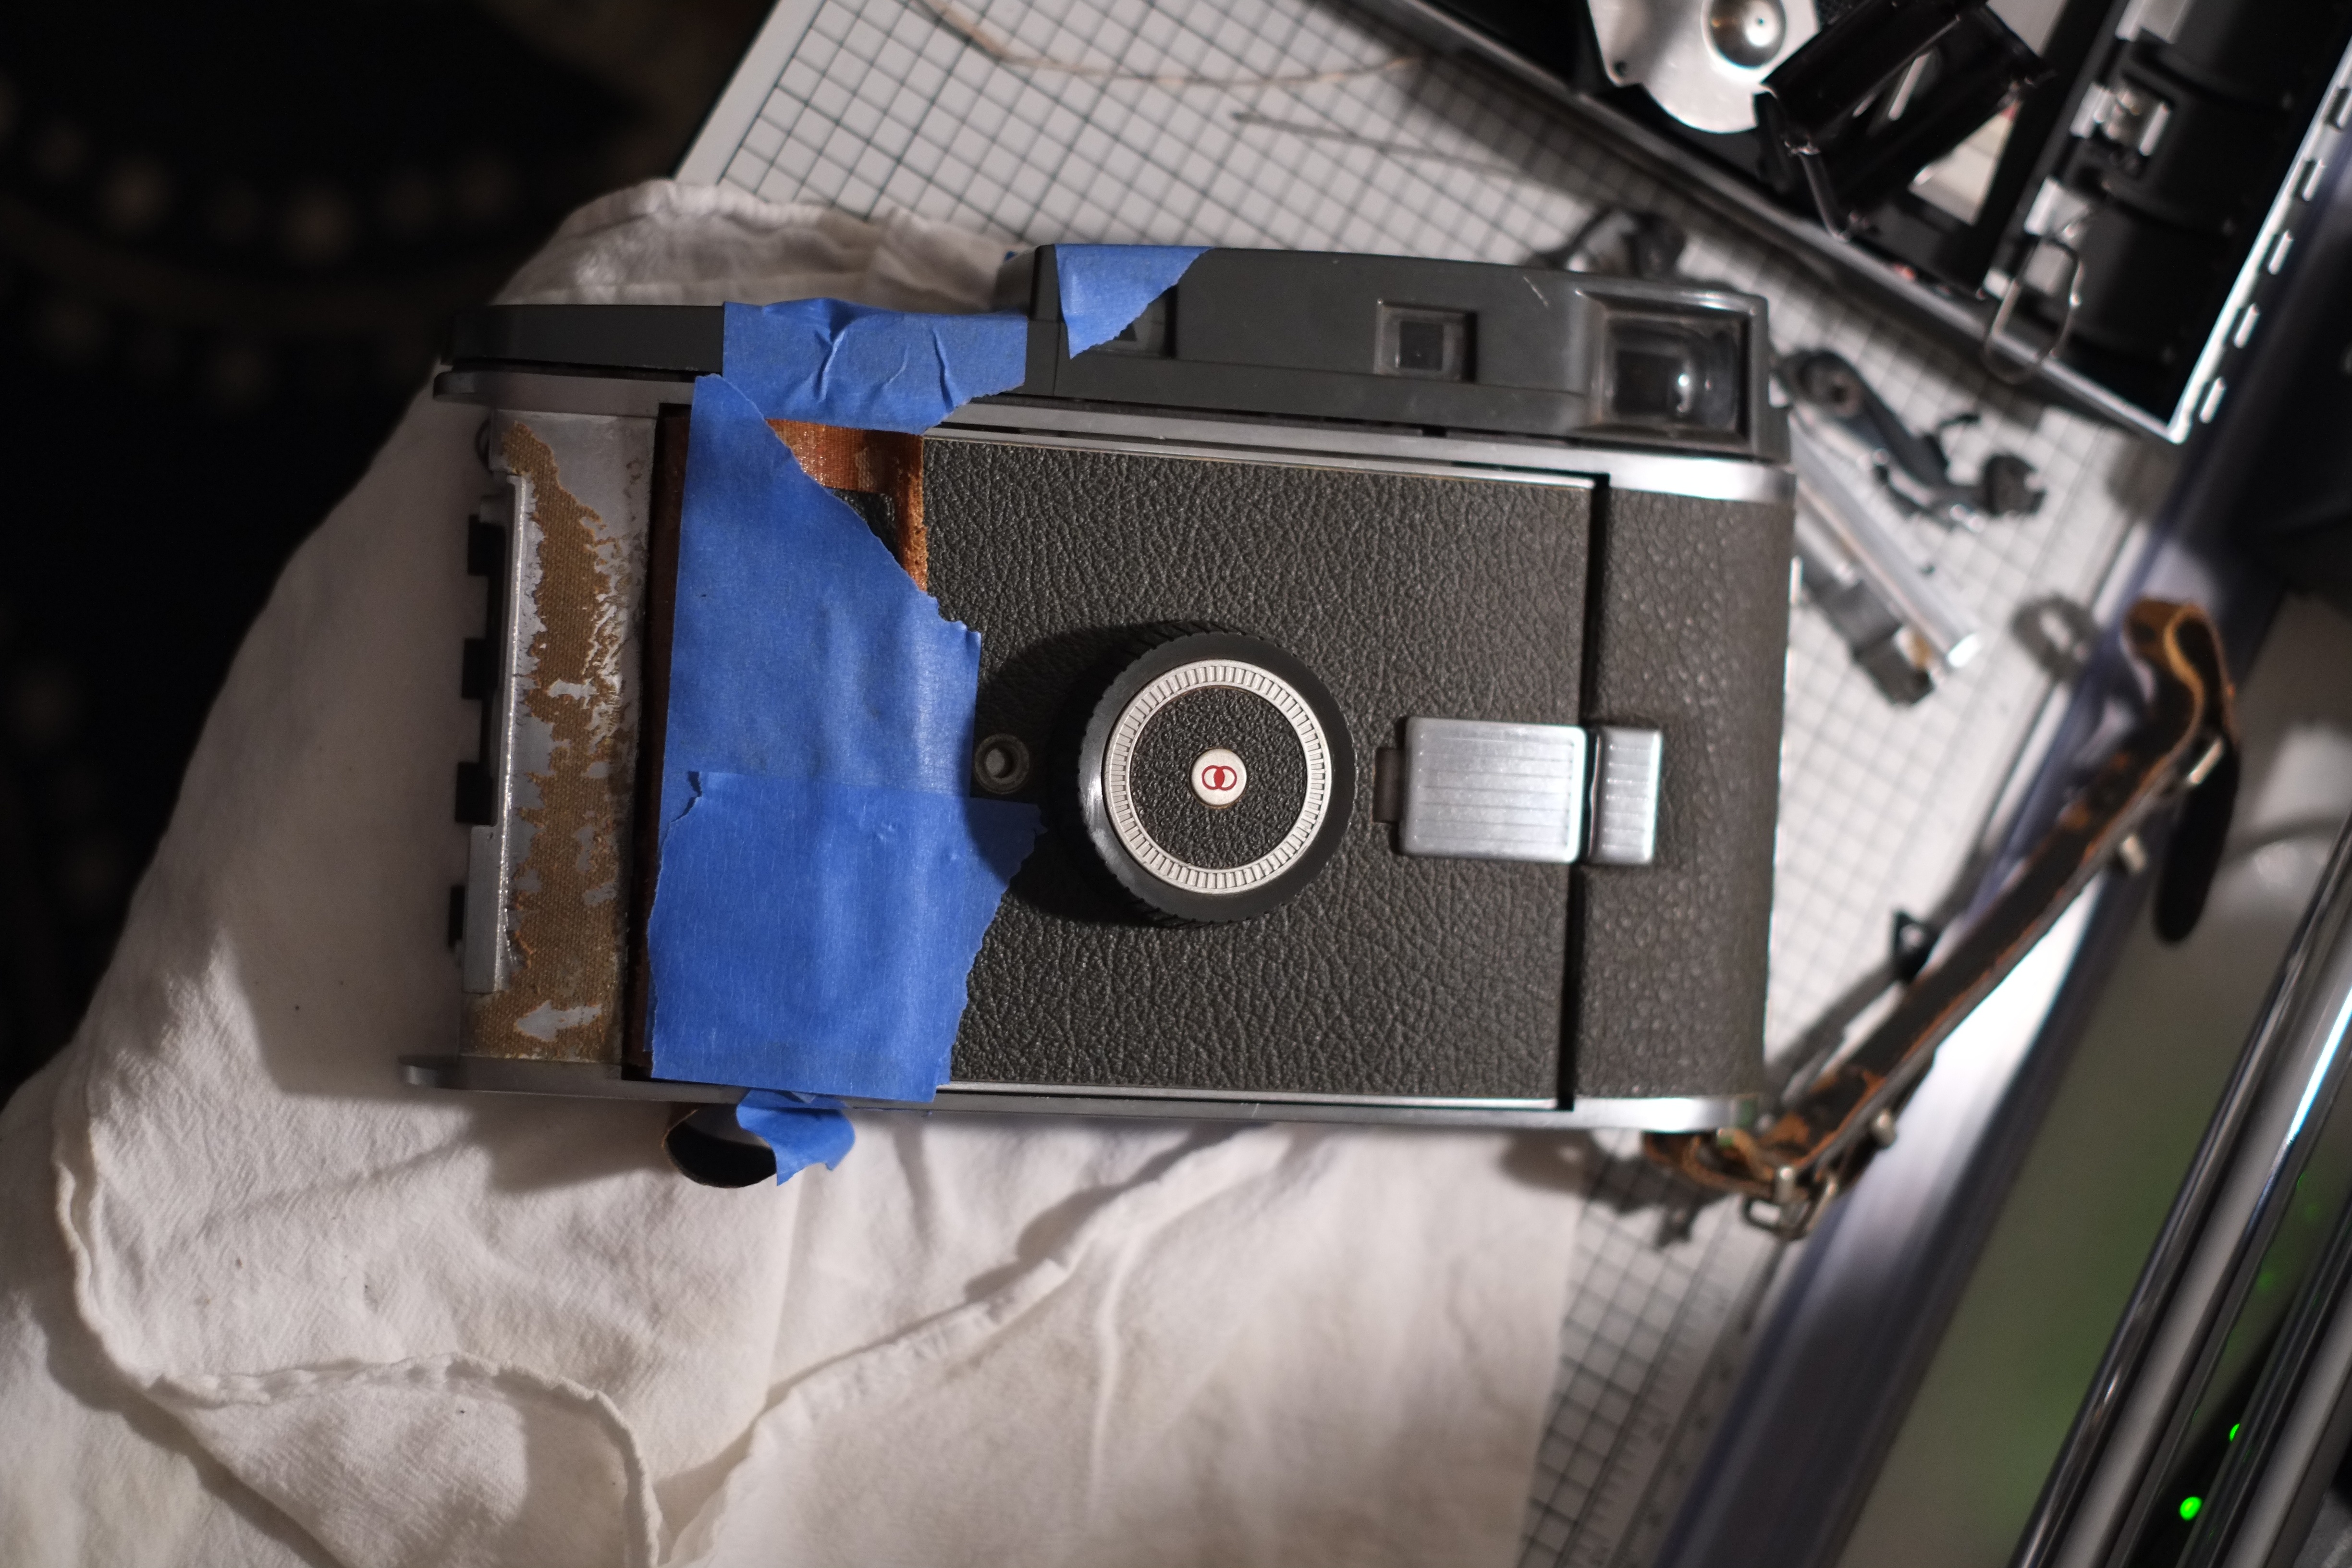
With a lens cloth and a swig of rubbing alcohol, I attempted to wash away 60+ years of filth. My baby was a bit of a dirty girl, and I hoped she didn’t mind getting rough to remove some lingering rust. With foreplay finished, I set aside the polished glass and taped up the top-plate to prepare it for a fresh coat of Krylon. Missing a spot here would mean exposing the delicate rangefinder mirrors to a unwanted bath of spray paint, a mistake that could jeopardize the entire operation. Knowing my tendency to rush through menial tasks, I made sure to take my time (and some deep breaths for good measure) to make sure that each opening was safe and sealed.
Sending the top plate off to the body shop (aka the newspaper covered stairwell), it was finally time to wed polaroid back with pathfinder body.
“Do you Pathfinder take this back, to have and to hold, from this day forward, for better, for worse, for richer, for poorer, in sickness and in health, until death do you part?”
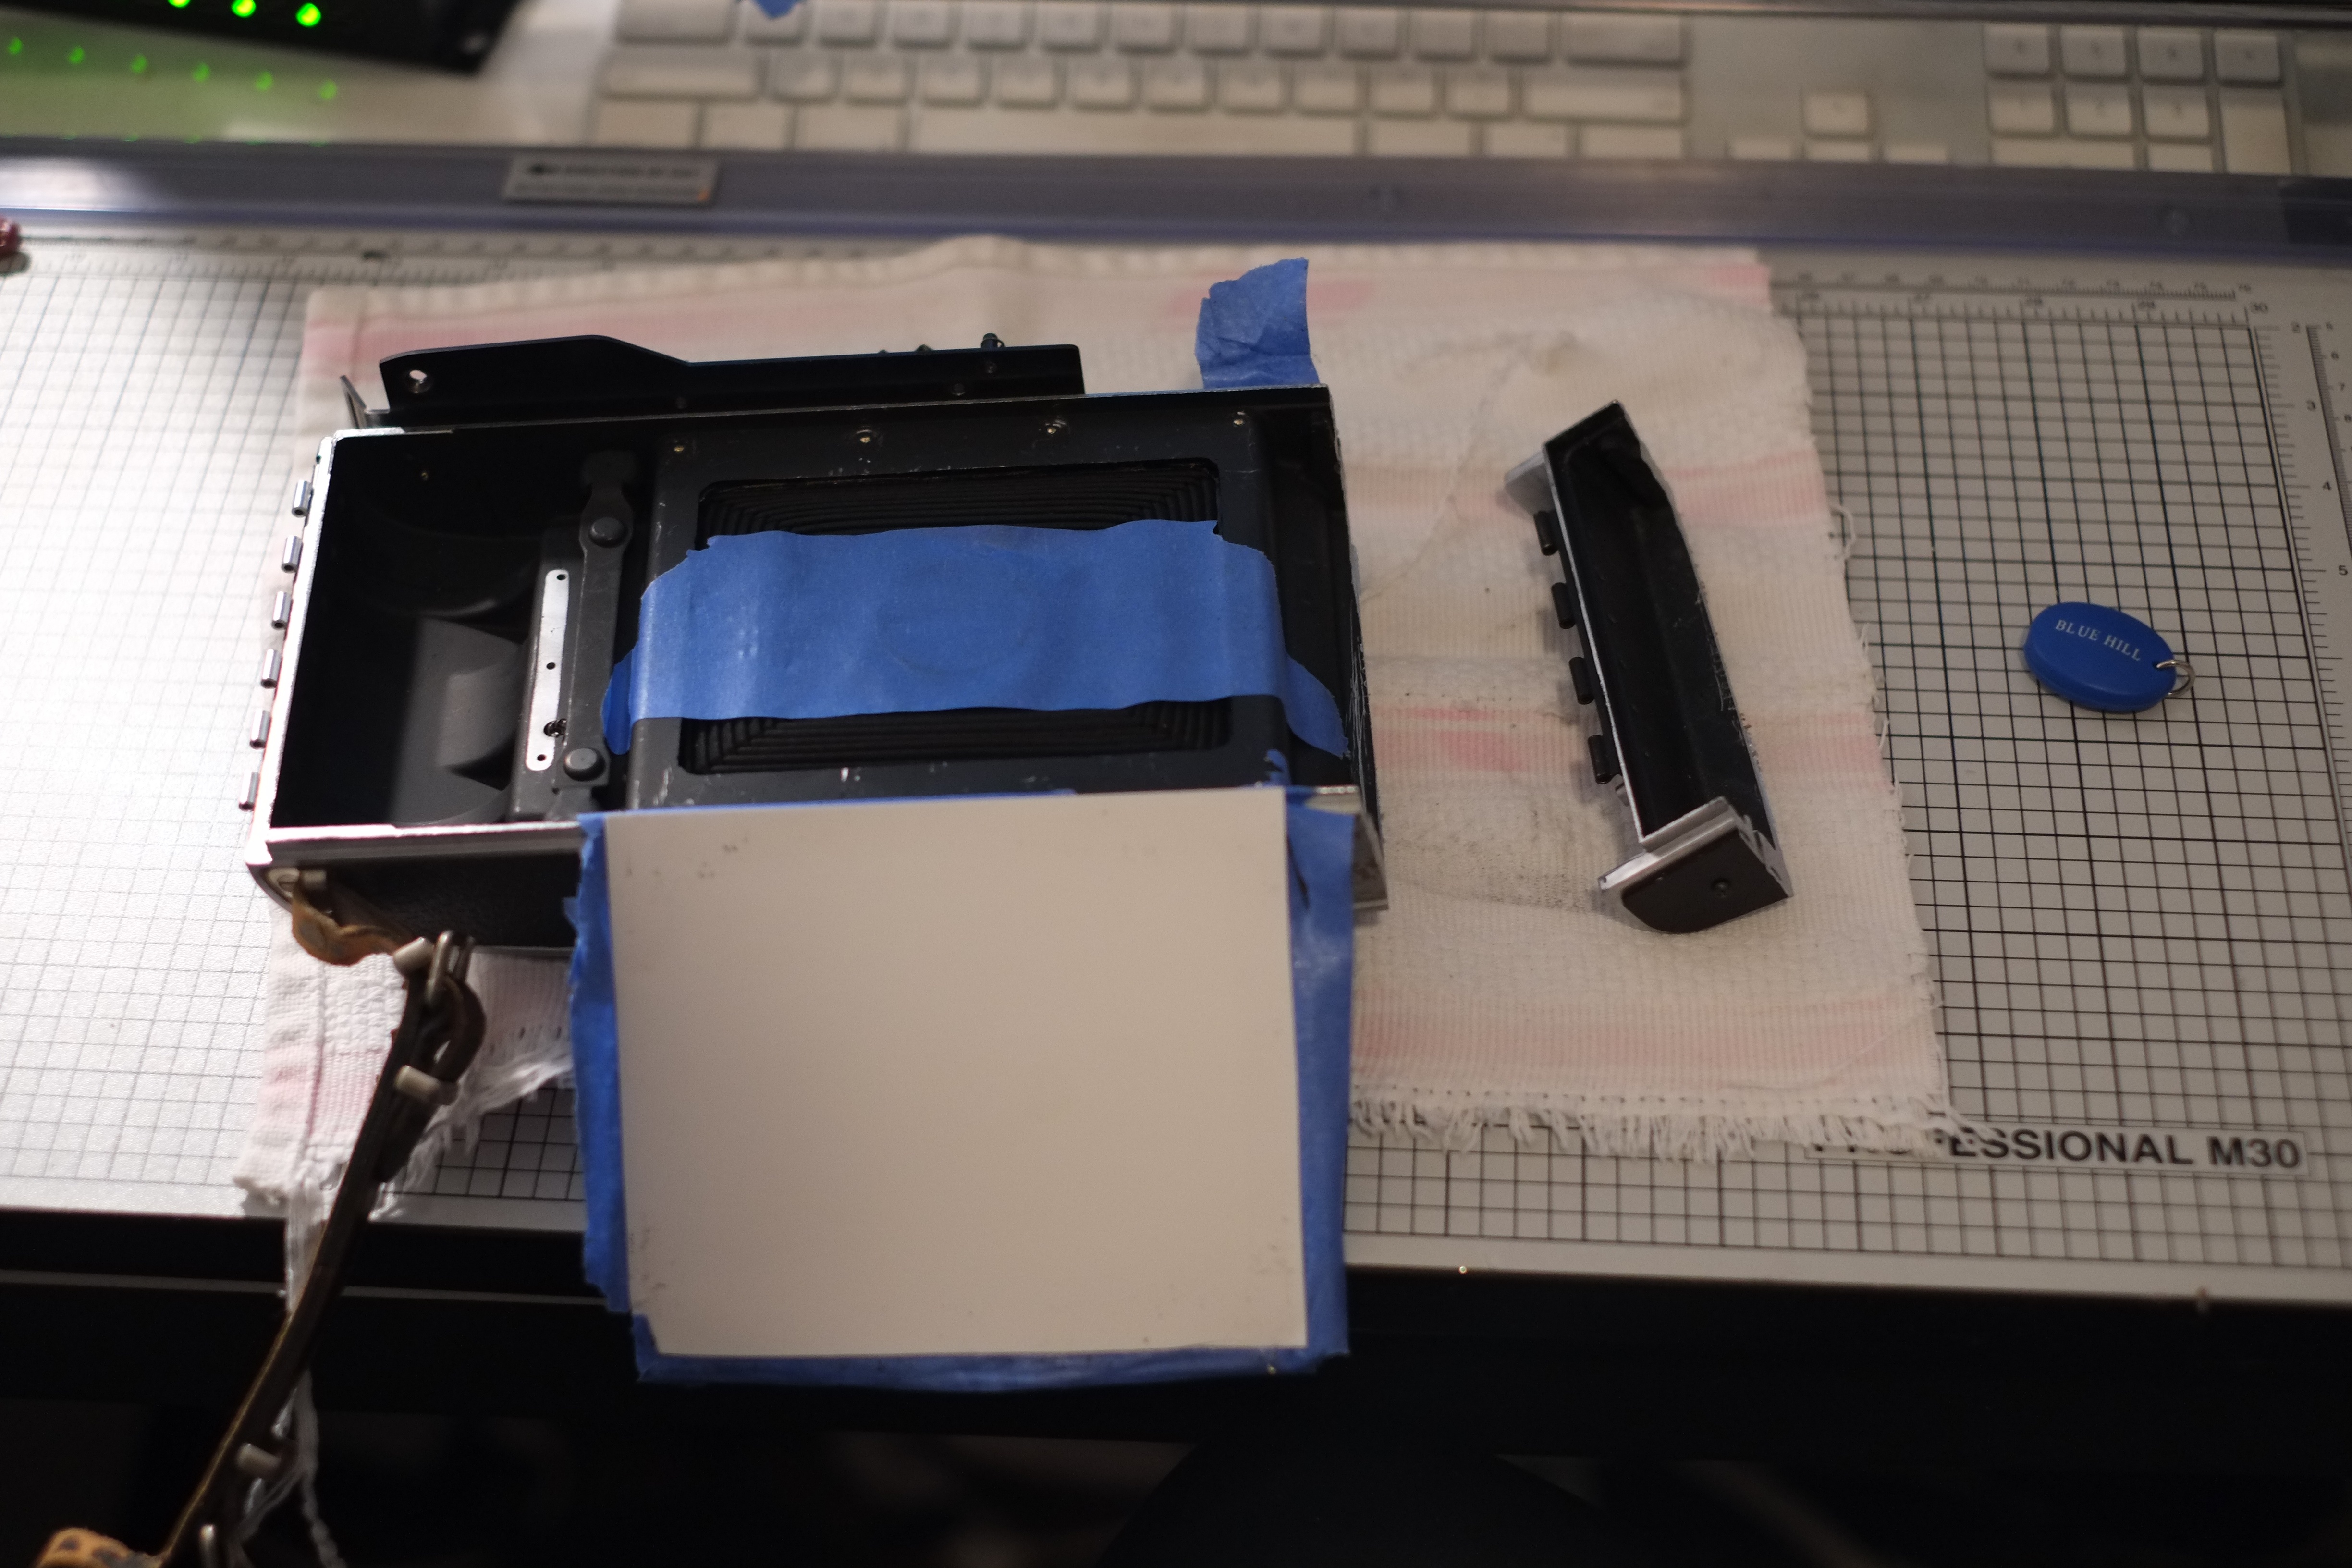
At this point I could care less if the two parties agreed, this thing was going down. Slathering cold weld across the donor’s body, I eyeballed the alignment and consecrated the holy bond. A quick re-purposing of a used film pack covered the last remaining sliver of open space, and this beauty was ready for her honeymoon.

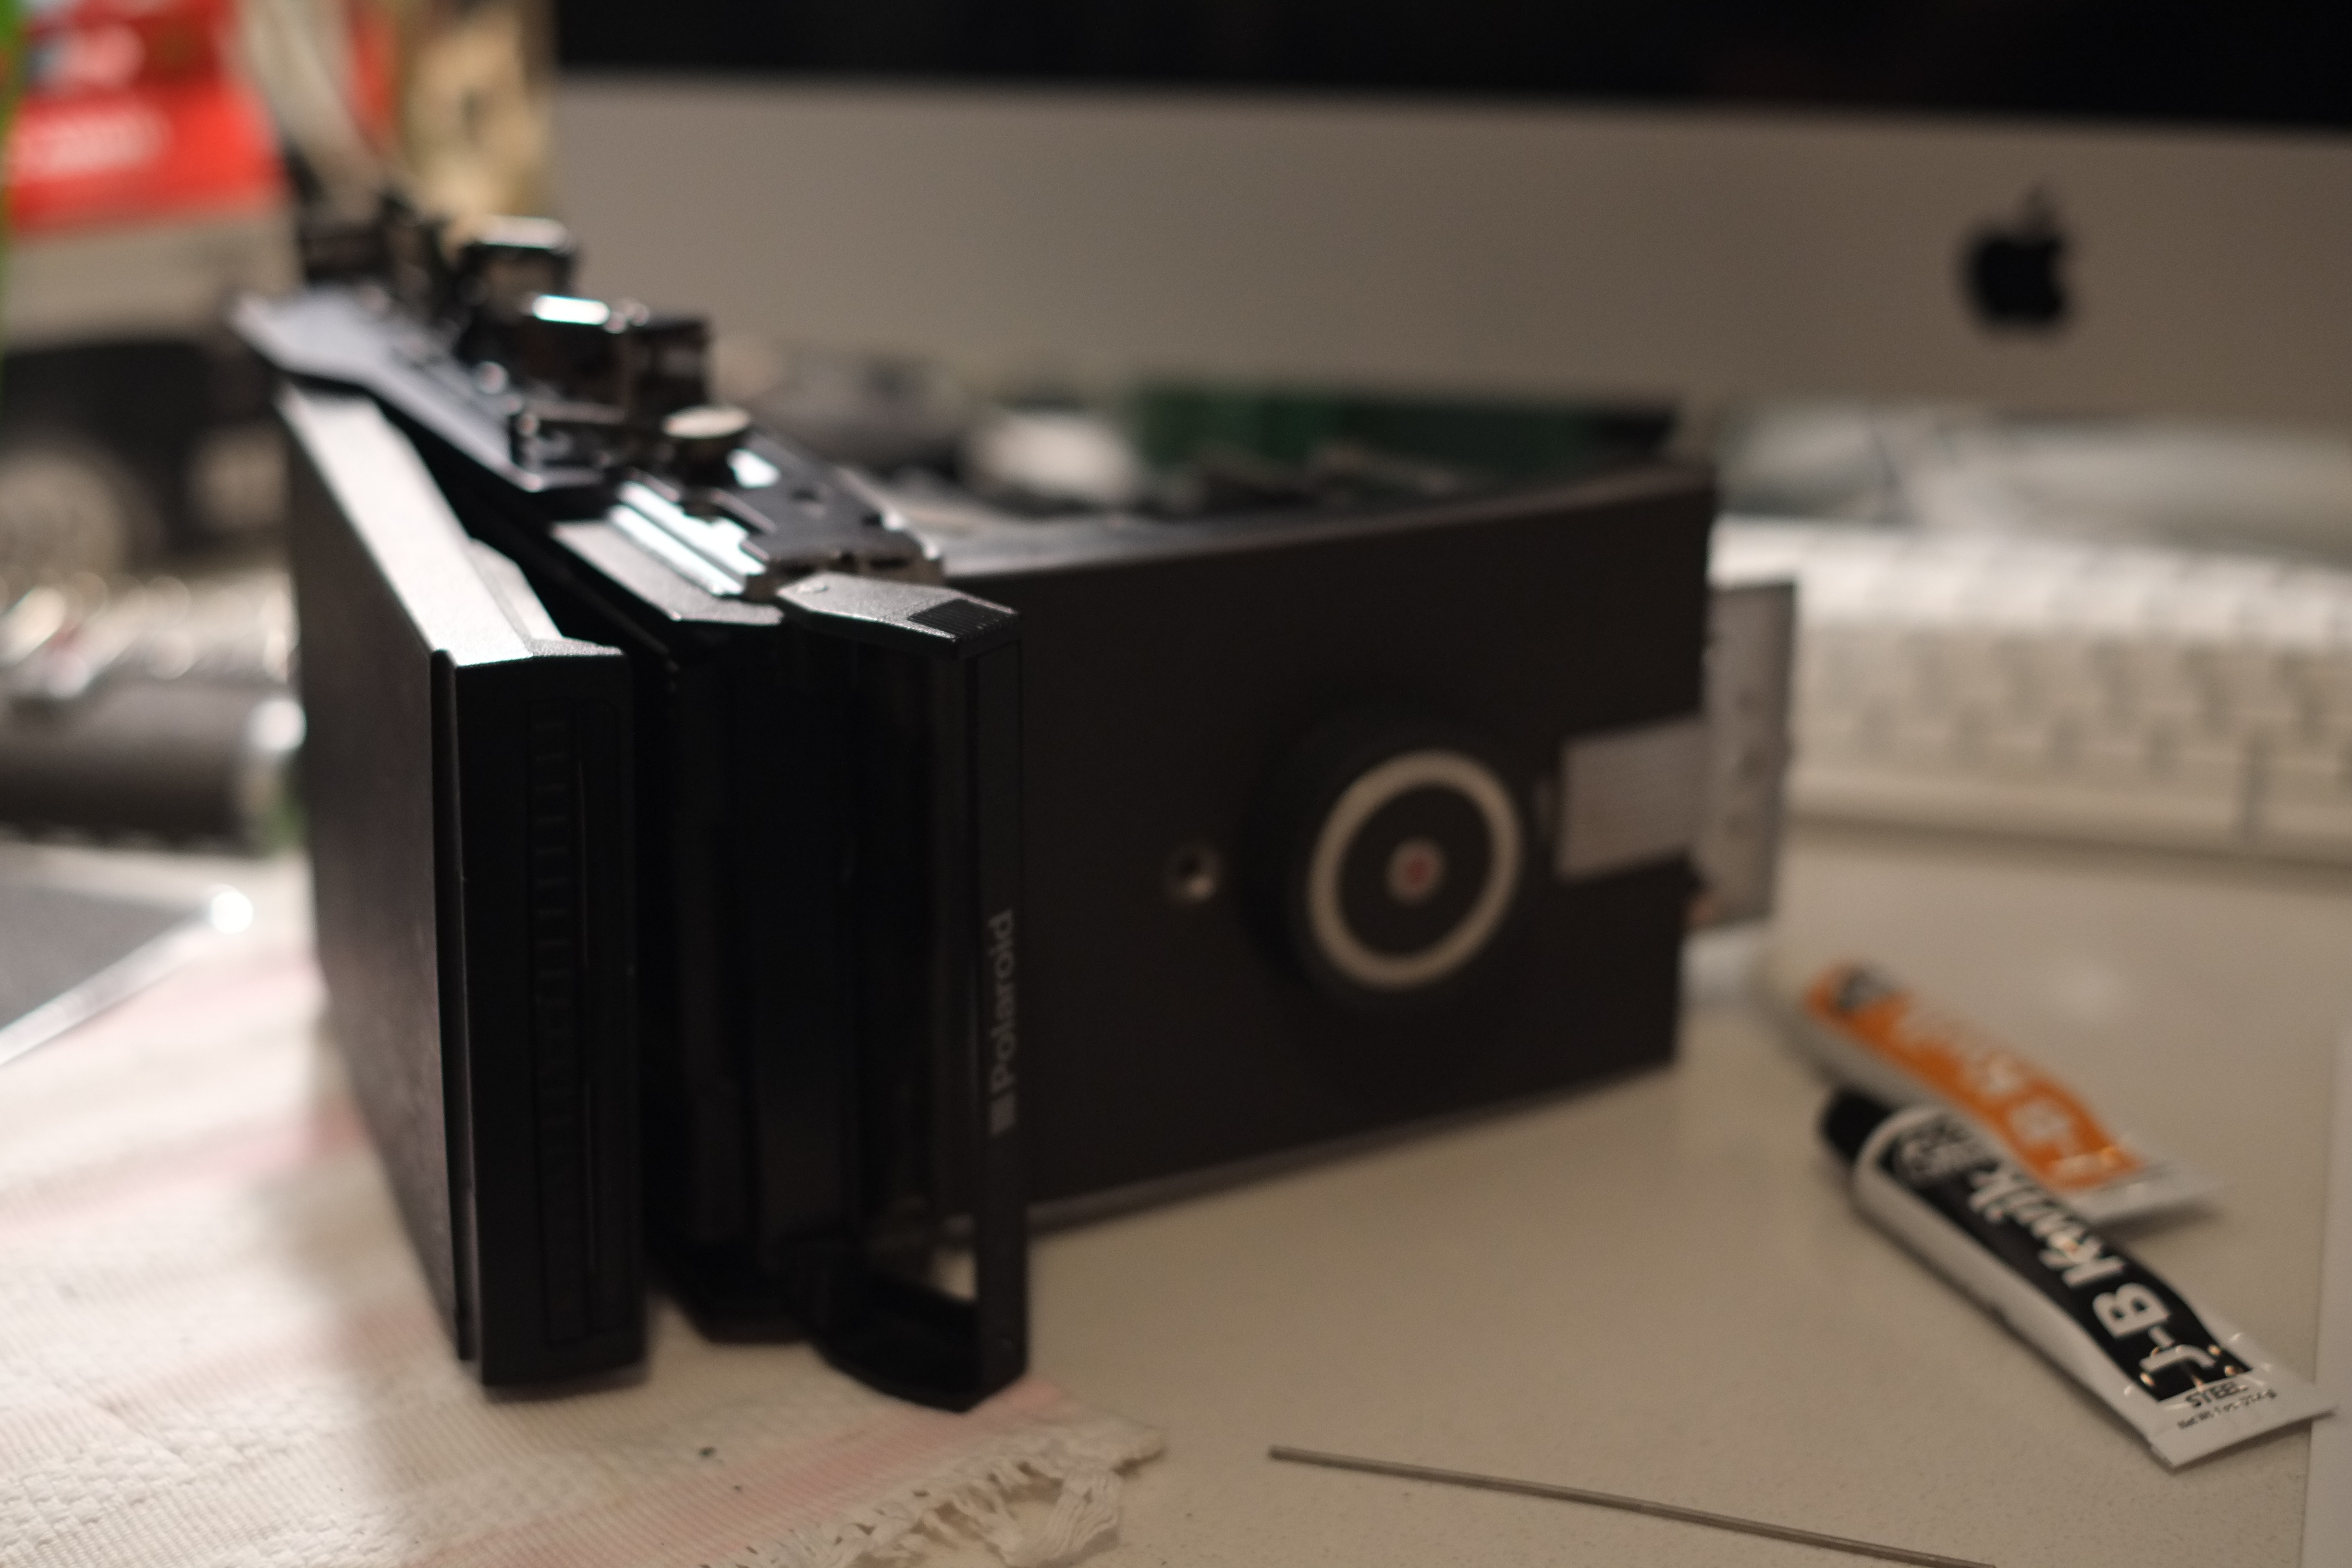
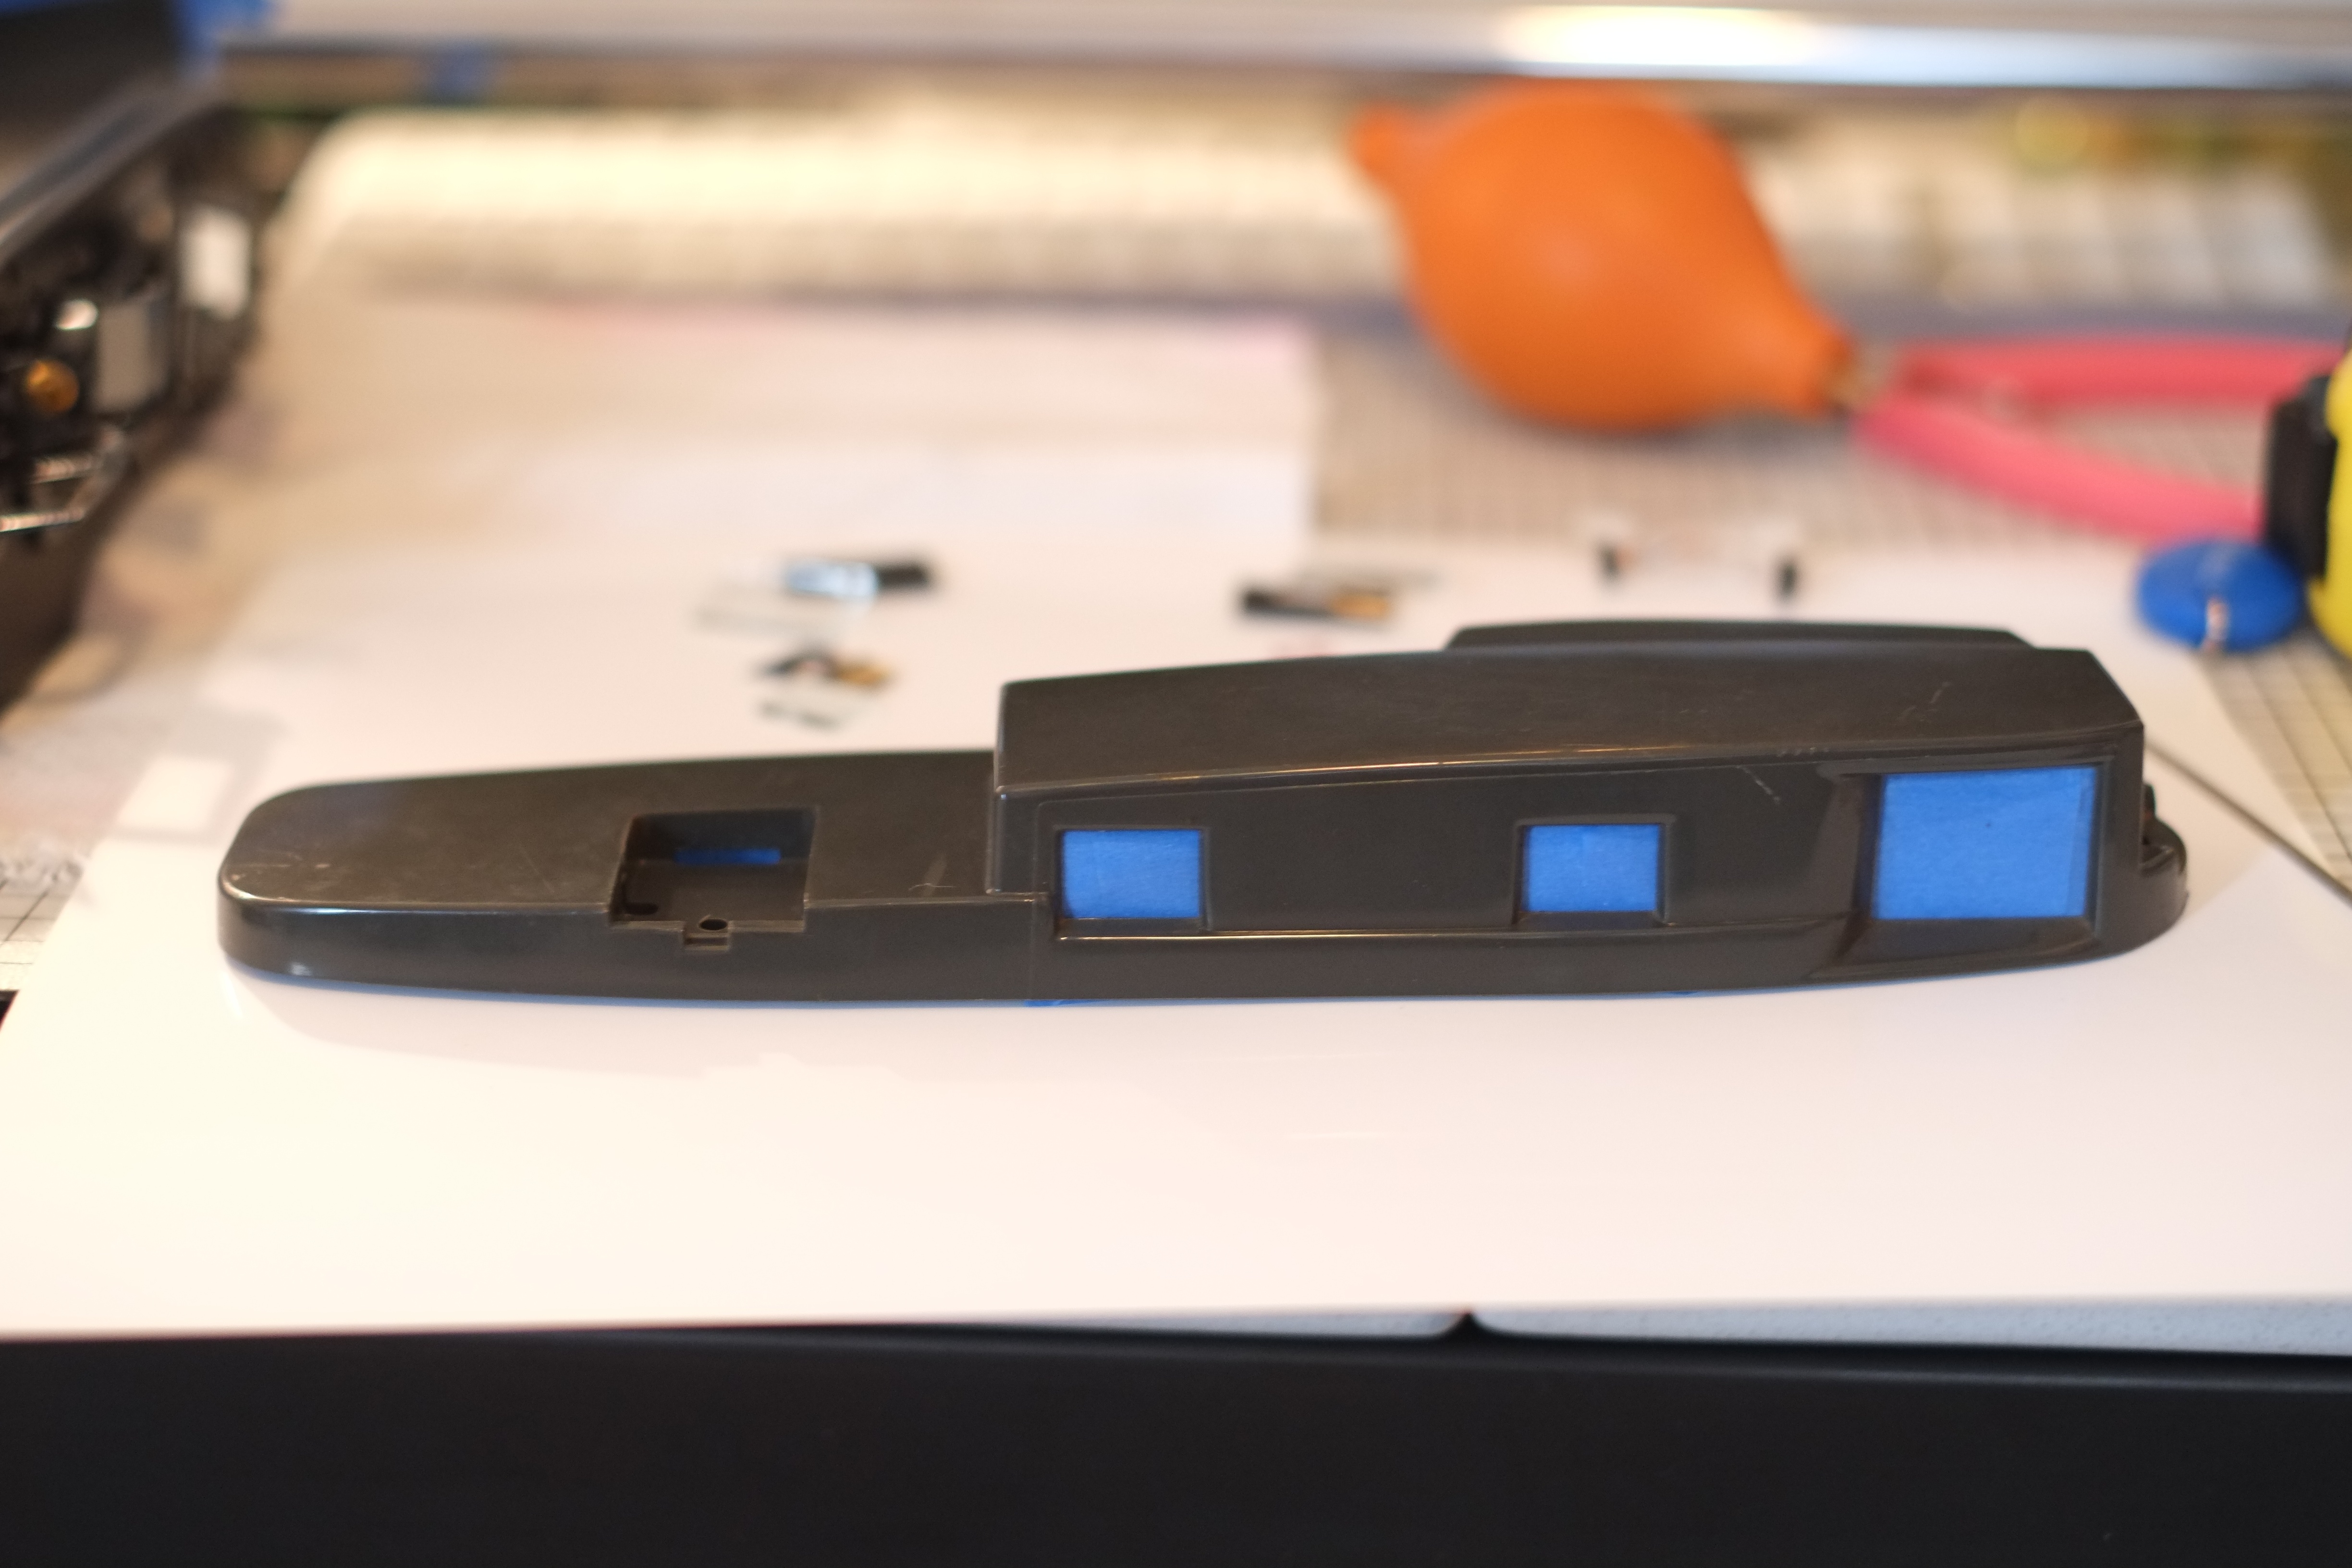
At this point the camera has officially been escorted into the modern age, but it looks like a hot mess. The time had come to clean up this spaghetti-splattered wall of a monstrosity, and restore it to it’s former glory. This step actually took the most amount of time, because I carefully thought out how to make the final product look as clean and close to the original design as possible. I didn’t want people on the street to be able notice anything different about the Polaroid, and I certainly didn’t want them screaming “DEAR GOD WHAT IS THAT THING.” With Weseley’s words ringing in my head, I set about re-assembling/upholstering, pulling pieces from the wreckage and re-purposing them into the final design. Instead of pealing the leather from the original rear door and affixing it to the newly attached back, I pryed away the entire piece. This way, I could keep the cool release switch, as well as retain the nice chrome outer rim. But while attaching the plate to the camera, I noticed it fell a wee-bit short. No worries, I dove back into the junk pile and came out with a discarded hinge. Slapping that onto the back of the piece closed the gap, and actually made the door look like it belonged (plus there is a little space to hide the shutter release and hot shoe mount)


Lastly, I wanted to do something to hide the sliced off end, but all of the conversions online left this space as-is. Folding over the leatherette just wasn’t enough, it looked fine but it just didn’t look finished. More by luck than by inspiration, I realized that the silver hinged lock that used to keep the original camera secure fit perfectly in the space! A few stomps of the foot provided the initial destruction, then pliers pitched in to detach the hinge from the now unneeded swing arm. A filing of the pointy bits here, a dabing of cold weld there, and voila! Damn, this thing looks like it belongs…

They say a picture speaks 1,000 words, but how many words do 1,000 pictures say? Even with my famous simple-math deficiencies I can answer my own stupid question, it’s 1,000,000 you idiot. And because I documented my progress with around 1,000 photos taken over the entire process, that means the following time lapse says around 1,000,000 words (which in hindsight means I could have spared you from reading the preceding 1,356 and still have room left over…but where is the fun in that?)
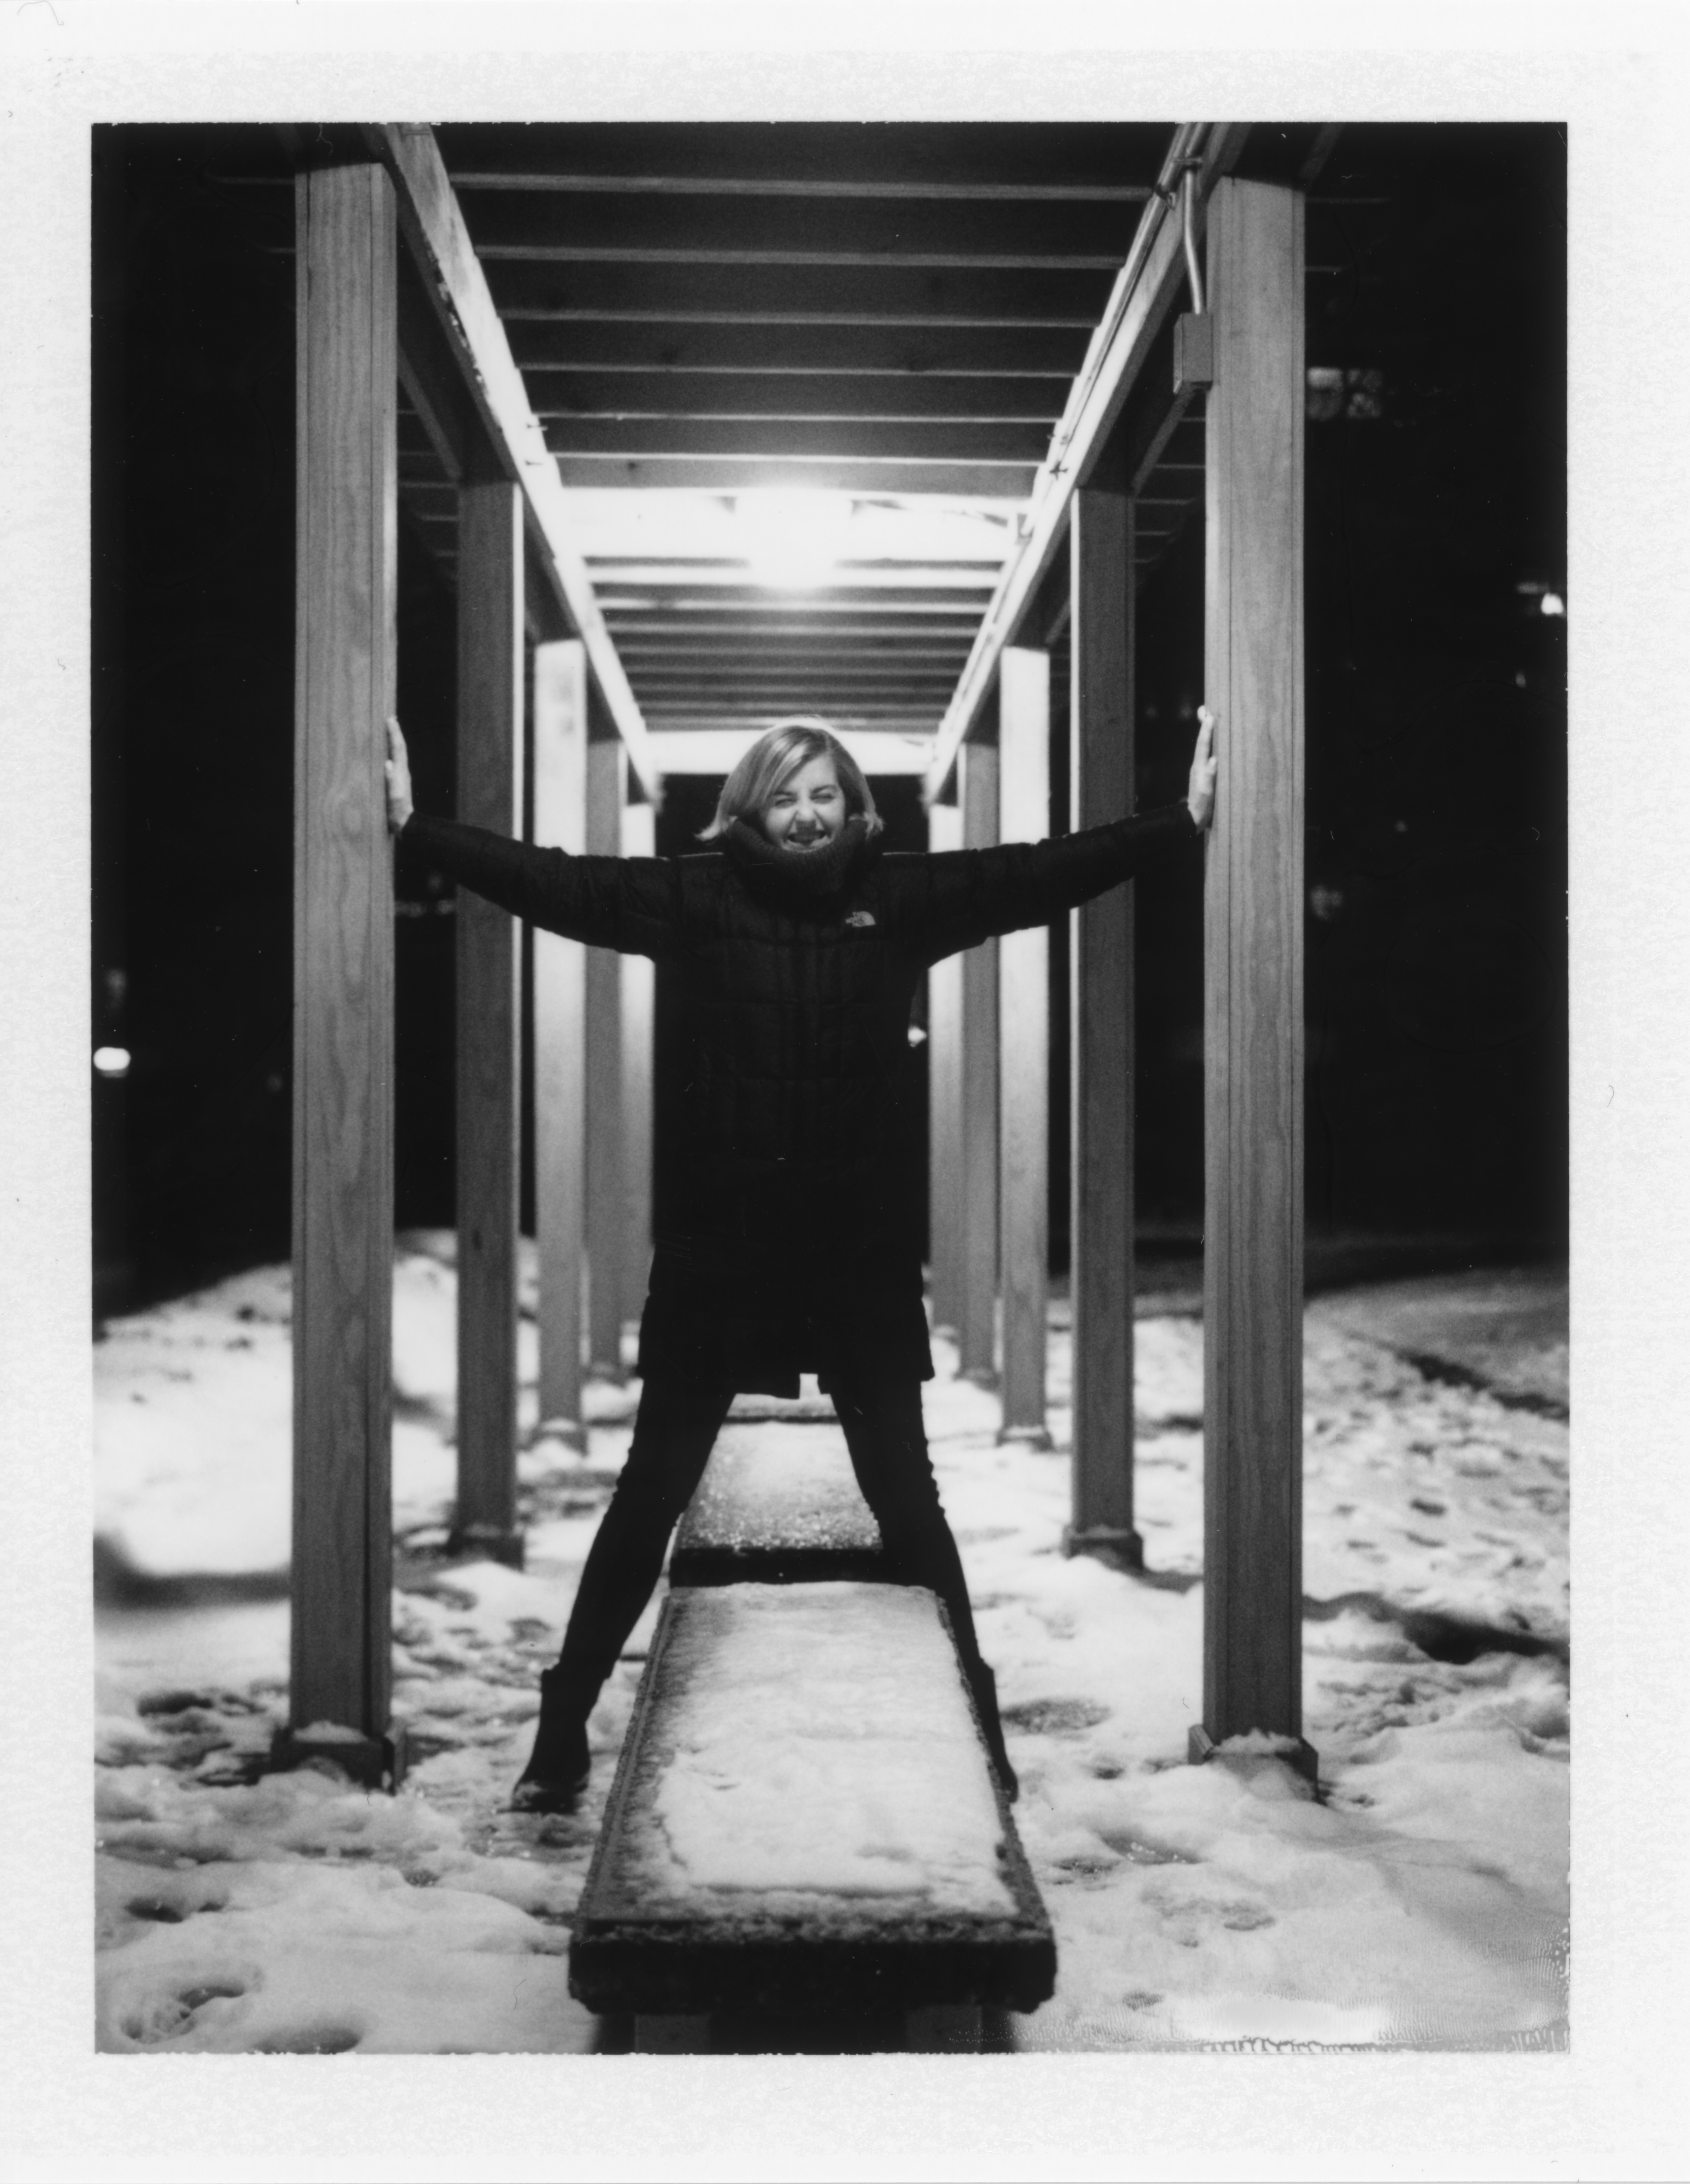
Now if you’ve made it this far, you are probably thinking to yourself “I am forever indebted to you Graham for creating such a fascinating, well-written, and all around mind-blowing article. And while no one can question your greatness, I do wonder if this thing actually take pictures?” Thank you, thank you, you’re far to kind. Oh, and to answer your question, yes this thing does take pictures. And yes I am in LOVE.
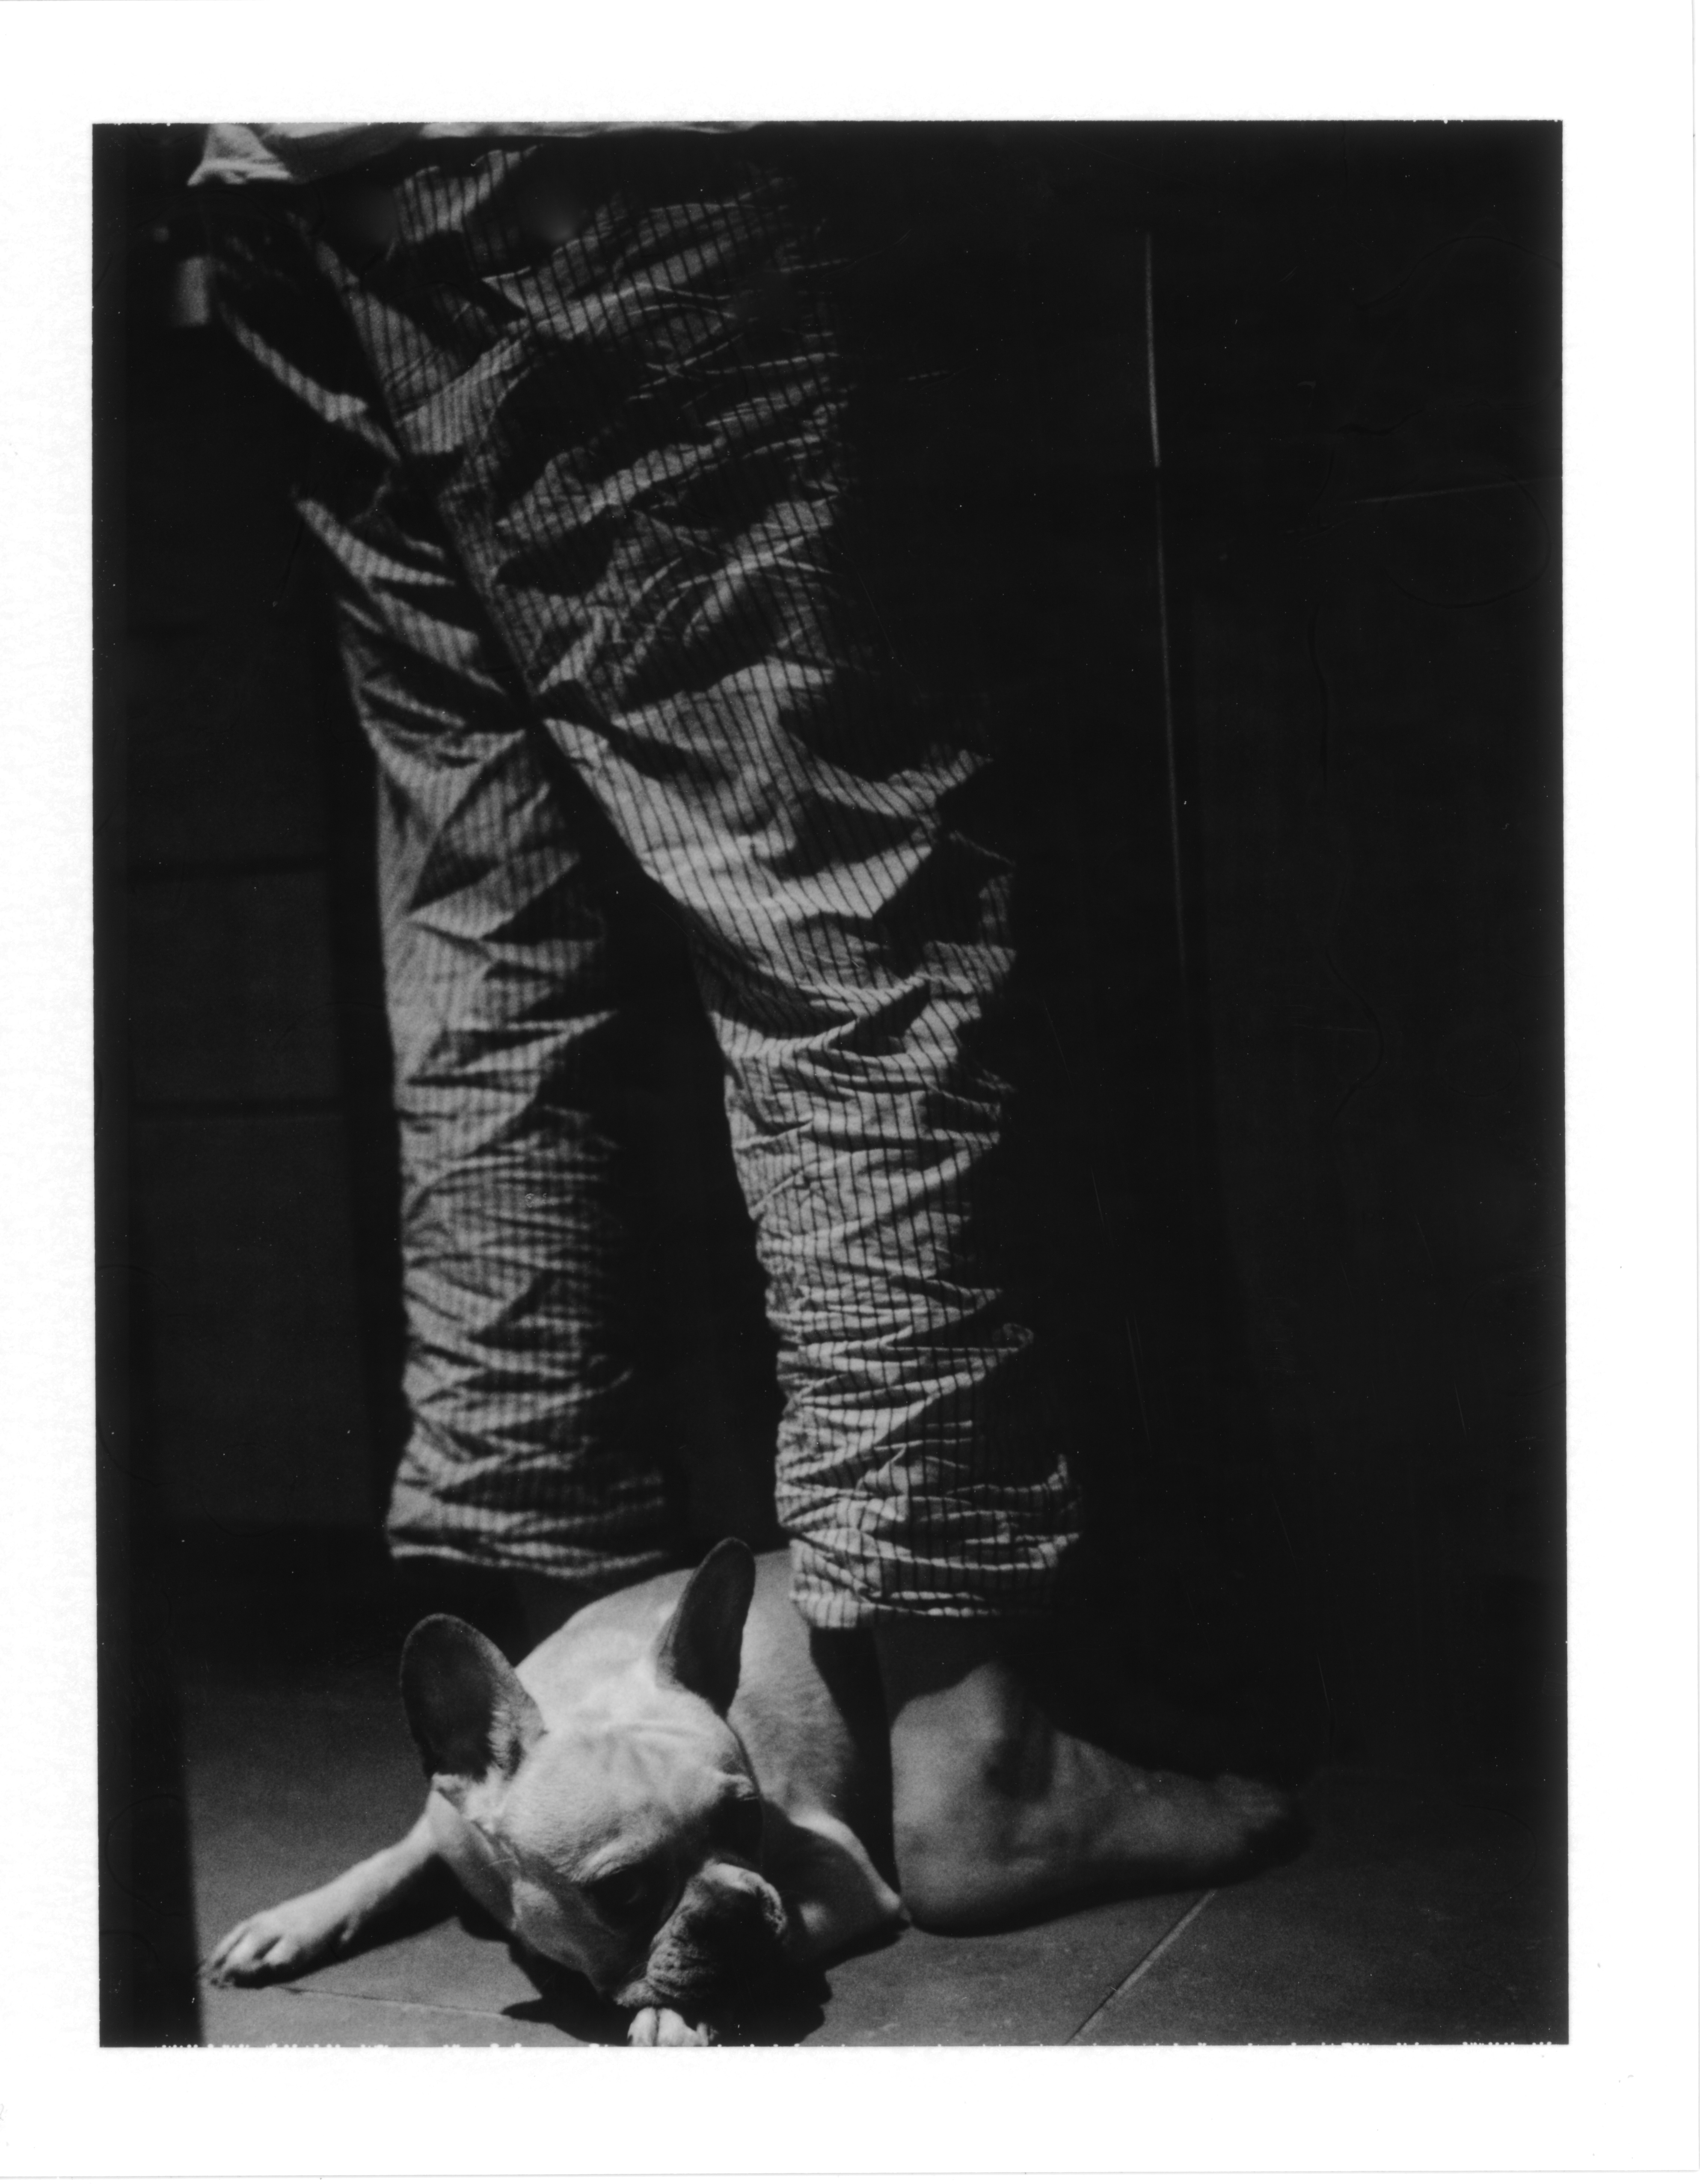
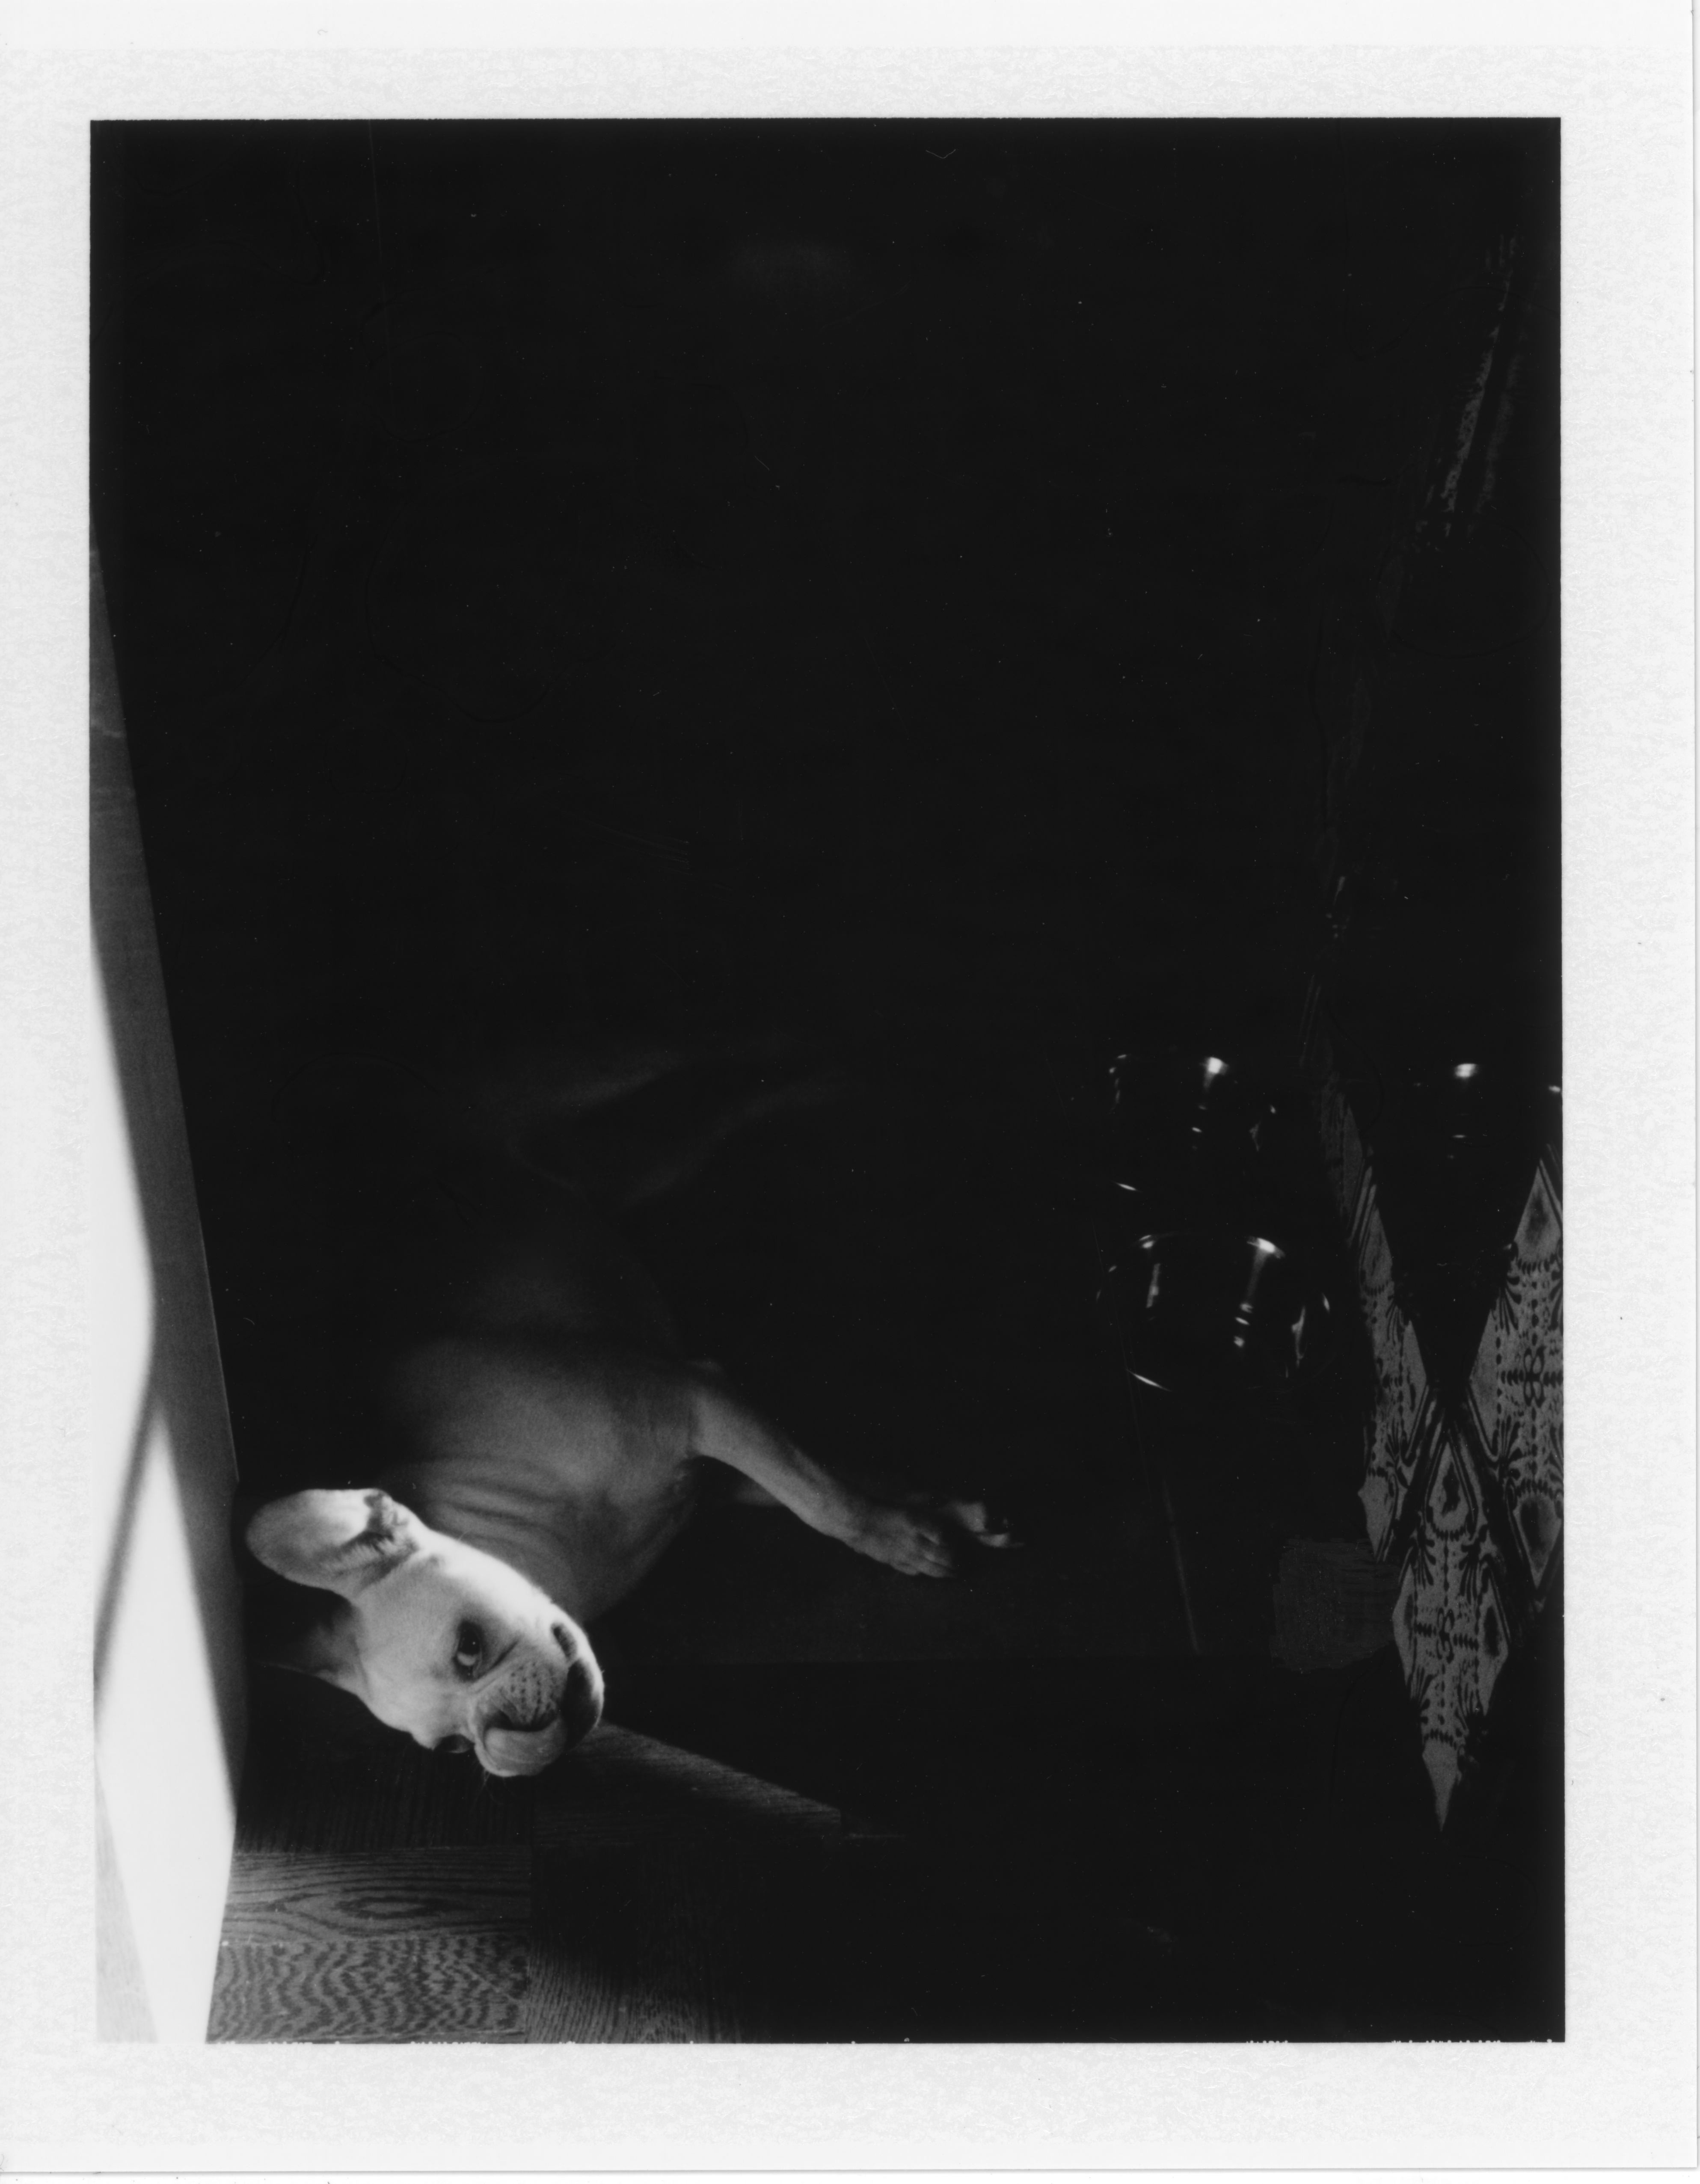
FP-100C

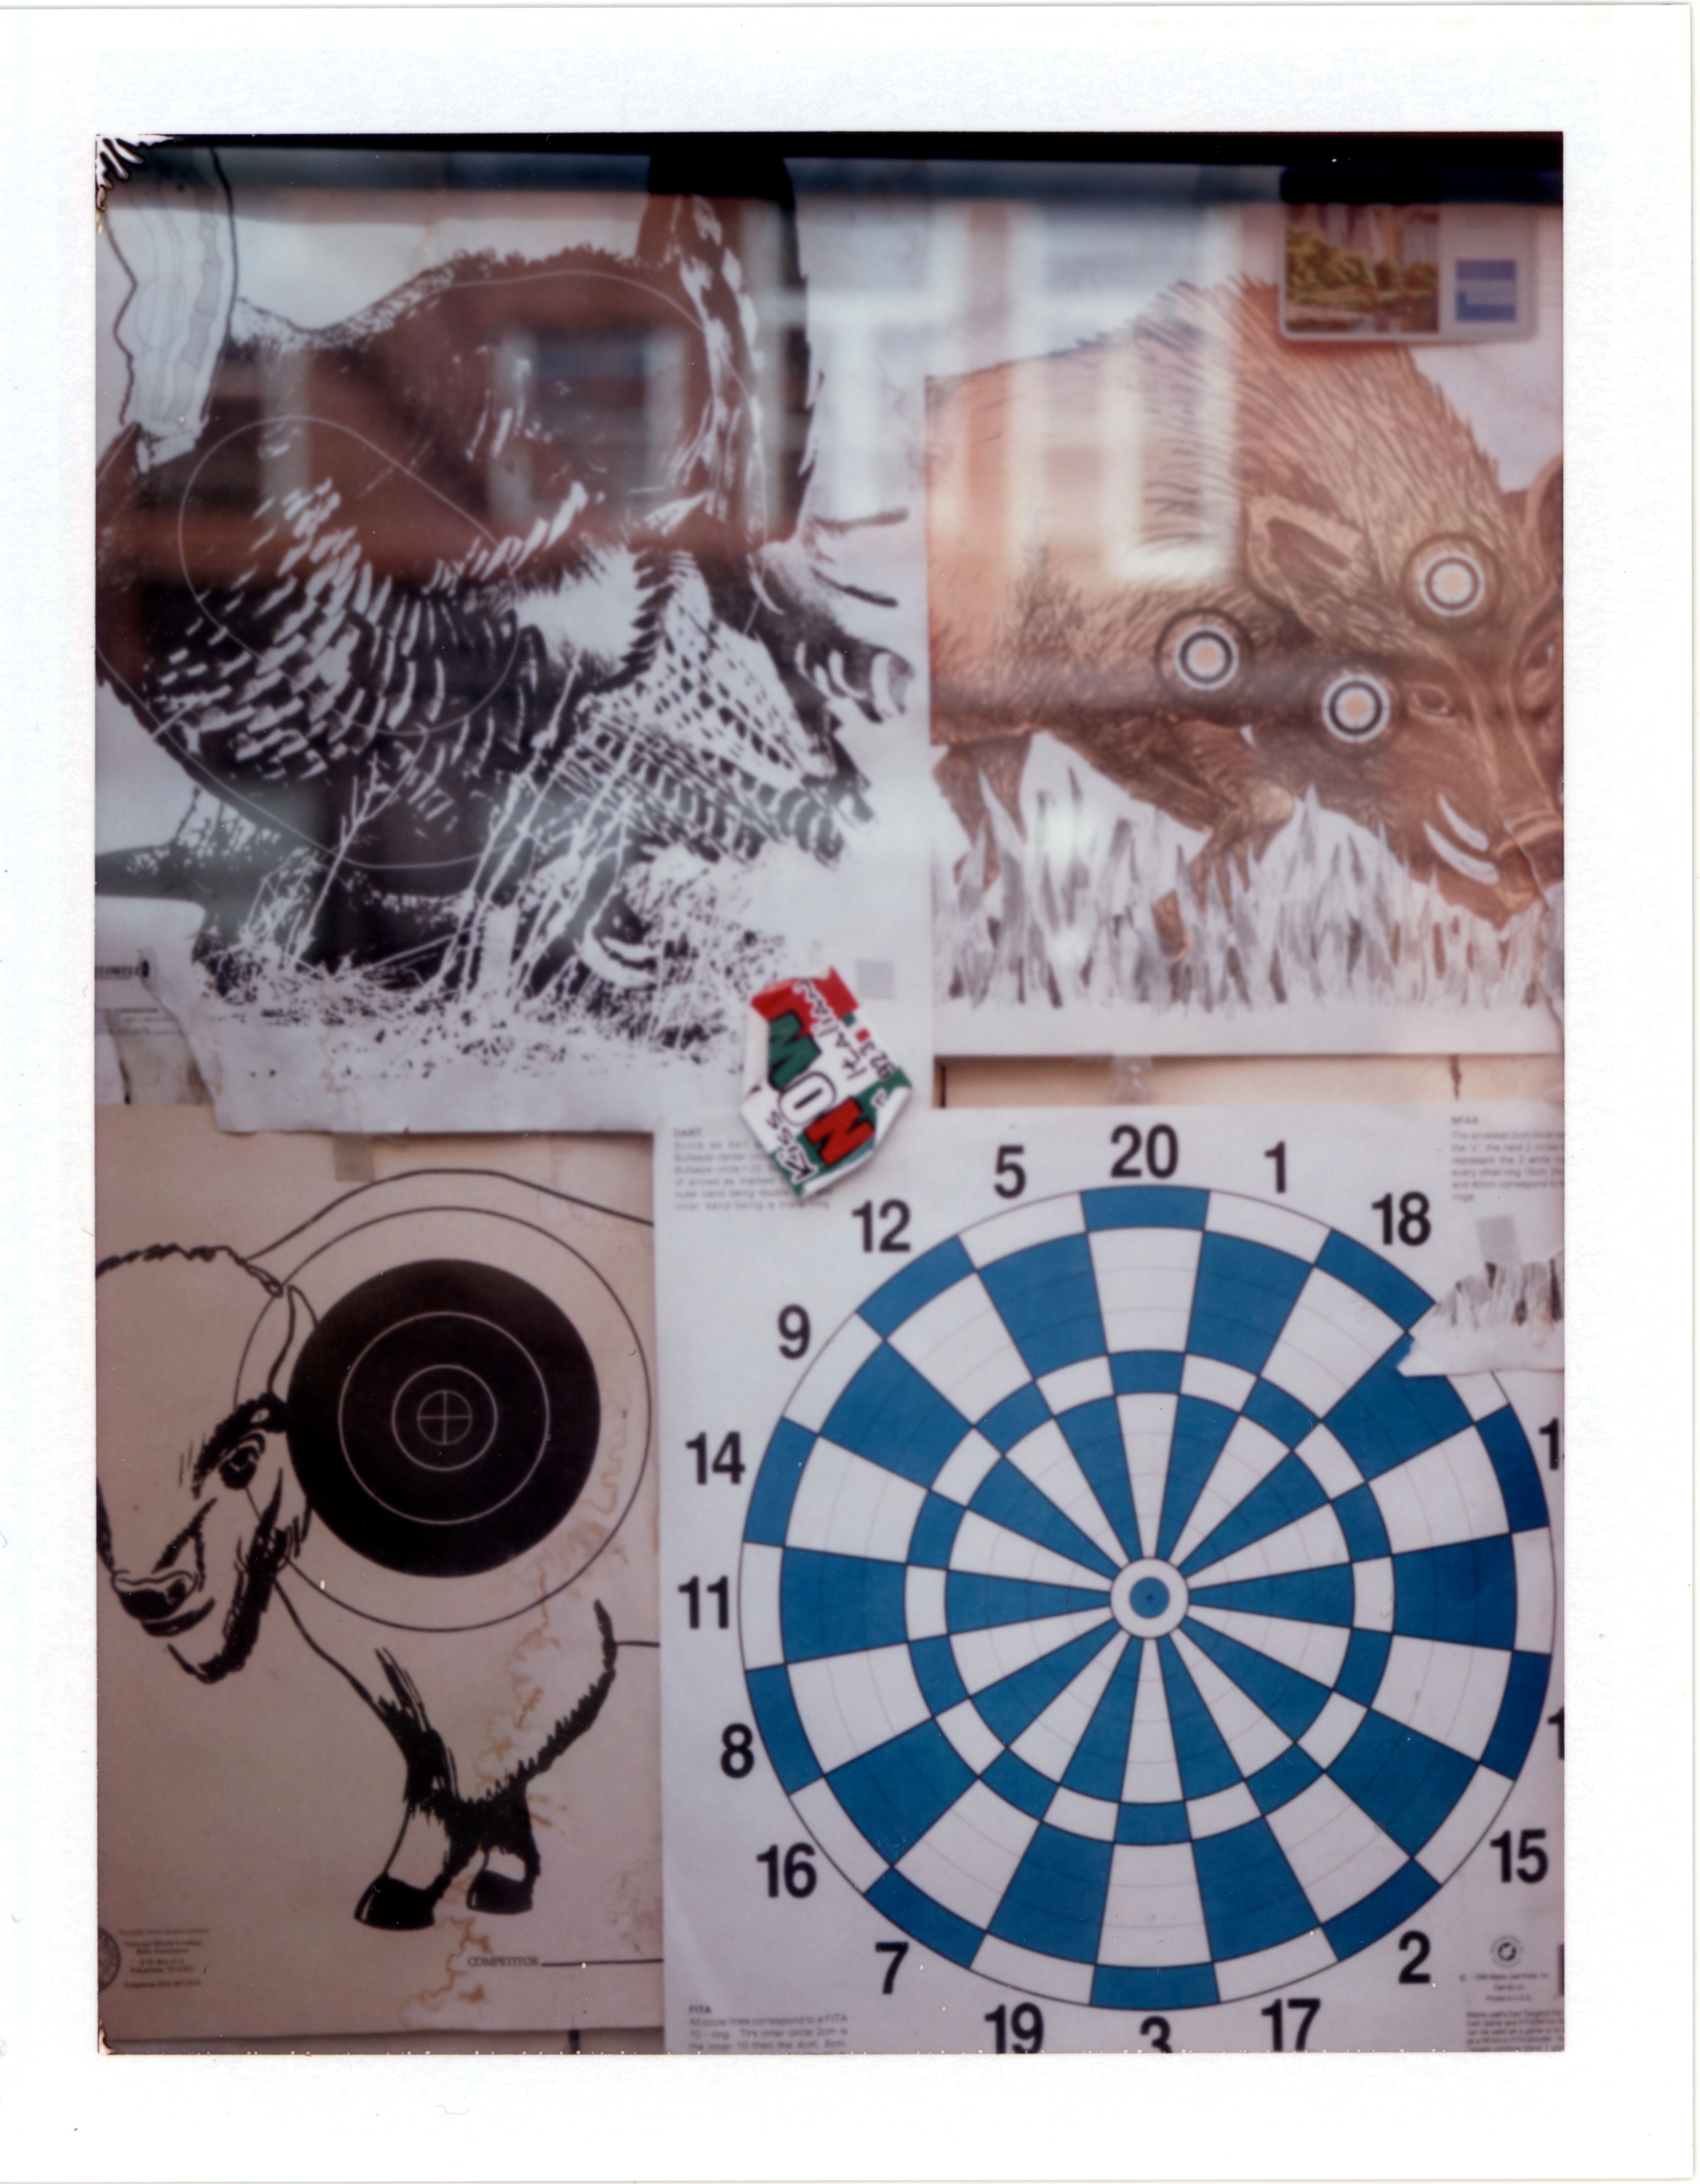
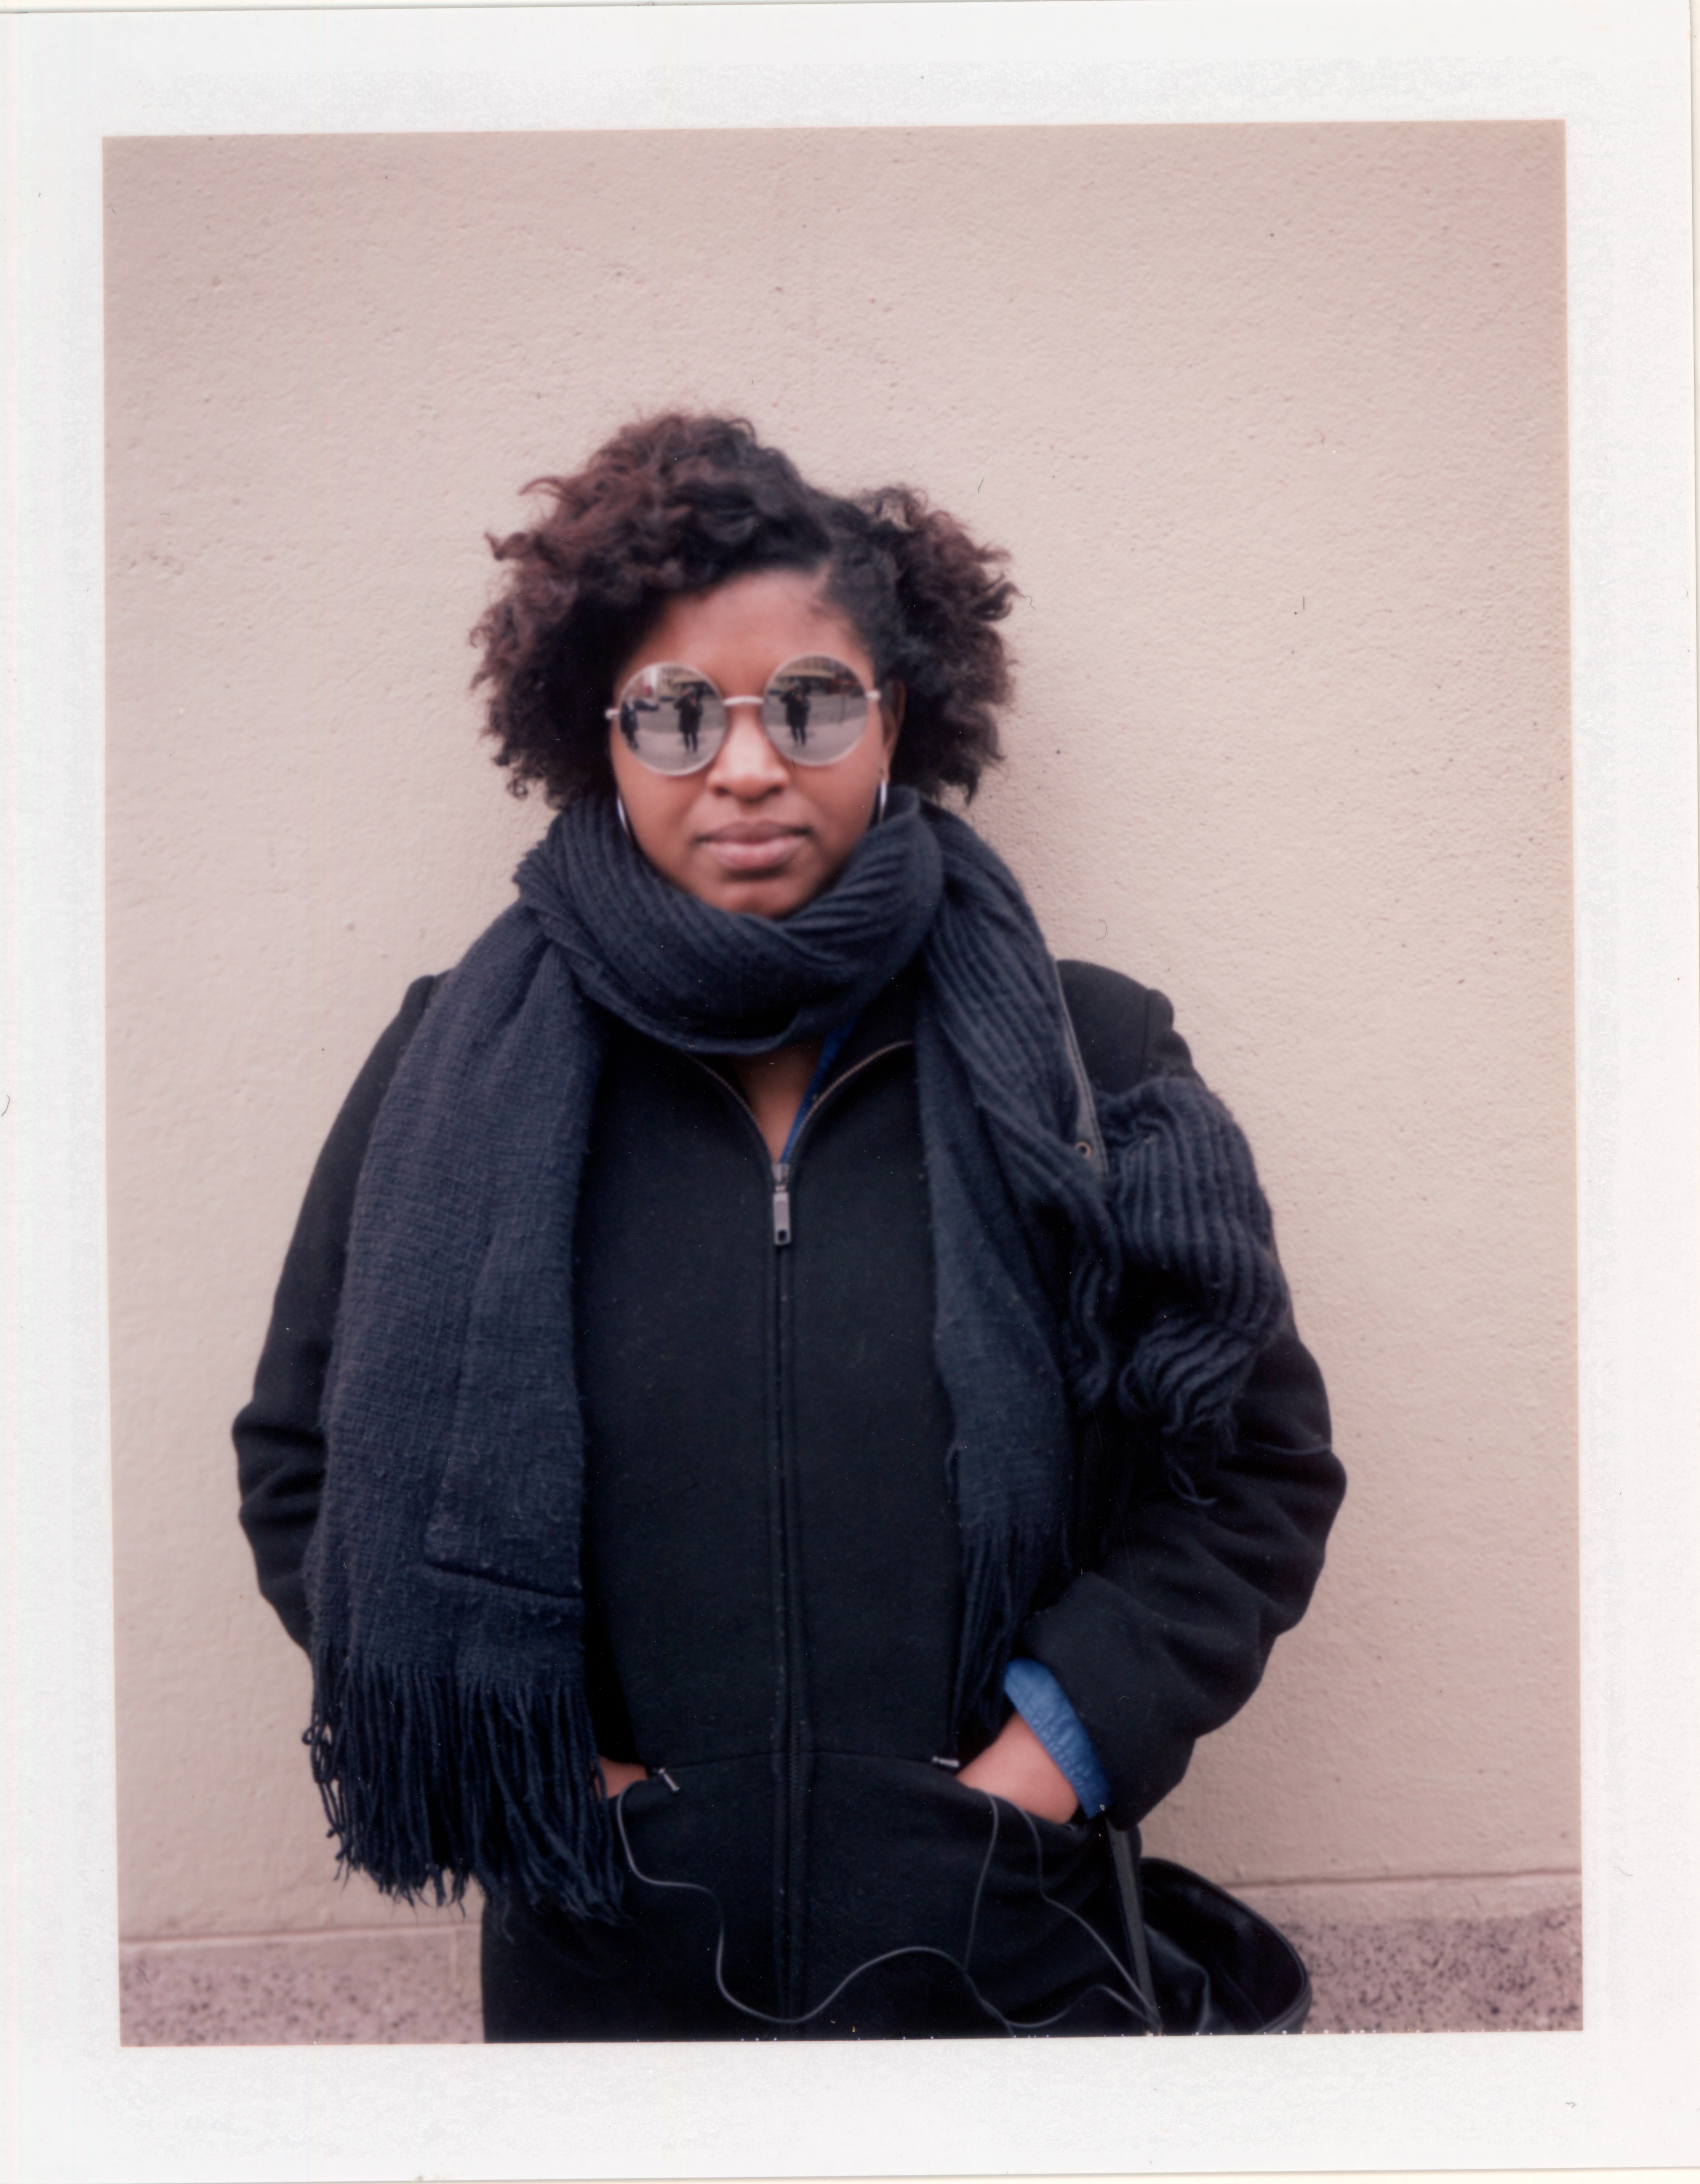
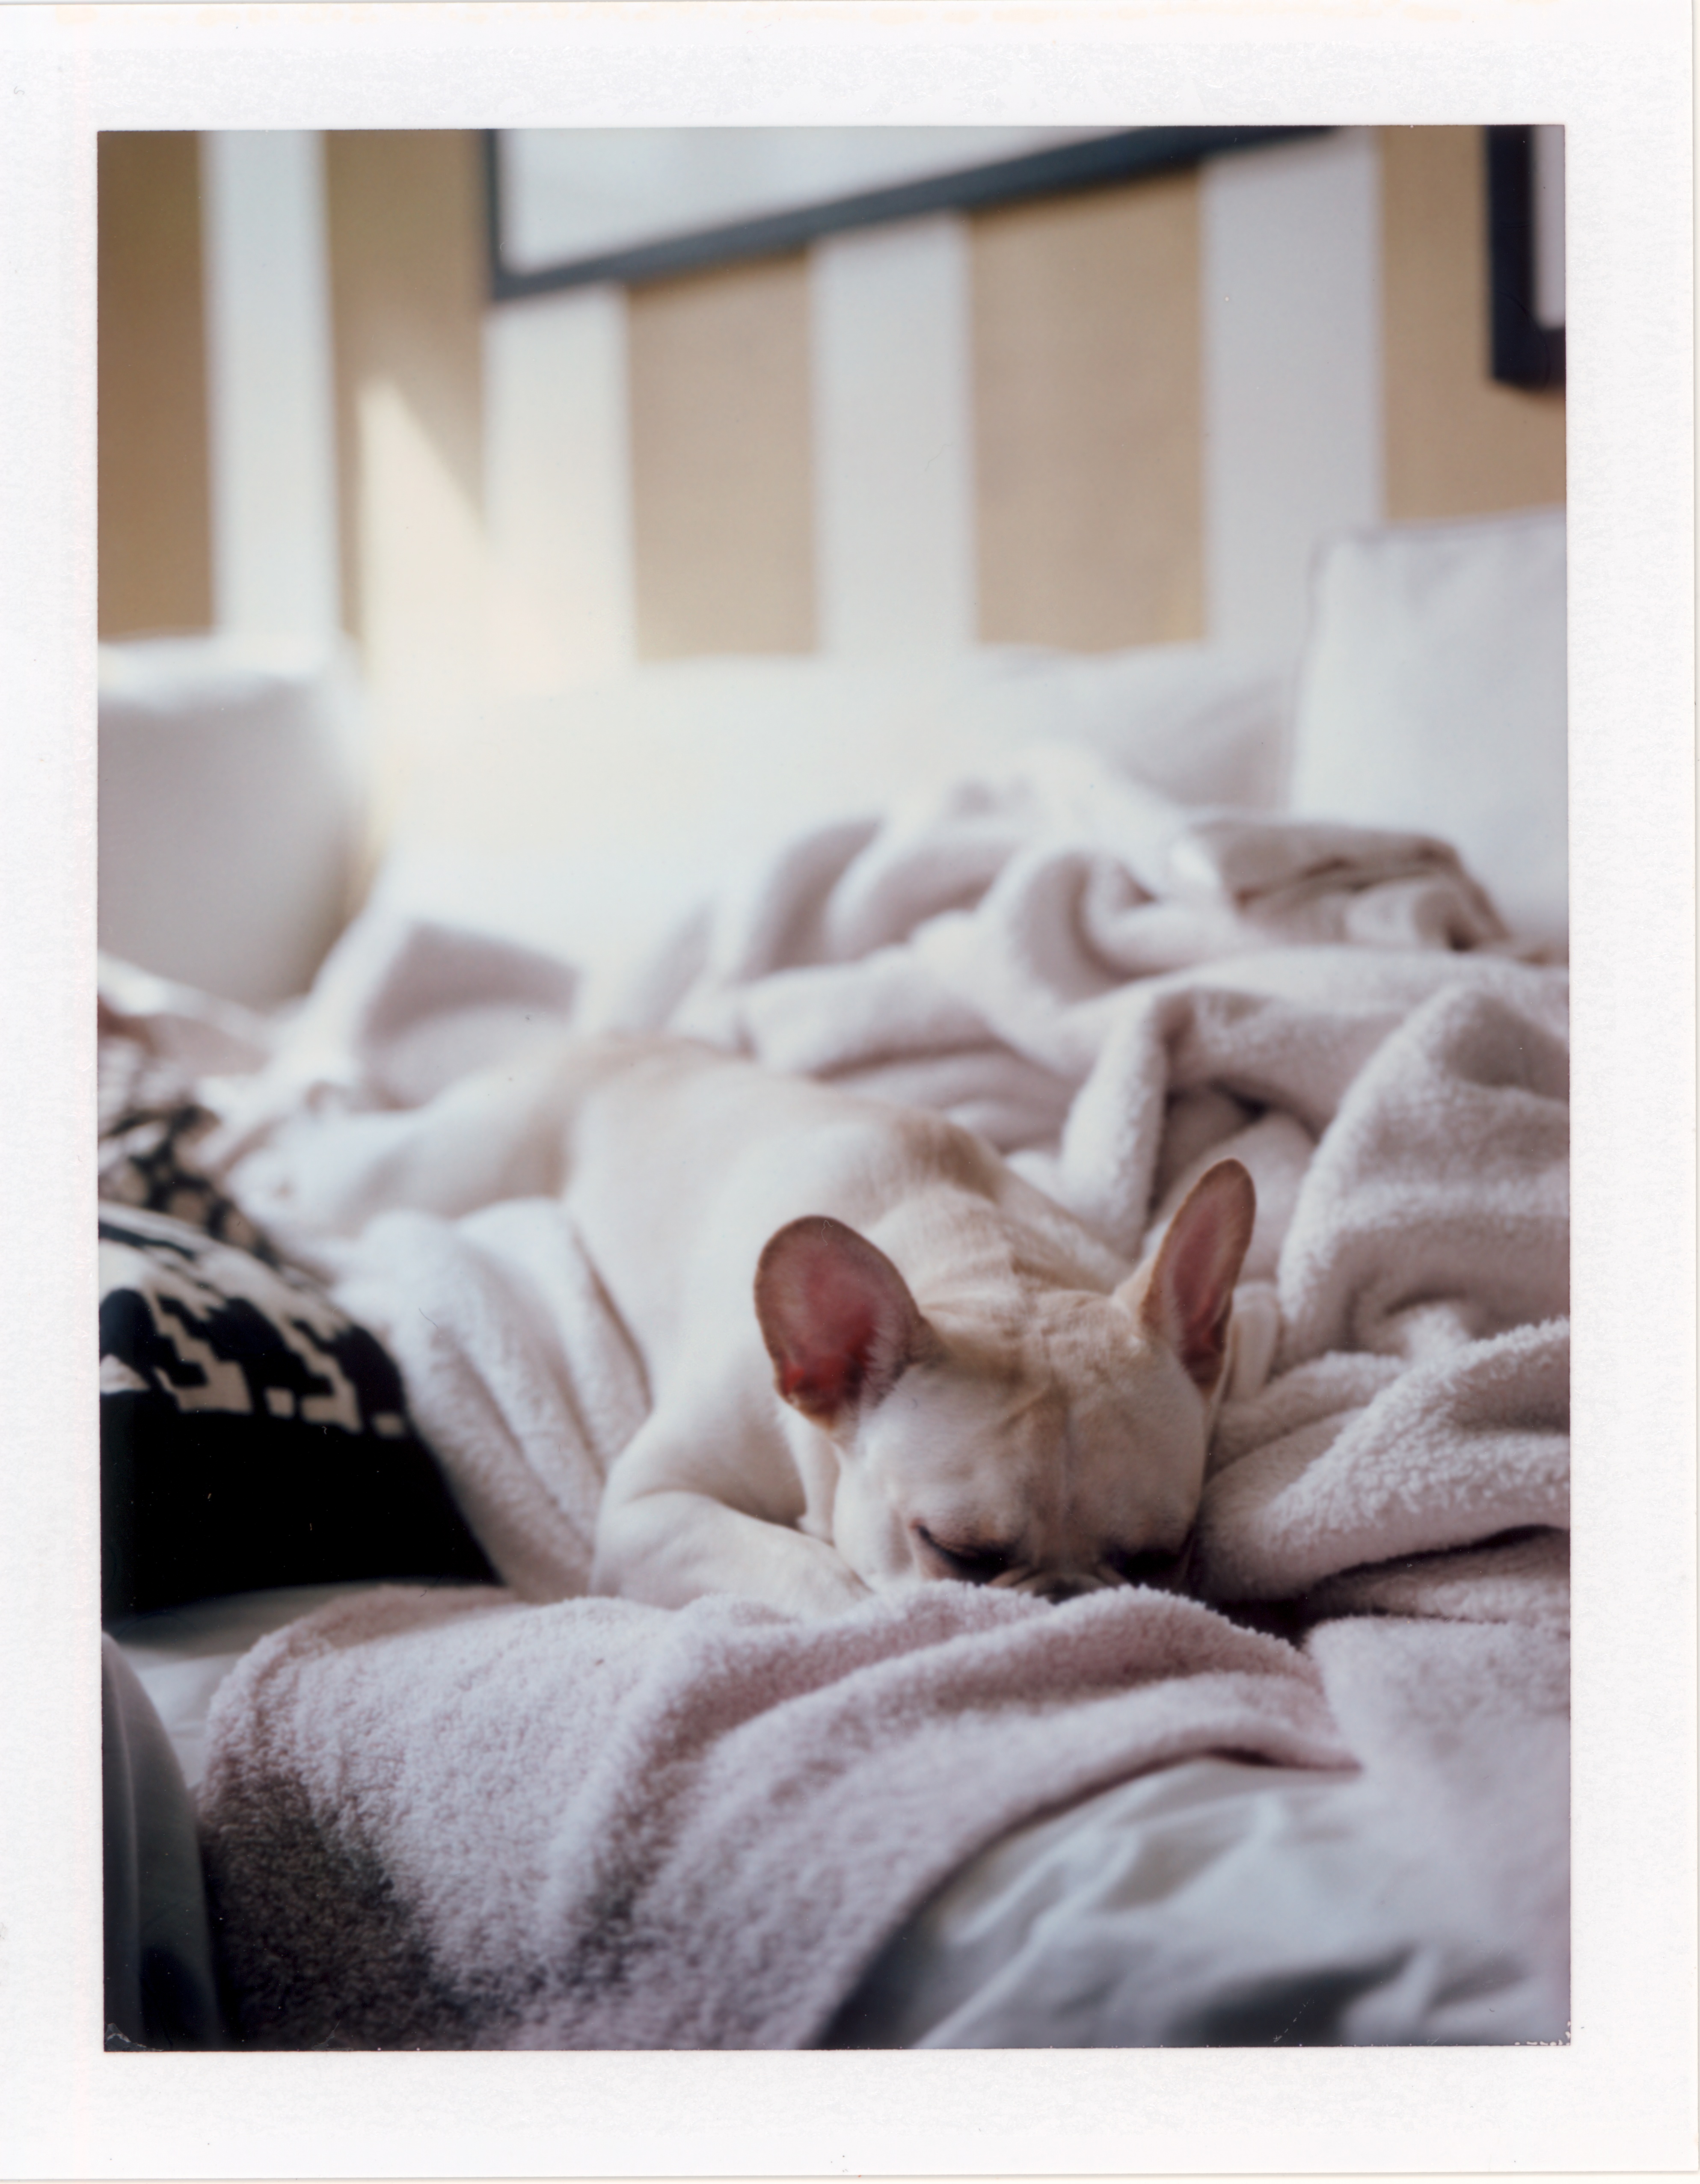

FP-3000b


God, I don’t know where to even start!! A truly amazing post. The writing and photos are great but the time lapse film is the crowning glory….AND….the images are beautiful. I am not worthy………
The timelapse took a lot of time and effort to set up, but in the end I’m stoked I did it!
That’s my boy!
Pingback: Santa Cruzin | [gwu] Graham Whitaker Unterberger
Are you still doing this type of conversion? My dad just gave me this exact camera, and I’d like to have it converted so that it could get some use. Thanks! – Kate
Hey Kate! Just did this for myself as a little experiment a few years back, so not in the conversion business myself but there are plenty of people who are. And now that Fuji’s discontinued pack film, I’ve seen people switching over to Instax backs which is pretty rad!